It’s the most wonderful time, of the yearrrr….
It’s Skirt Week! Woohoo! I can’t believe this is my 3rd year creating a tutorial for the gals over at Crafterhours. I also can’t believe I used the word ‘gals’. What am I Paula Deen?
Anyway, this year it wasn’t too hard to figure out what type of skirt I should make because Sam is all about maxis. If it isn’t floor length she isn’t interested. As usual I also wanted to create a tutorial that is quick & simple & can be completed in a couple of hours. So here it is, the Tiered Knit Maxi Skirt for girls!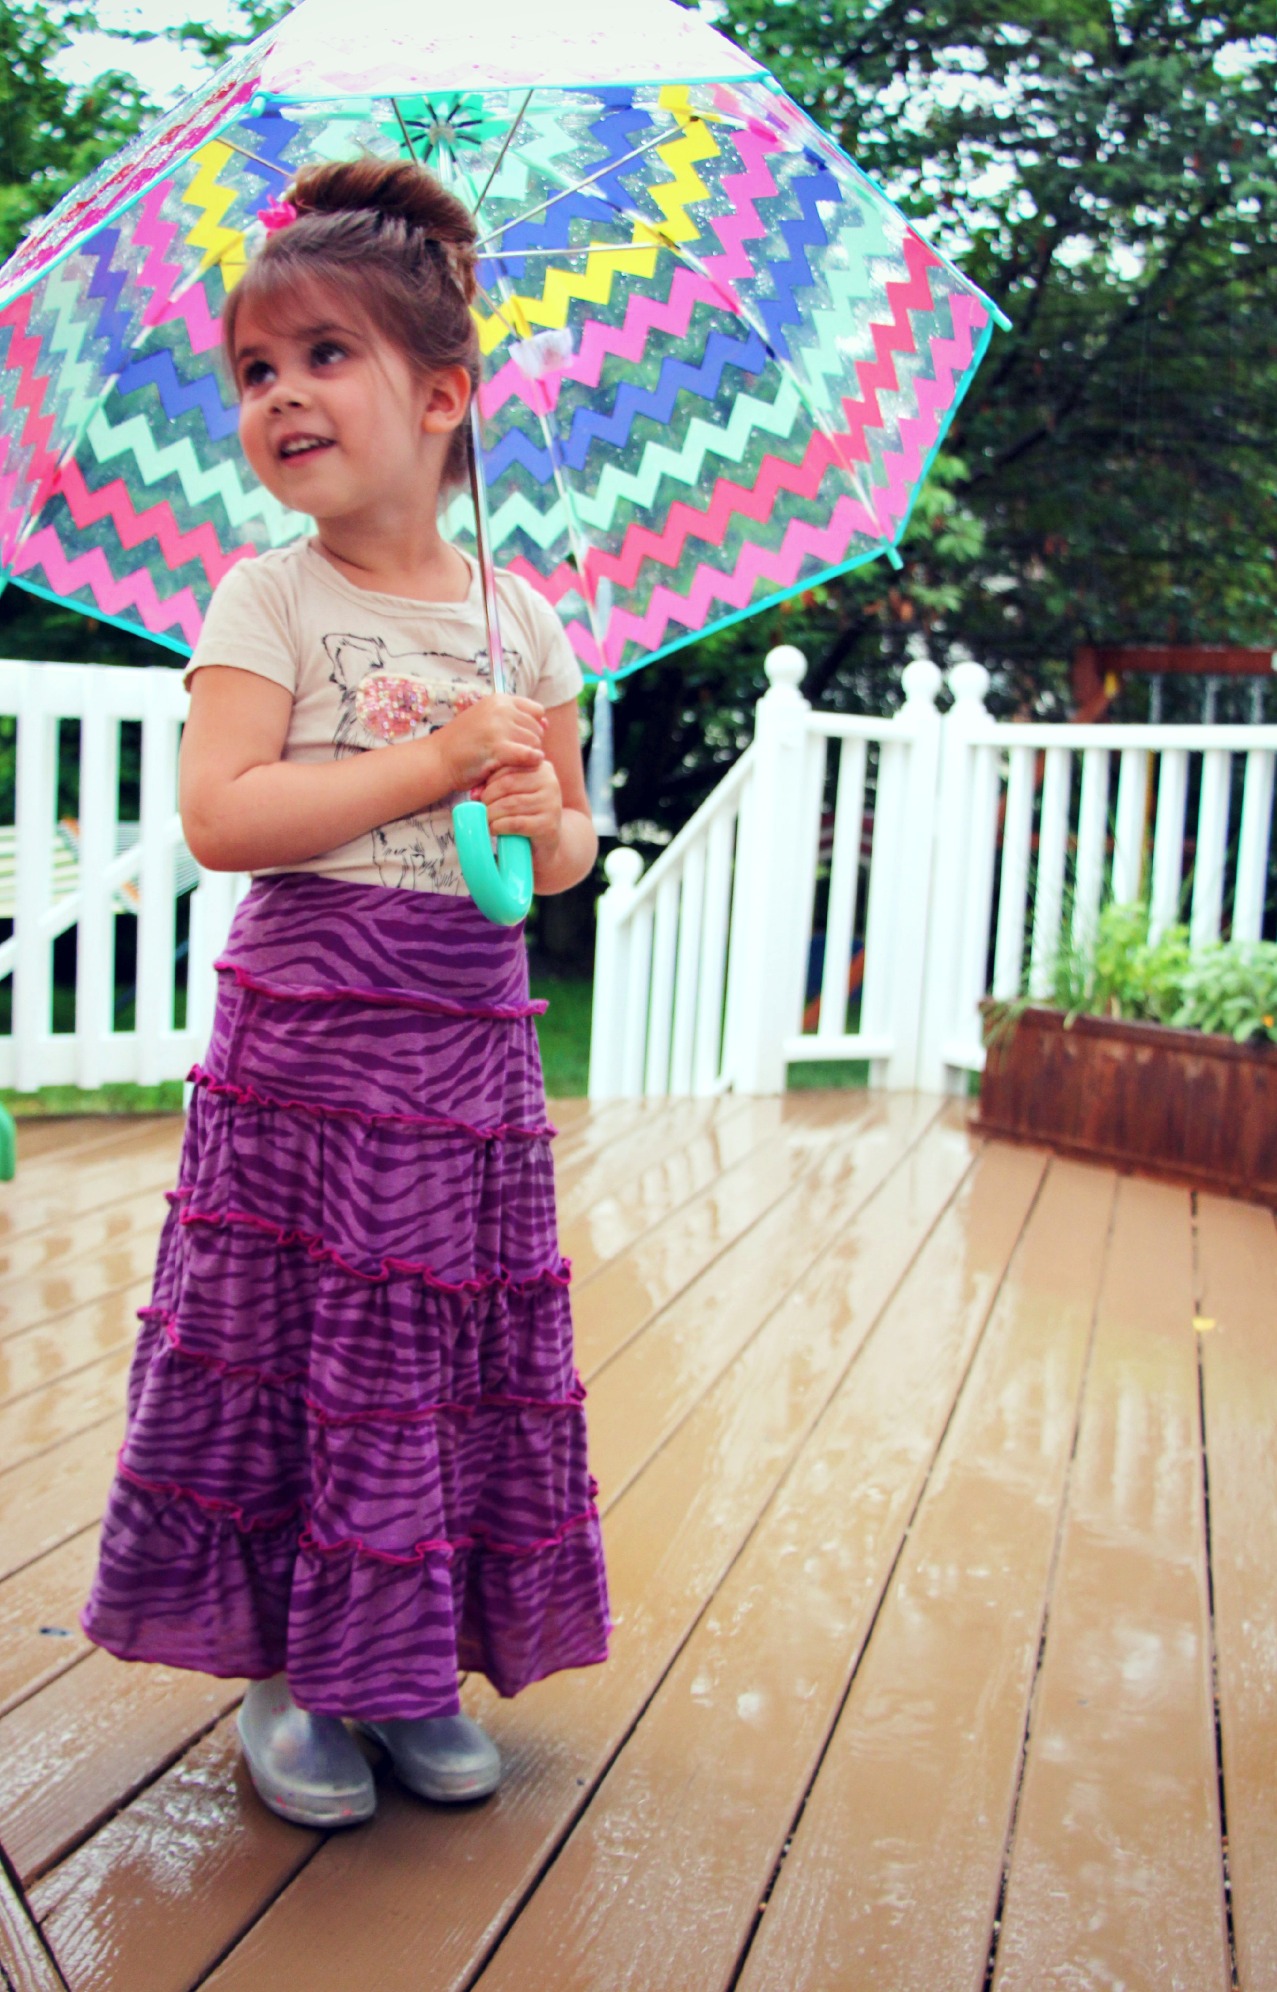
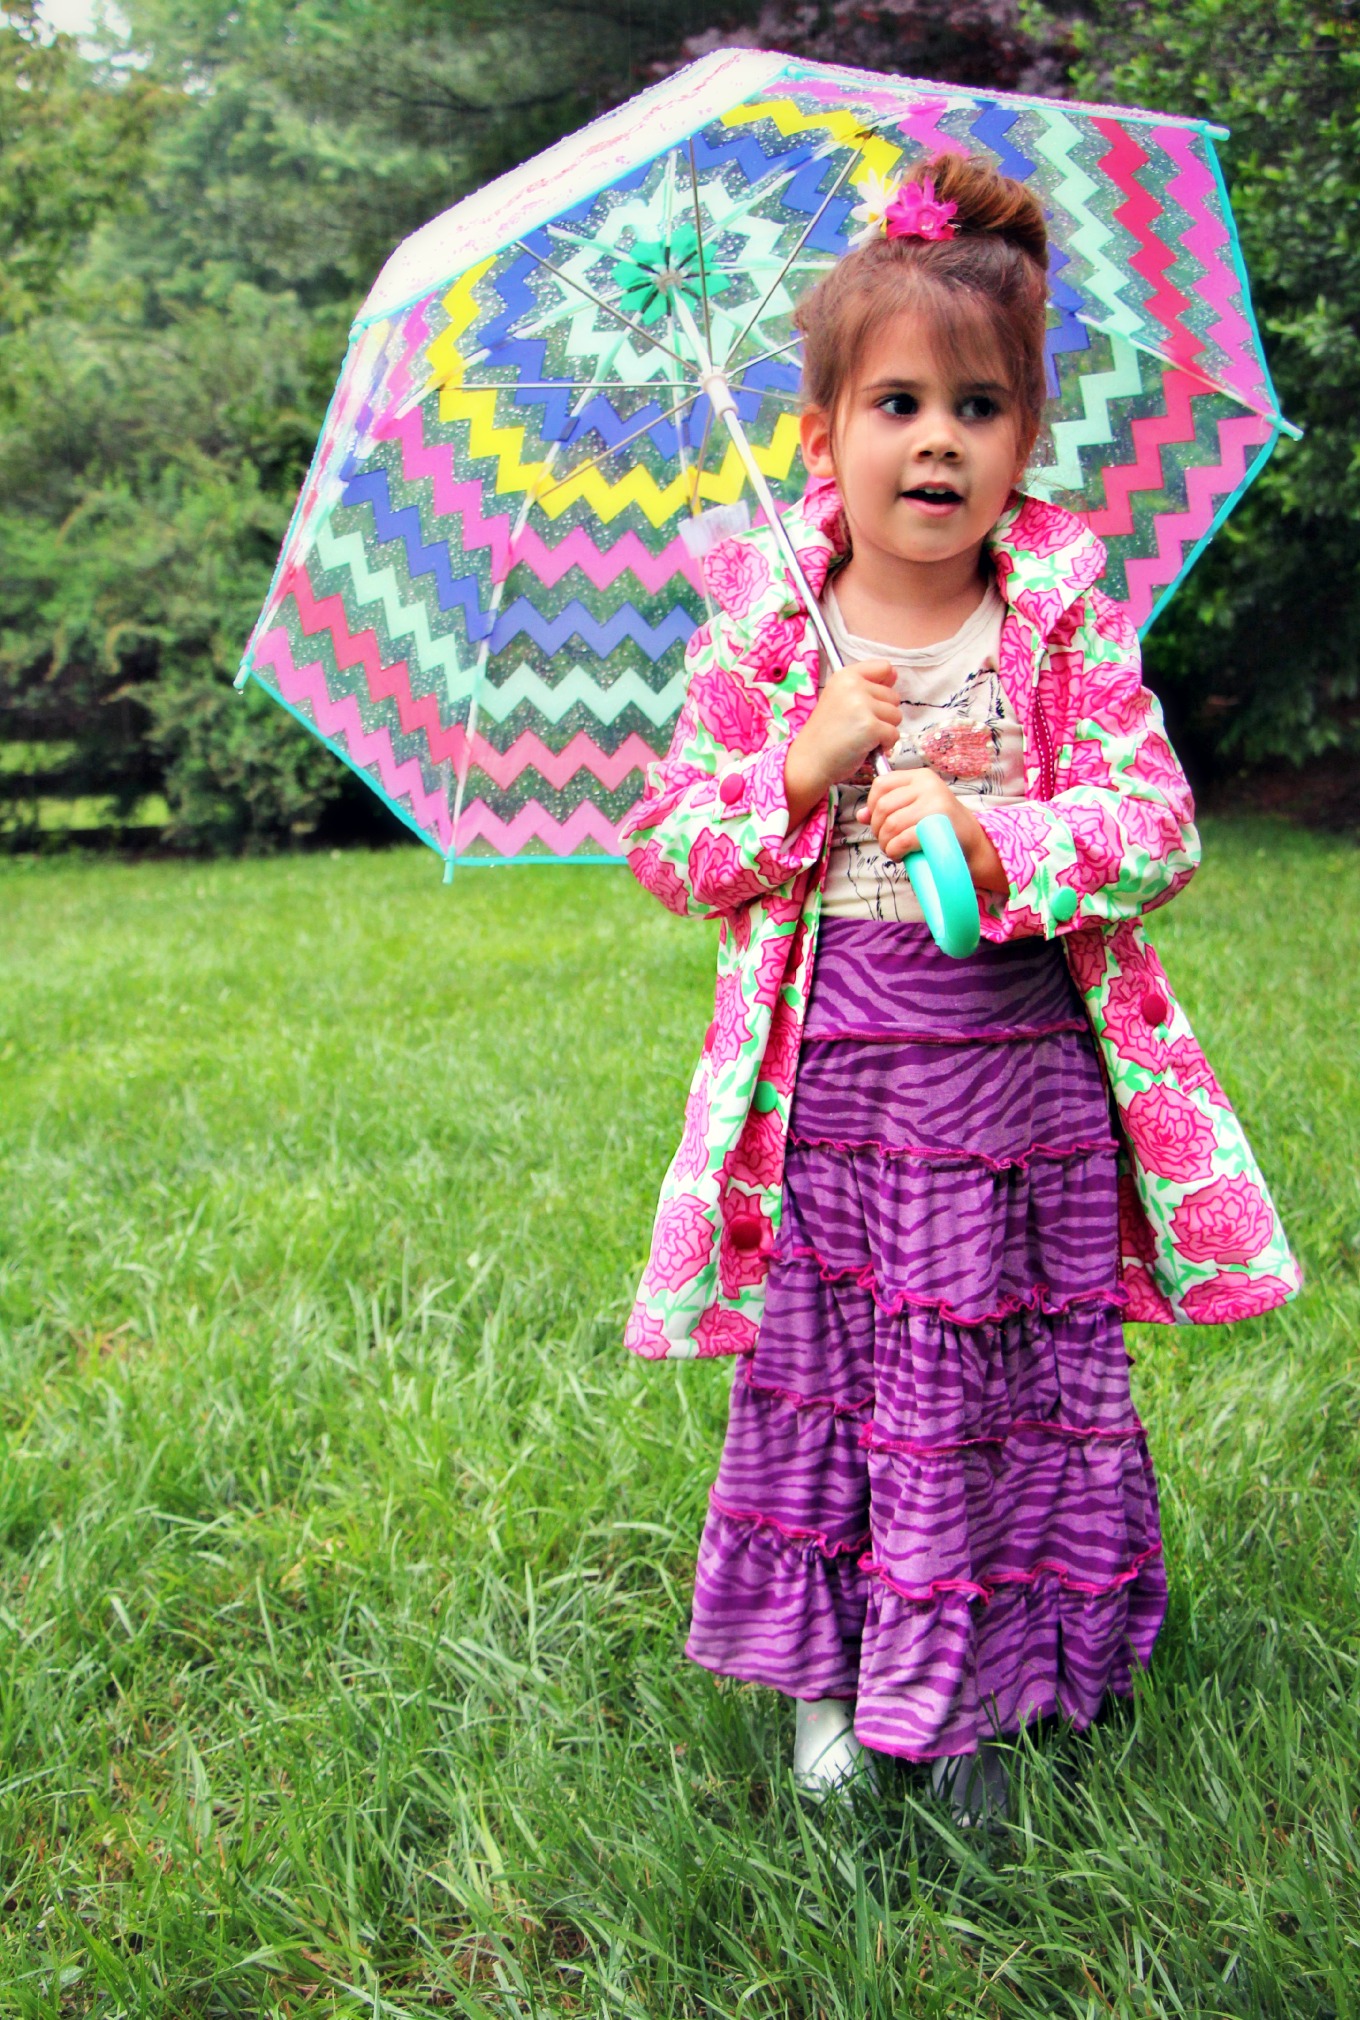
I’ve seen other maxi skirt tutorials that use complicated mathematical equations to figure out the size of the tiers you should cut according to the skirt size your making. Math makes my head spin. I decided to find a way to keep it simple. It may not be perfect but I think it worked out pretty well!
You’ll need two measurements for this tutorial: your child’s waist size & how long you want the skirt to be.
For this skirt each tier is 5″ wide & based on your child’s height you can determine how many tiers you’ll need. If they’re in between sizes you can either round up or down. I got lucky, Sam’s skirt length is 25″ so that equals 5 tiers. Hey, I can do math!
Next it’s time to cut your fabric into the different tiers. Each tier is basically a 5″ wide rectangle that is slightly longer than the previous tier. This is what will make the skirt widen as it gets longer. (it’ll also give it that all important ‘spin’ factor)
This 5 tier pattern is to make a skirt that is 25″ in length. If you want your finished skirt shorter subtract tiers & to make it longer continue making your tiers 15″ longer than the previous tier.
The first piece you’re going to cut is the waistband, this is going to be a rectangle that is your child’s waist size+5″ (for gathering & seam allowance) X 10″
Continue cutting the 5 tiers with the instructions below:
Waistband= waist size+5″seam allowance x 10
Tier 1 waist+10″ x 5″
Tier 2 waist+20″ x 5″
Tier 3 waist+35″ x 5″
Tier 4 waist+50″ x 5″
Tier 5 waist+70″ x 5″
I found it was easiest to fold my fabric in half & then cut the entire thing into 5″ wide strips. (I knew I wouldn’t have much leftover fabric, so it was ok with me to cut up all of my yardage at once) Then I went back & trimmed them all to be the appropriate length. You might have to stitch some strips together to get the really long tiers 4 & 5. I did & in the finished skirt the gathering hid those seams pretty well.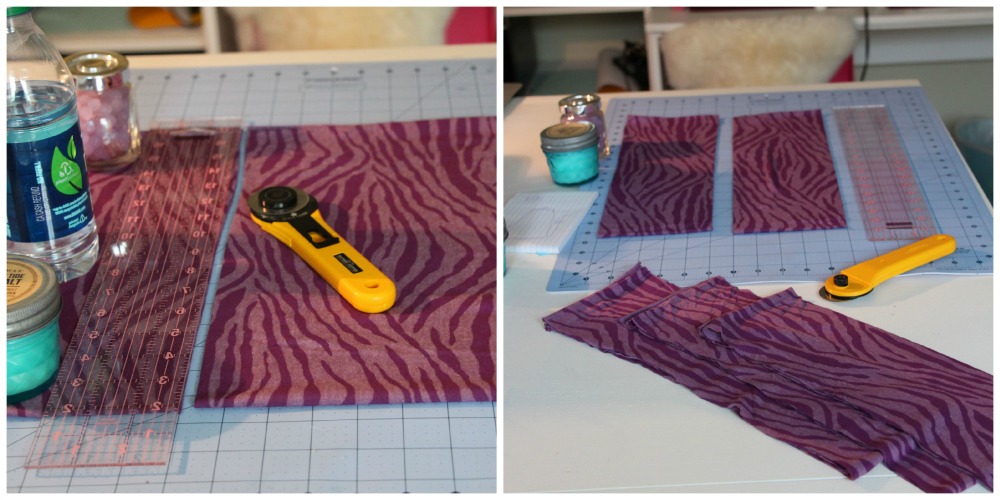
(Dont you love my fancy fabric weights?)
Your pieces should look something like this when they’re all cut: (keep in mind those are all folded in half & the measurements are for Sam’s 4T/5T skirt)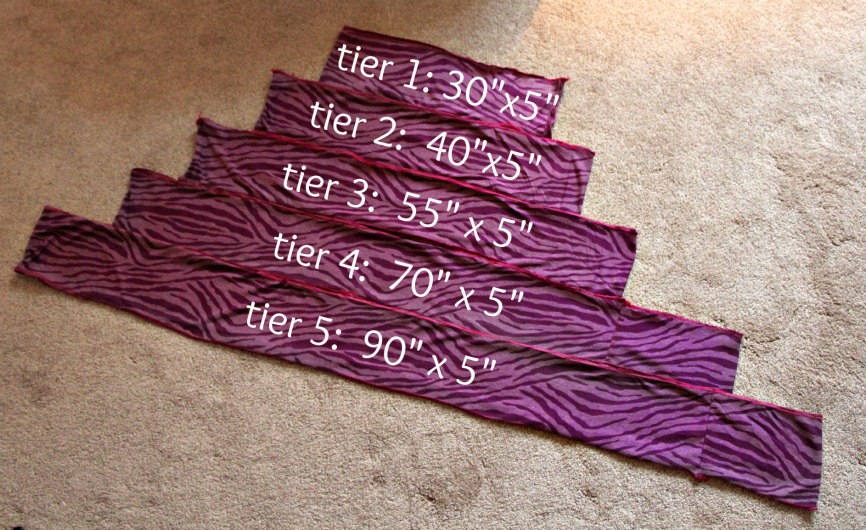
Next, working one tier at a time stitch the short sides together, rides sides facing together. When you’re done you should have all rectangle tubes. For the waistband after you stitch the short sides together fold the entire piece in half so it’s now a 5″ wide tube. To create the elastic waistband cut a piece of elastic that is your child’s waist size+ 1″ & stitch it’s short side together. Place your elastic circle inside of the waistband you created. Now your waistband is done!
Since this is knit you can leave the edges of the tiers unfinished or if you have a serger you can stitch along the top & bottom edge. This will give it a bit more stability which can be a lifesaver when you’re working with a really light & flimsy knit like mine. It’s also great for adding a pop of color, I kind of wish I would’ve chosen a bright neon green thread for the edging so it would really stand out but I knew Sam would like the pink. Ah well…
Now comes the tedious part.
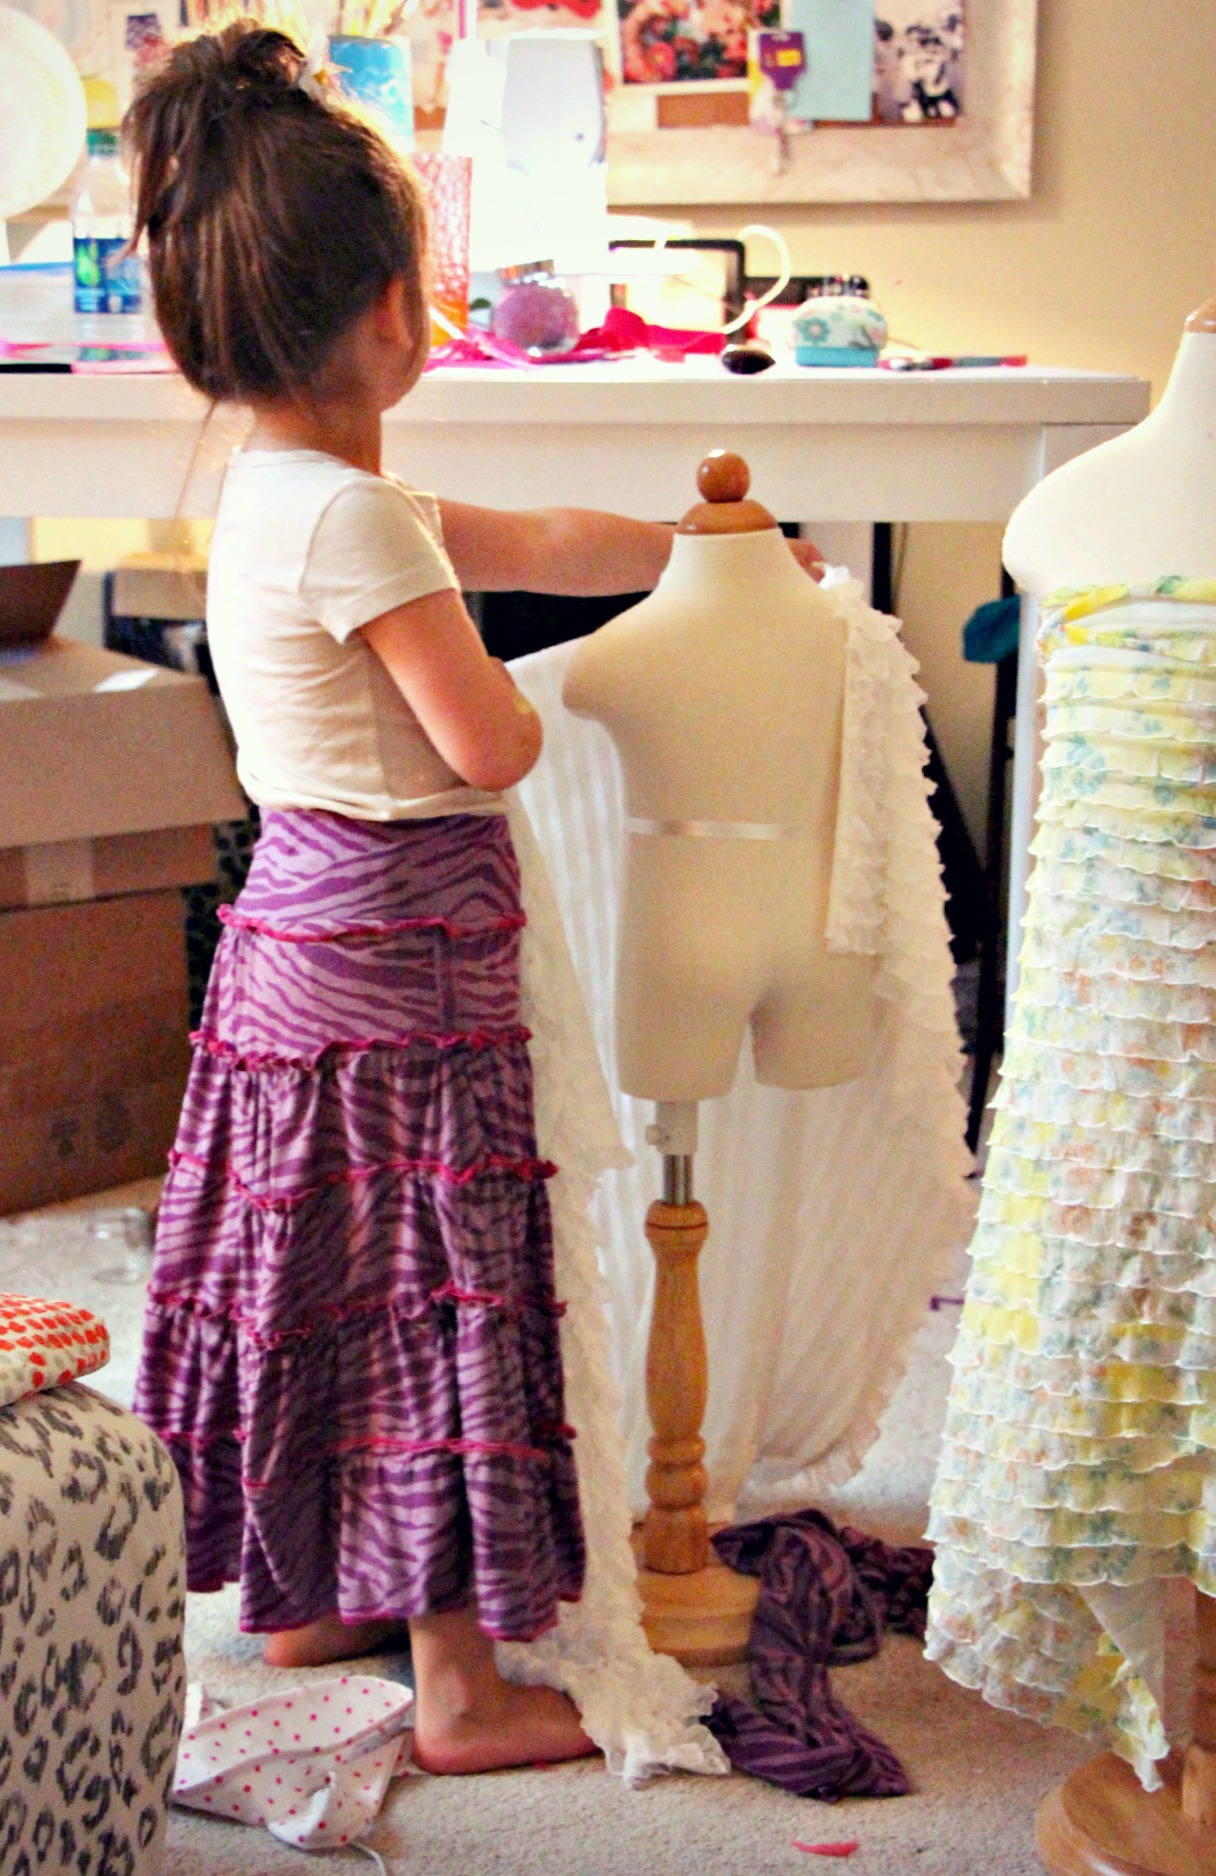
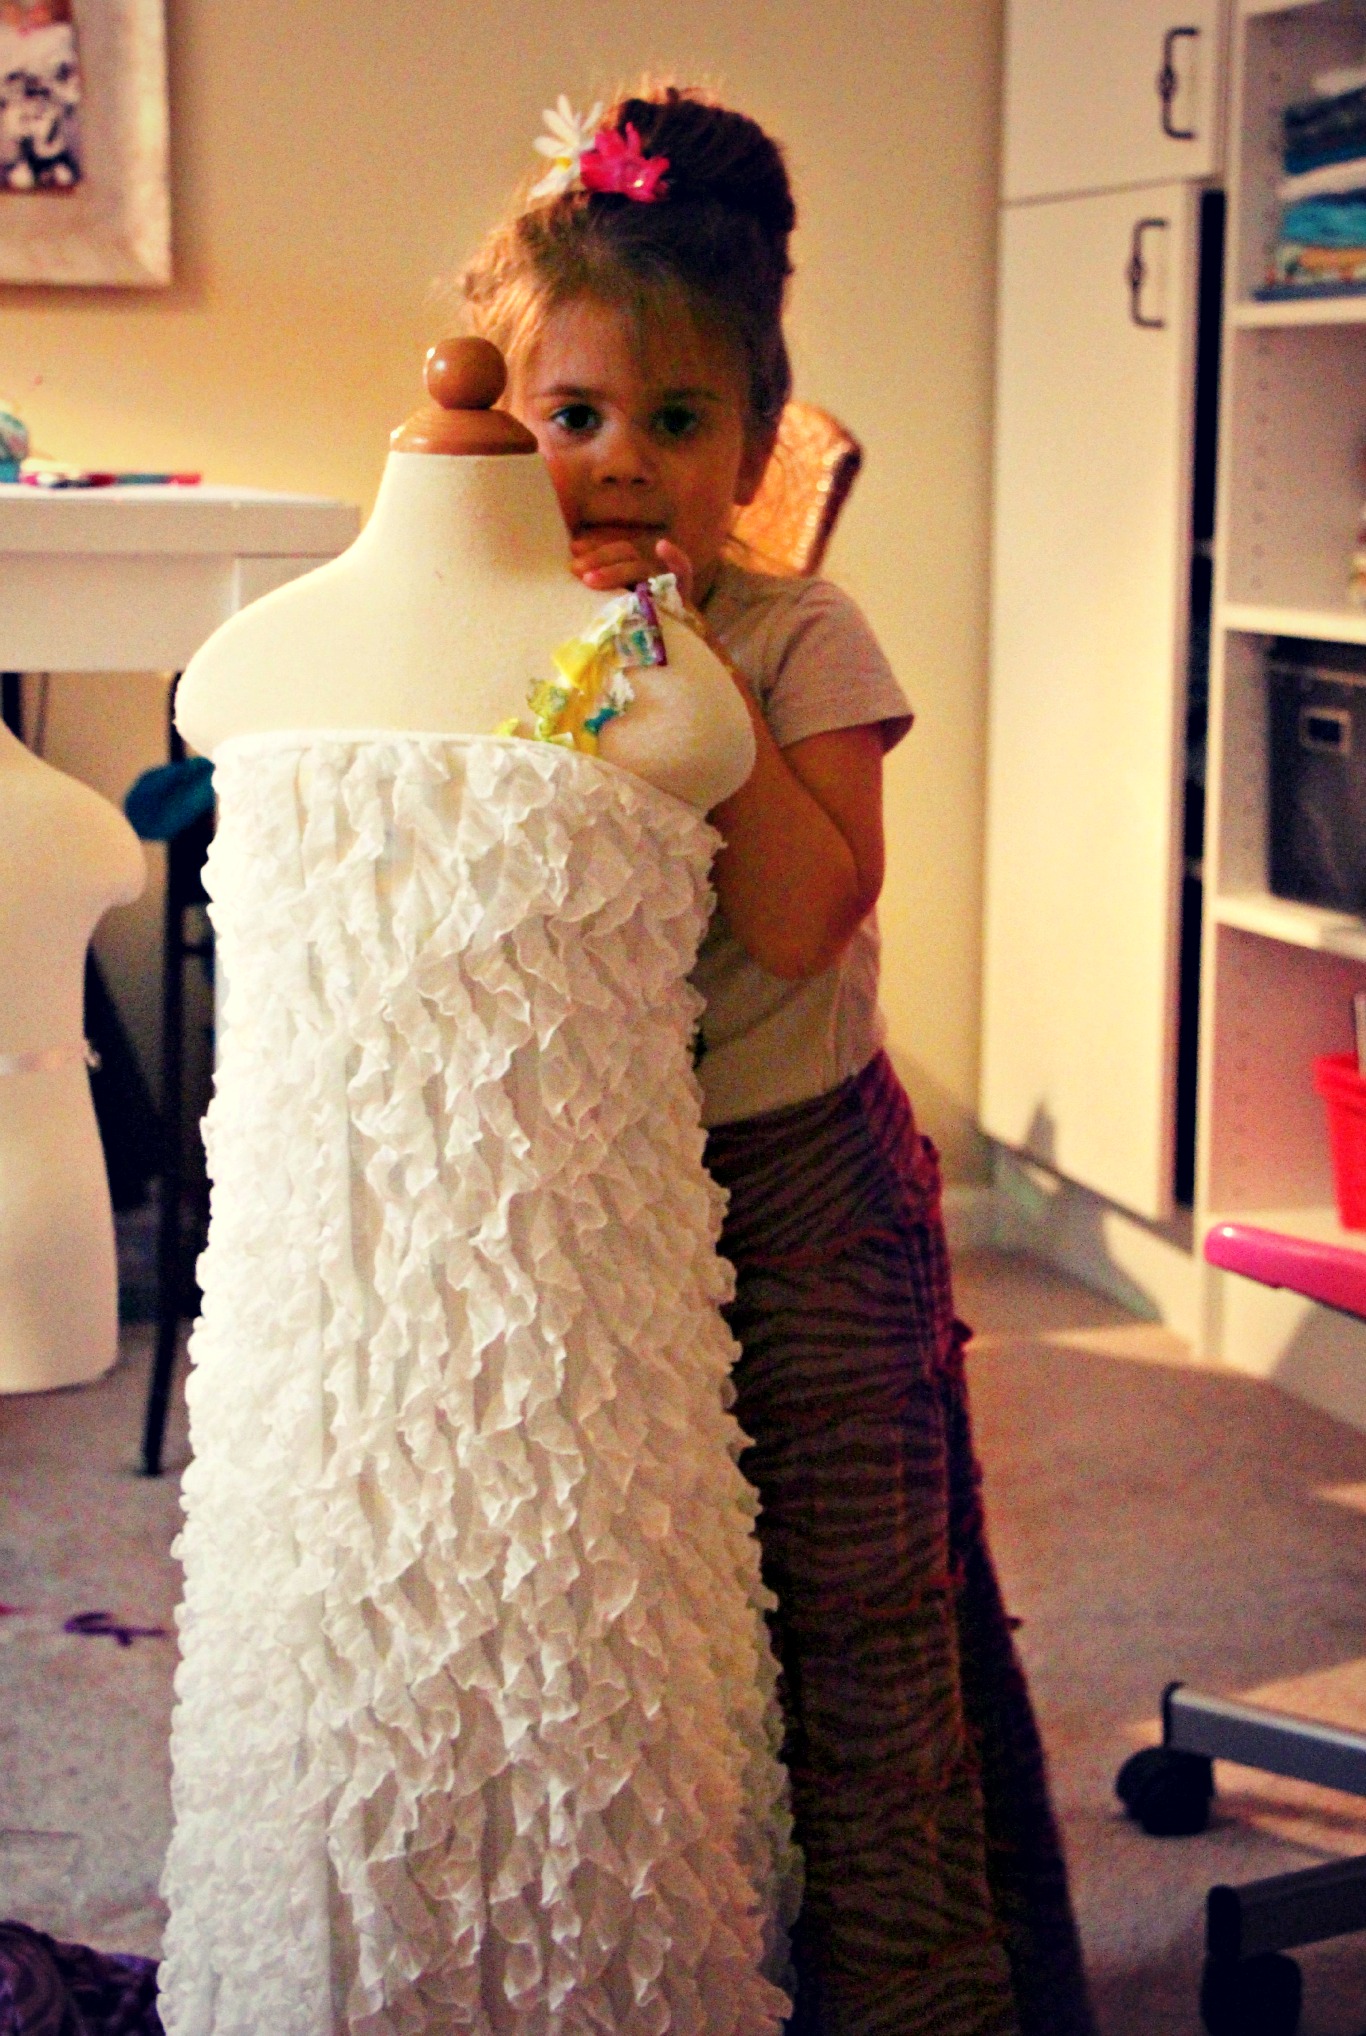
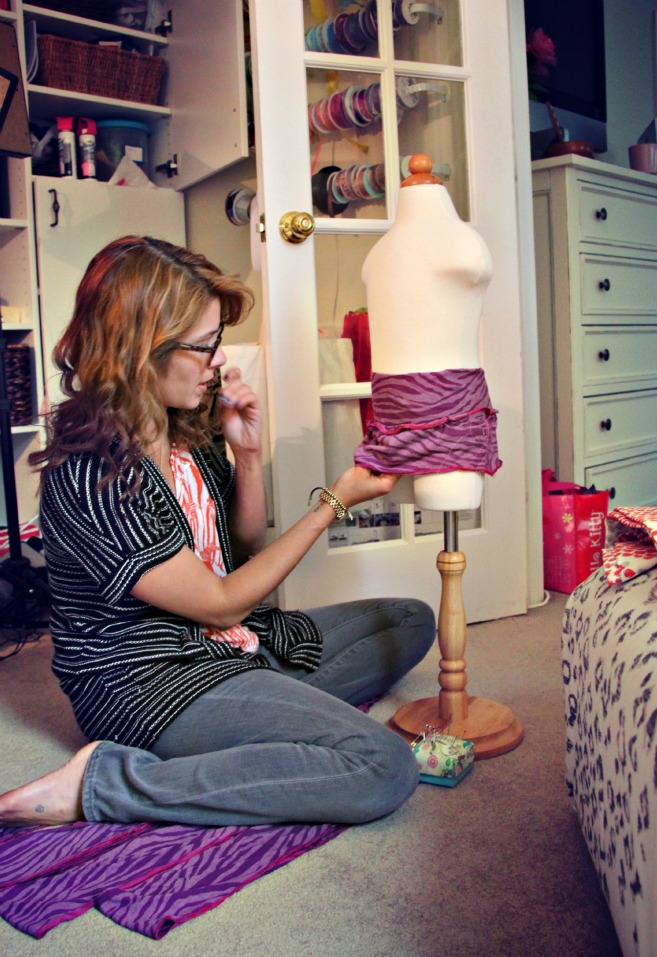
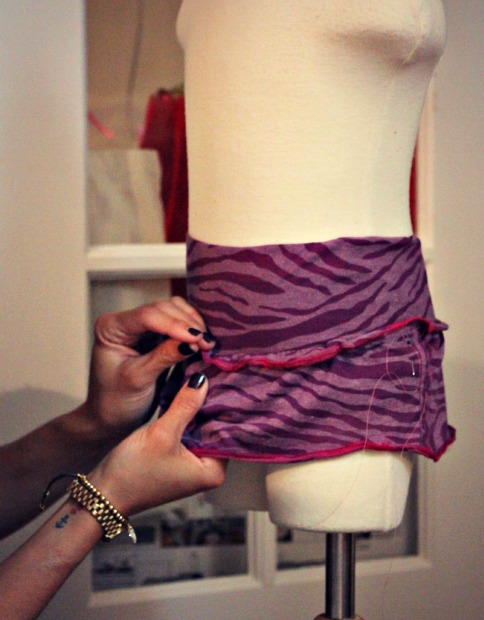
For each tier you’re going to need to stitch a gathering stitch along the top around a 1/2″ down. You’ll use this to gather the fabric enough so it fits into the previous tier. For me this is when a dress form comes in might handy. Continue gathering each tier to fit the previous, starting with the waistband, pin into place & then stitch into place. After the tier is attached you can remove the gathering stitch. Continue all the way to ground sista!
I sure hope this tutorial makes sense to you, it’s actually really easy to make a tiered skirt once you get started. Forgive me if I over complicated any steps. Sophie Monster is getting her 2 year molars & has been up all night for the last two nights, my brain is FRIED.
If you’re looking for some other skirt tutorials that are probably written far more eloquently head on over to Crafterhours. Also a big thankyou to Adrianna & Susan for inviting me to participate & for being extra patient with me! Love you two!!
Past skirt week tutorials from Little Pink Monster, The Graffiti Skirt & The Circle Skirt:


How do you not have your own TV Show? You’re like the Martha Stewart of our generation!
Also, totally random – but do you have a tattoo on your wrist? I loooove anchors; which would explain why I’m weird and noticed it haha
Aww, if only!
I do in fact have a wrist tattoo, good eyes! It’s one red heart for P, two pink hearts for the girls & an anchor to remember Parker, our sheltie. We always joked he was a salty sea captain in a past life. (:
That has to be the cutest tattoo idea ever (mostly because I’m a sucker for dogs – I’m dying to get my dogs paw print tattooed).
I used to sew a lot and I am starting back up again for the grandchildren in my family. I LOVE this skirt and I really like your blog and all of your great ideas. I am going to make a few of these each for the three granddaughters. Thank you for such a simple, beautiful pattern. I think I am going to make me one too!
I love that your Sam is all about the maxi skirt. I don’t think my daughter wore a long skirt until she was about 10, which was last year!
I swear she thinks she’s 17. In fact sometimes she says she’s a teenager!
tier one is 30 inches times 5 inches? 150 inches? or is it 30 inches plus 5 inches?
Sorry! It’s 30 inches by 5 inches
Couldn’t help but notice how you have your ribbon organized and hanging- what is it on? looks awesome…and like something I desperately need. I can’t wait to make one of these maxis for my girl 🙂
OH those are actually curtain rods! I really should blog about it but I keep forgetting, thanks for the reminder! (:
What stitch did you use to sew the knit? LOVE the skirt! Will be making one for my little girl!
Thanks! I used a zig zag so it would stretch with the fabric…
Thanks!
I don’t understand how you pinned each tier to each other??? I don’t get how the tiers are attached and sewed? Please help! Thx!
How much fabric would I need for this size ?