You know, I’ve found that sometimes some of the simplest how-to’s make the best posts. I bought this ‘Faith’ necklace while I was in Florida & I absolutely loved it but the length was just too long, I wanted to wear it with my ‘Loved’ necklace P gave me but they just kept getting tangled. I thought, simple, I know how to shorten chain & reattach the clasp, I’ll just DIY it. Then I remembered how my friend Stacy was over awhile back & I was complaining to her about my baking dish that for the life of me I could NOT get off the baked on gunk. She shrugged & said, well did you try baking soda? Huh? Baking soda for dishes? I had no idea, but guess what, it got off every bit of that nastiness & with minimal scrubbing! It made me think that it’s kind of the same thing if I share with you just how easy it is to adjust a necklace’s length. After all, that’s the perk of having girlfriends right? We get to help eachother out by sharing our own little tidbits.
(Everything I use you can easily buy at your local craft store. Both JoAnn’s & Michaels have a great jewelry making section.)
First, I used some wire clippers (worth buying a pair if you don’t have any, it’s a handy little tool to have around) to snip off the clasp. Make sure you cut the chain, not the actual loop that is attached to your clasp.
The next step depends on how big the links in your chain are…I’ll show you both ways so you’ll know how to fix all sorts of chains.
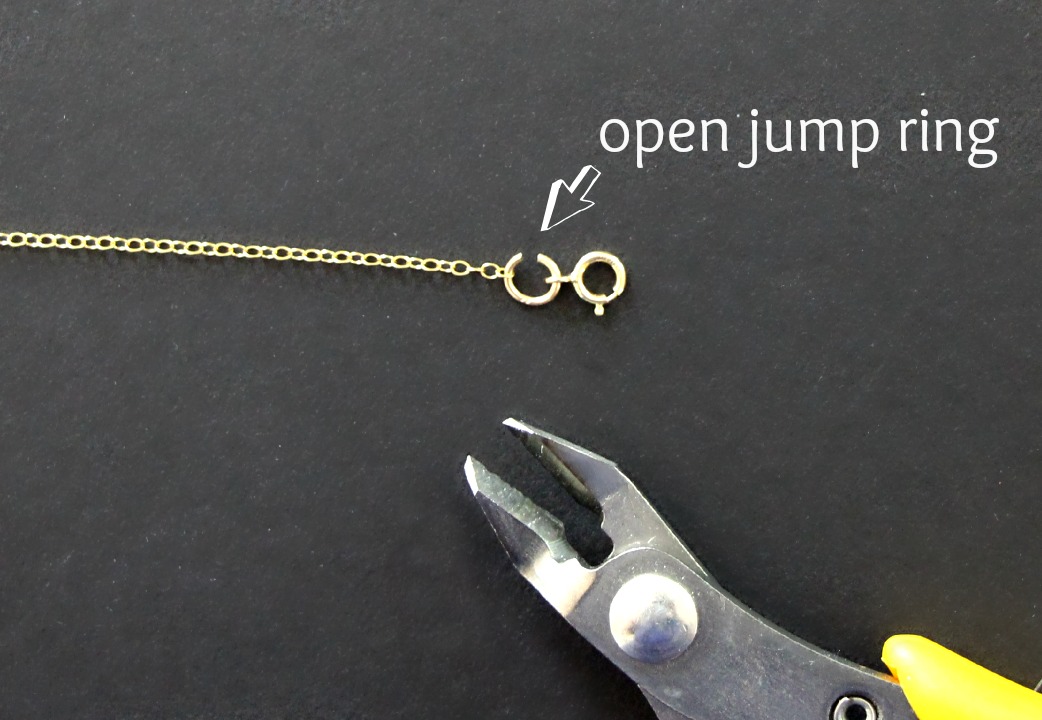
1- If your chain has big enough links for a jump ring (jump rings are small metal circles that can either be open or closed, you want open ones but if you only can find closed just use your clippers to snip them open) to fit through one of the links then you’re in luck because this is going to be super easy. Simply clip the chain to your desired length (I usually hold mine around my neck while looking in the mirror so I can see exactly how much I need to cut off, I mark the spot with my fingers & then clip the chain) & then insert a jump ring into the last link. Next slide the loop on your clasp onto the same jump ring your chain is now sitting on & then using a pair of needlenose pliers (another jewelry tool that has never ending usefulness) close the jump ring. Make sure the ring is completely closed so there’s no chance of the chain slipping out, sometimes I even squeeze my jump rings into a bit of an oval when I’m closing them just to be extra certain it’s shut nice & snug. That’s it, you’re done!
2- If the step above does not work because the chain links are too tiny to fit a jump ring into then you’ll need to use an eyepin to reattach your clasp. No worries though, even though this step will take a smidge more skill it’s still completely beginner! First open the eye on your pin (that’s the loop at the end) enough to slide the chain onto, then press it closed. Next you’re going to hold the eye pin with your needlenose pliers & use the curve of the tip of the pliers as a guide to bend the wire into a second loop that’s closely behind the original eye. (I didn’t show this in the pics below because, well, I forgot, but after #2 below you need to slide the loop that’s attached to your clasp onto the new eye you just made. This way once you’ve finished wrapping the wire around you’ll have secured your clasp!) After you form the loop continue to wrap the wire around itself 2 or 3 times & then clip off the excess. If the cut edge is sharp just press it down with your pliers. 
 Tada! Now admire your handiwork & pat yourself on the back for pulling off a simple yet handy DIY project.
If you ever think of a simple DIY task that you’ve always wanted to know how to do please leave it in the comments below & maybe I can show you the step by step in a future post!


