So, what to do with all of those leftover “picked” strawberries from yesterday? Hmm, there’s only one logical explanation…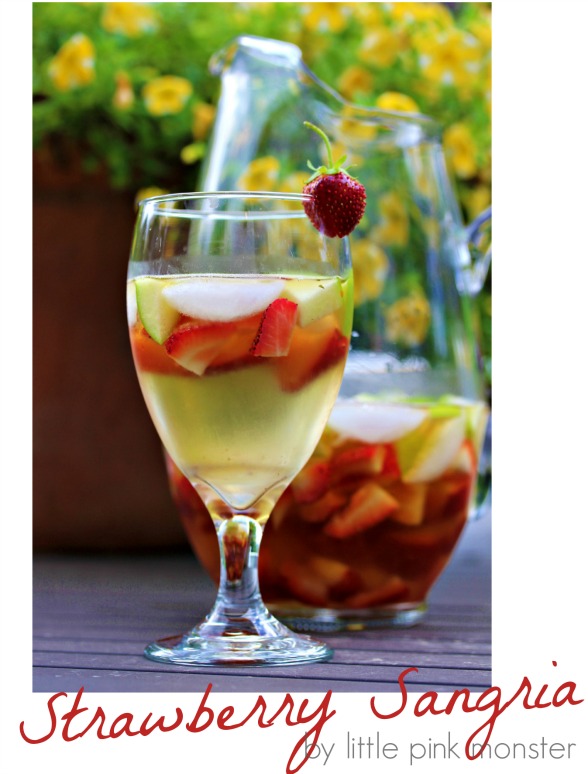
by Natasha on in Uncategorized
So, what to do with all of those leftover “picked” strawberries from yesterday? Hmm, there’s only one logical explanation…
by Natasha on in dinner 101
The other day I took the girls to pick their own strawberries & sweet peas. I thought it’d be lovely to spend some quality time together outside on a gorgeous day but my sneaky underlying intention was I wanted to find a way to get Sam to eat a strawberry. Yup, the kid has never had a strawberry. At least not since she was a baby. She will NOT eat fruit. Loves sweets, will tolerate vegetables but fruit…won’t do it. She was intrigued however by the thought of picking her own & since strawberries are pink they seemed like an ok first fruit to try. The way those little glitter wheels of her turn… We made a deal, she would bake the strawberries with me into cupcakes & then eat them. I realize baragaining with my daughter to eat a strawberry cupcake may seem like the most ridiculous nonsense you’ve ever heard of but it’s baby steps people, baby steps. So off to pick we went!
(I swear they demanded they wear their matching pink strawberry dresses. I’ll go pretty far but even I won’t go that far unless forced.)
Overall, I’d say it went pretty well. Sam even played with a bug! A ladybug of course, because it has a stylish outfit on I’m sure, but it is in fact a BUG. We also brought home lots & lots of juicy berries!
So on with the plan right? Wrong.
No one told me that fresh berries are different than store bought berries. No one told me that if I leave them sitting on the counter for a day or three they’d turn into a pile of moldy mush that was on the verge of turning into moonshine. Oops.
So I had a decision to make, be honest & ditch the berries along with the first opportunity to get my daughter to actually put a piece of fruit into her mouth or LIE. So I went to the grocery store while the kids were at camp today & lied. Lied & lied until this little pretty was sitting on my counter waiting for Sam to walk in the door.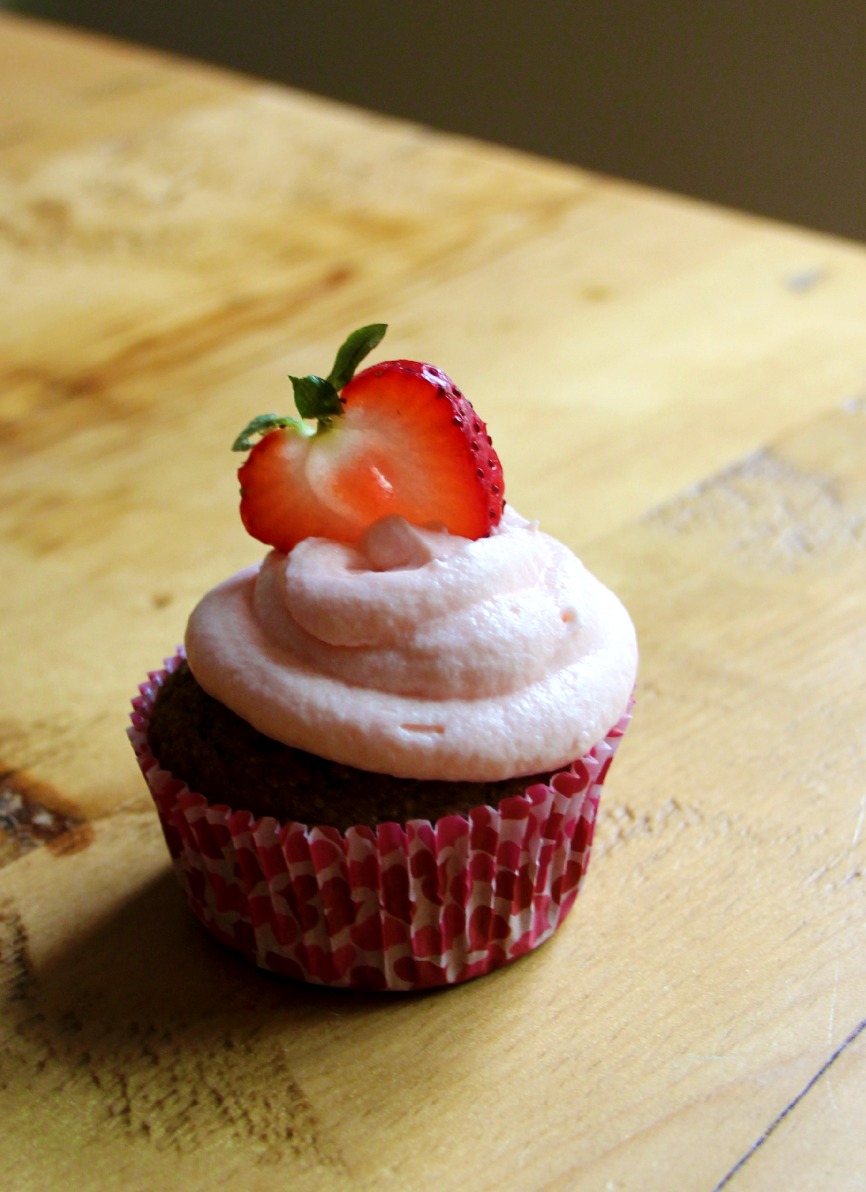
Looks like my little plan should have worked right?
Perhaps it was my guilt from using faux fresh picked berries or maybe it had more to do with the fact that I was trying so hard to get my child to consume a dessert but I decided at the last minute that I wouldn’t really make these cupcakes. I would make them muffins pretending to be cupcakes! Haha! Not only would she be consuming berries but also banana, applesauce & whole wheat flour! Oh yeah, and frosting. Life is all about compromise. I mean what kid, especially a pink obsessed one like Sam, wouldn’t at least try a bite of that little beauty? But as often happens when people tell a lie they go too far & eventually the lied to party smells a rat…
Even with a beautiful dollop of baby pink frosting on top Sam knew…she just knew because what I underestimated was that if you tell a kid they’re getting a cupcake they’re going to expect it to look & taste like…a cupcake. I don’t care if it’s the best ‘healthy’ muffin recipe in the world, it ain’t no cupcake. And without even taking a bite, she knew, and she still has yet to eat a strawberry.
Luckily Sophie Badger don’t care.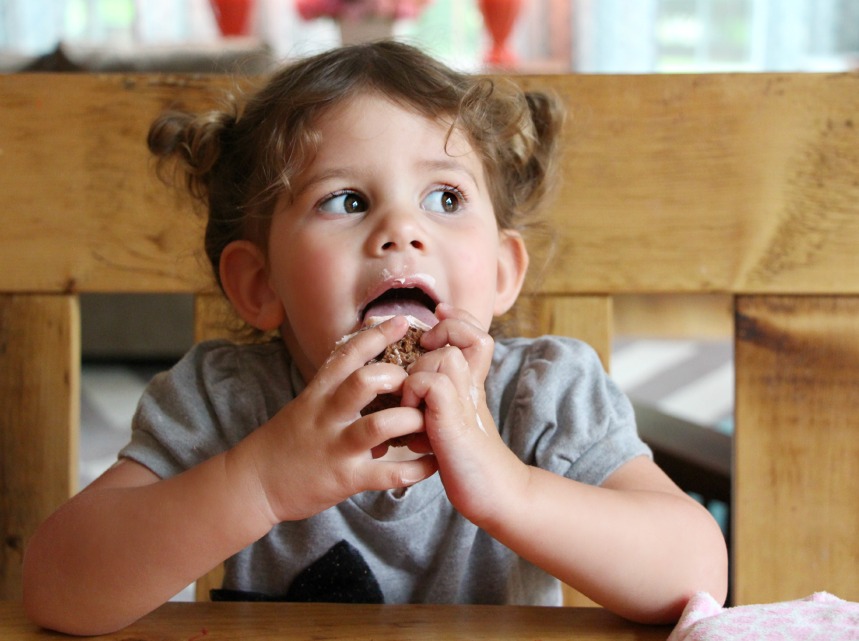
Also lucky is these aren’t bad muffins, like, at all. If you scrape the frosting off they actually make a pretty darn good breakfast on the go.
So here’s the recipe, make these muffins & enjoy them with your children, just don’t tell them they’re cupcakes. Because then you’ll be a liar. JUST. LIKE. ME.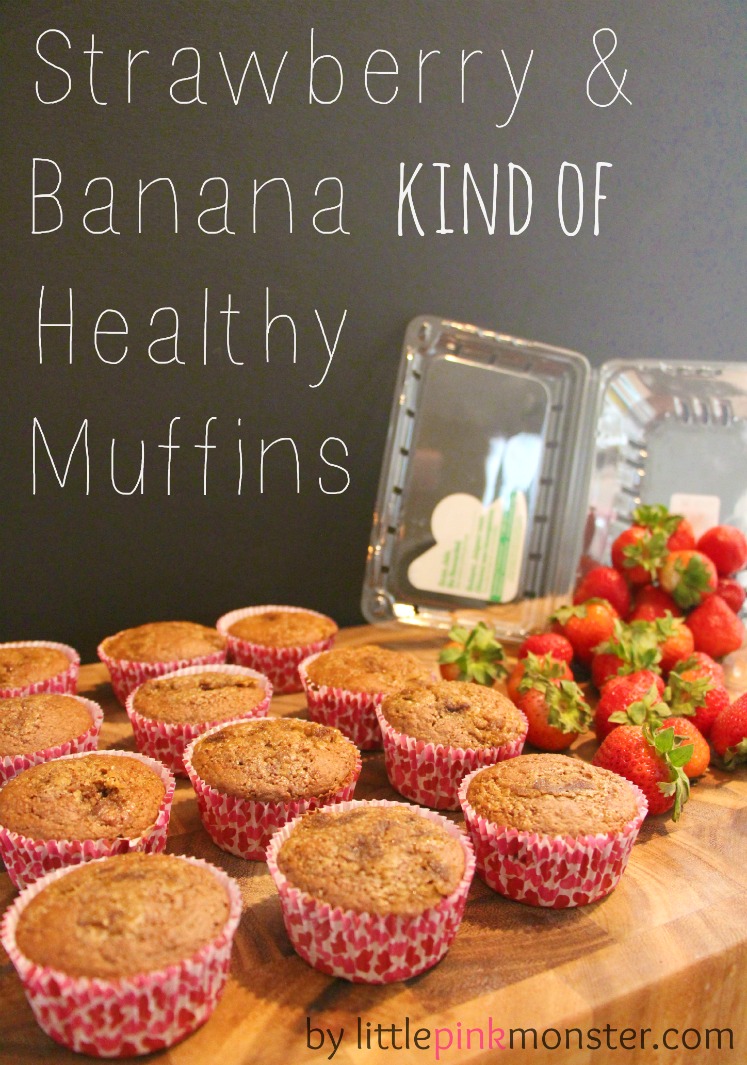
Strawberry & Banana kind of Healthy Muffins (adapted from this recipe by Sweet Treats & More) *makes 12 muffins
Shopping List
by Natasha on in dinner 101
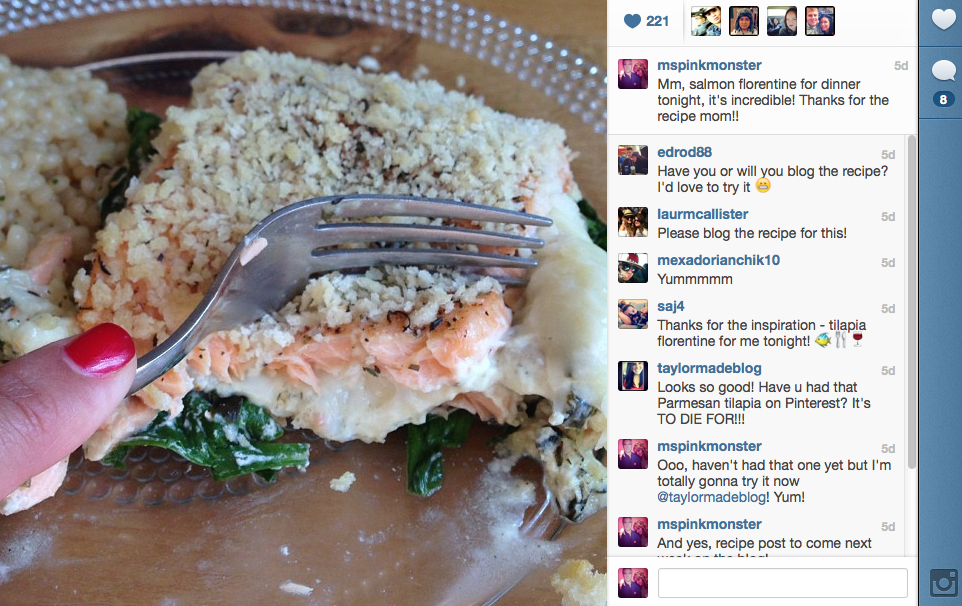
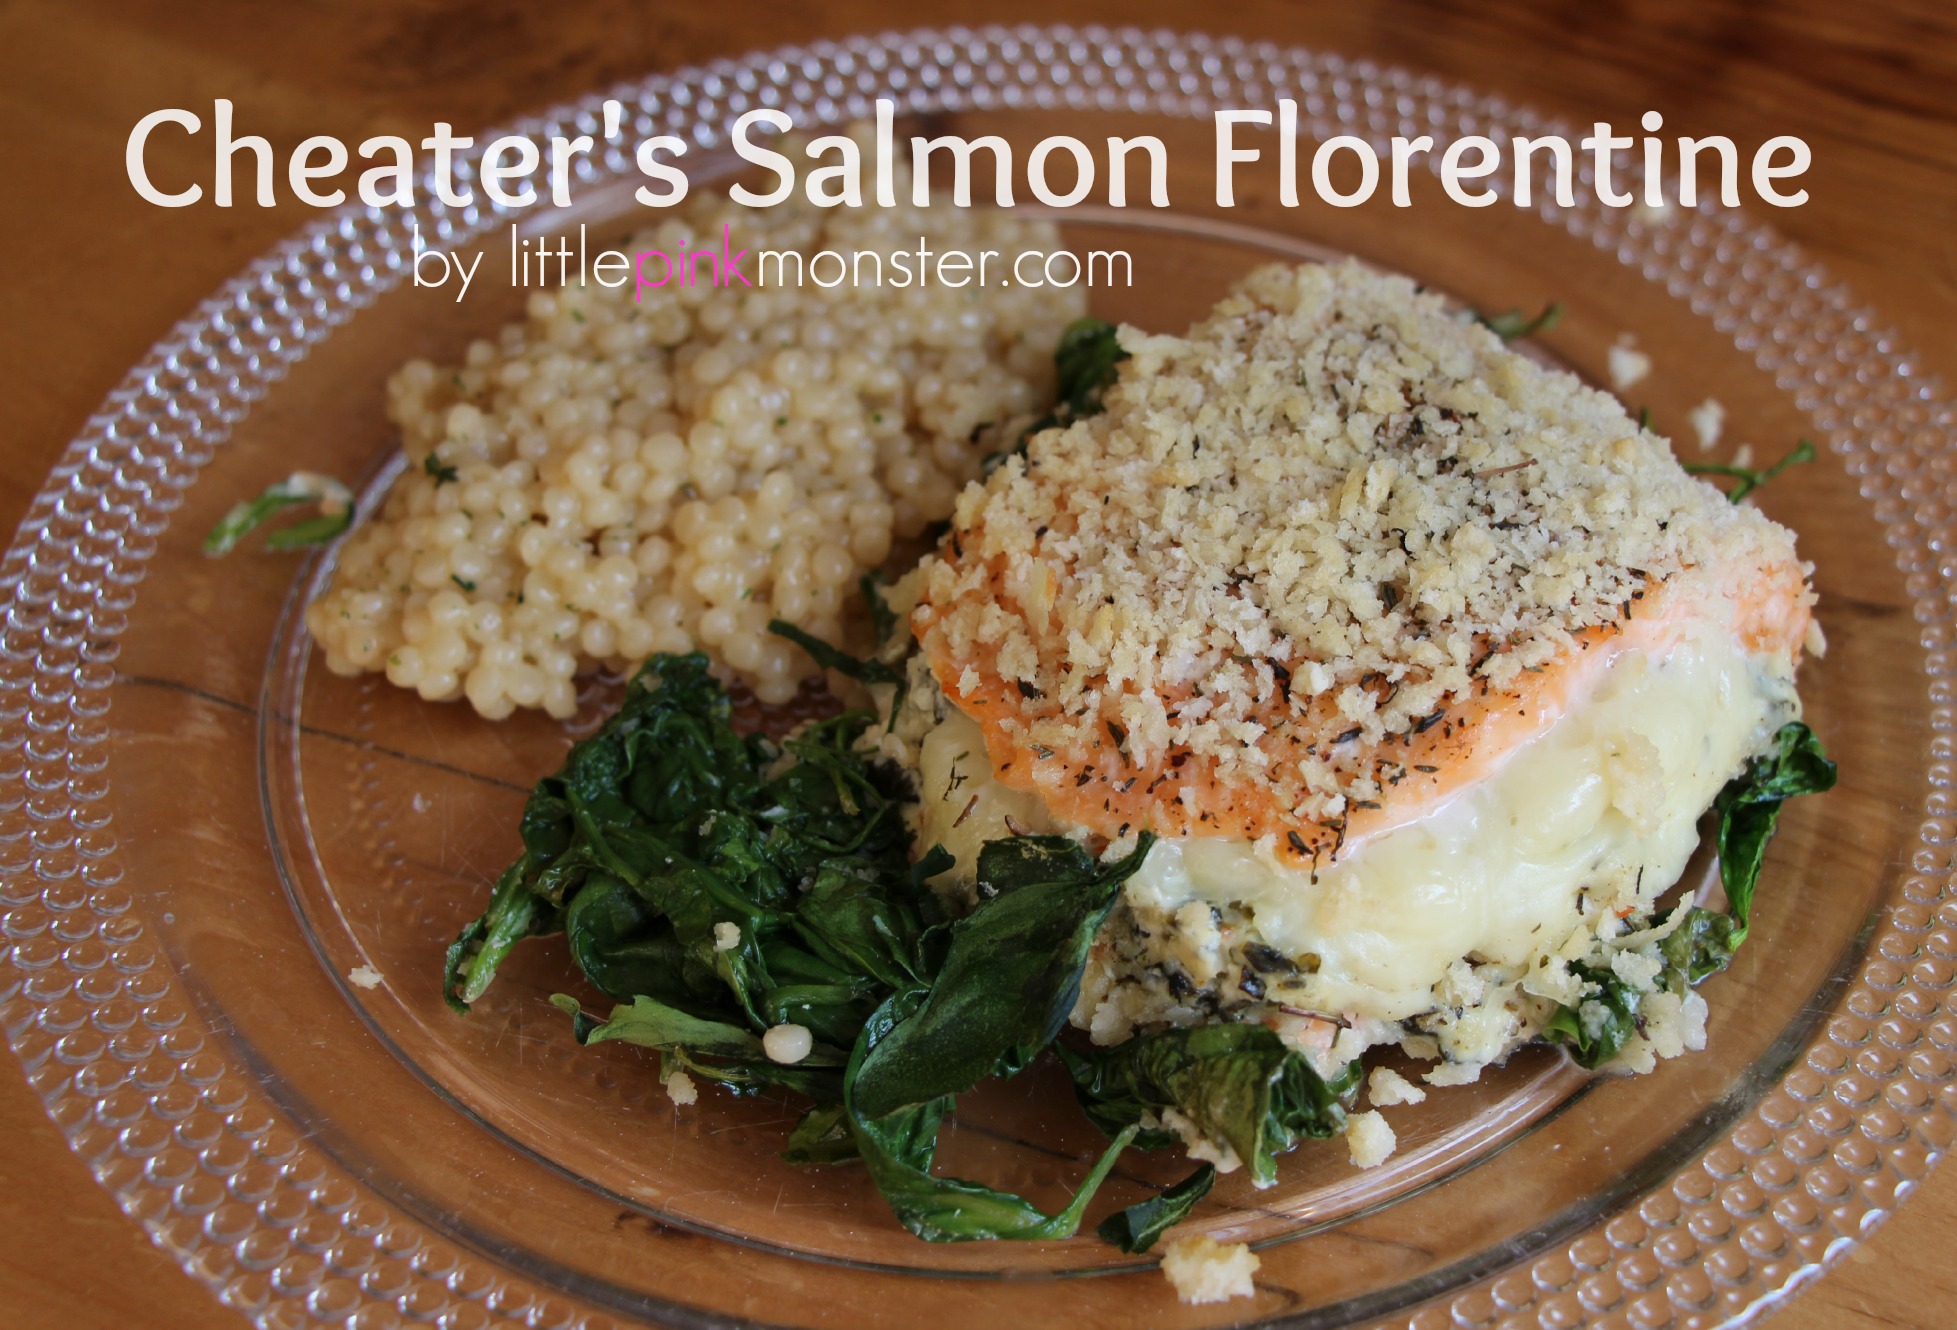 I made this last week & put the picture below on Instagram & Facebook & so many of you asked for the recipe that I had to put it up. There’s a bit of a secret to this dish though, it’s where the “cheater’s” comes from, (remember cheater’s broccoli cheese soup & the cheater’s chicken parmigana?) you don’t have to do anything more for the creamy spinach stuffing than to pick up a spoon & plop on some dip. Yup, spinach dip is your hero with this dish. (and since someone always asks…the nail polish is Big Apple Red
, the best pinup girl red ever!)
Start off by preheating your oven to 350, next grease (I used olive oil spray) a glass baking dish that’s large enough for all of your filets to sit comfortably. Line the bottom of the dish with about a half a bag of baby spinach.
I requested that my butcher cut me 3 salmon filets that were 80z each with the skin removed. So, that’s what I got. Simple as can be.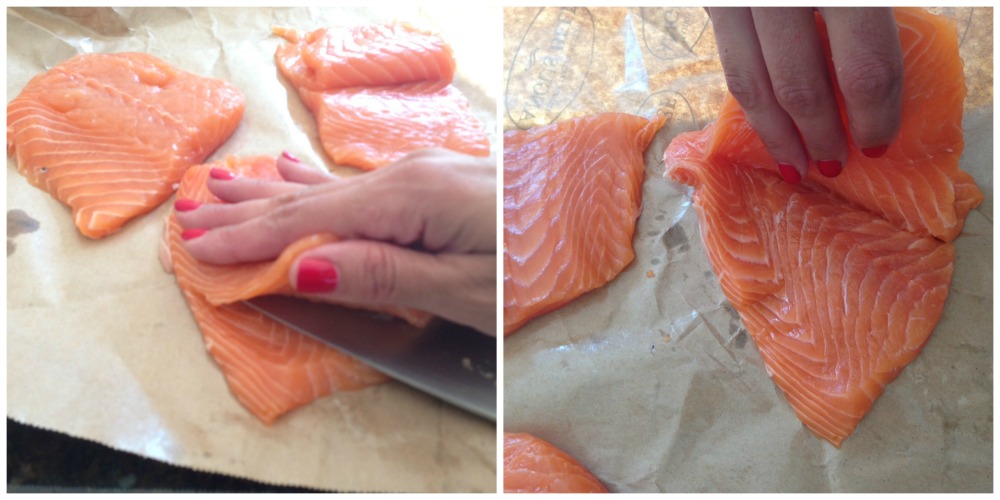
Now you need to cut your salmon (or chicken breasts if fish isn’t your thing) in half width-wise, I’ve found the easiest way to do this without completely butchering your piece of meat is to press one hand on top of the meat & then very slowly slice with your other hand. Every once in awhile stop & check to make sure you’re cutting evenly & stop before you get to the other end. We’re just making a pocket for the goodies. Place filets in baking dish.
Stuff each of your salmon filets with a good dollop of spinach dip & then a healthy sprinkle of 3 cheese blend. Close the fish lid & season well with salt, pepper, thyme & garlic powder. Next press a handful of panko breadcrumbs on top of each filet & then cover each filet with a good spray of olive oil cooking spray. This will help the breadcrumbs crisp up instead of getting mushy. Mushy bread & fish=gross.
Cook for 25-30 min or until salmon is opaque throughout. Serve with the spinach in the bottom of the pan as well as a creamy side like the garlic quinoa I made or perhaps a lemony orzo. Enjoy!
Shopping List:
Do you ever get your kid an awesome clothing item only to have them drop a big ol’ stain on it the first time they wear it?
That happened with this Garnet Hill ruched tank that I splurged on for Sophie Monster because it just looked too perfect with this ocean maxi. (of course the tank is on sale now…OF COURSE) ((Oh, & I highly recommend that maxi, just order a size up, it’s the cutest thing ever on!)) Point is, it’s part of an outfit so when she stained it at Nana’s house with some sort of crazy craft plaster she was doing who knows what with I was quite bummed. But then I thought….“Hmm, it’s just a quarter size stain right in the middle, maybe I should just cover it up? An iron on? No, it’d be awkward positioning…fabric paint? Yes! I’ll paint over it!”
I could have painted just one large item right smack in the middle of the tank but instead I wanted to do an allover print, something repeating that would be roughly the same size as the stain. Leopard? Maybe…but then I saw Soph’s Hello Kitty bathingsuit sitting on the floor (because why would it be in the bathingsuit drawer?? That would be just silly) & I knew I had to do little Hello Kitty heads all over. 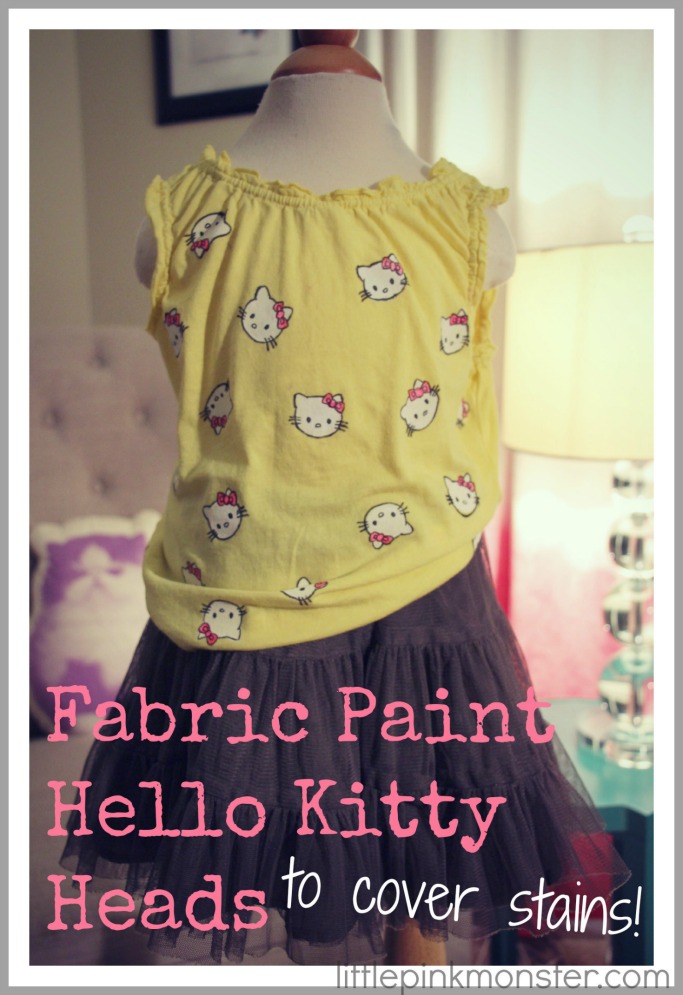
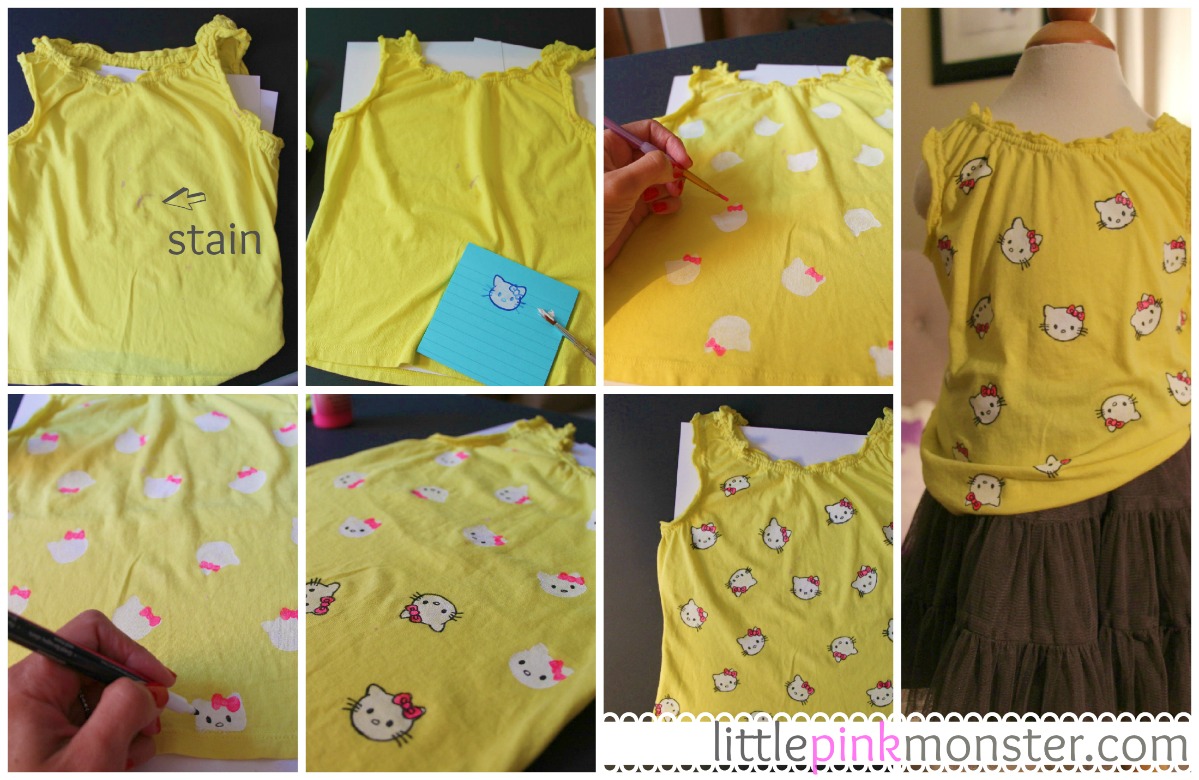
This is actually a lot simpler than it looks, & if Hello Kitty intimidates you (I really want to make a joke here that would go something like, “If Hello Kitty intimidates than you need to think about male organ replacement surgery” but I feel like that would be insensitive so…) feel free to substitute a simpler shape like stars or heck, even polka dots would be super cute. A stamp would also make this a breeze to do.
I started off by breaking down Hello Kitty, she’s basically a white oblong that’s a bit rounder on the bottom. Paint that with white fabric paint & next add two rounded white triangles for ears & you’ve got her head. Next I used a smaller paintbrush to add her pink bow over her right ear area. It covers most of her ear except for the tip. For the black outlining I switched to a fabric marker & drew two wide set circles for eyes & then an open oblong for her nose. What really gives her that Japanese cartoon look is the extra wide set eyes that are mostly round. I noticed this when I was making Soph’s ‘Ni Hao Kai Lan’ inspired Sunshine Rattle, I really love how expressive that look makes things. I finished off the cat by outlining her bow & then her face & adding three short, ever so slightly curved whiskers to each side. As always with fabric paint let it dry between layers & make it permanent by heat sealing it with a low iron.
Hopefully this tutorial will get your wheels turning next time your kid hopelessly stains a favorite item! And perhaps save their little ears from hearing a few choice words.
Oh, and in case you’re wondering why I chose to model the tank on a dress form instead of Sophie Monster…
It’s a good thing she’s cute.
There’s one downside to making an awesome homemade birthday gift.
You kind of have to make it again next year. And the next year. AND EVERY YEAR FOR THE REST OF YOUR LIFE!
Ok, a wee bit dramatic, but you really can’t create an awesome homemade birthday girl dress one year & then go out & buy a princess bath toy set the next. You know what though, that’s totally ok. It’s actually quite the compliment, because it means your gift didn’t suck. Your gift was GOOD. So good in fact that they actually want it again next year! There are worse problems to have.
Here’s the thing, I desperately wanted to make ‘birthday girl dresses’ for my two favorite little munchkins that I didn’t give birth to, Kiki & Rinney, but their birthdays completely snuck up on me (they have joint birthday celebrations) & the day before the party I thought,
“Crap.”
Then I thought, what the girls really loved about their dresses last year was not that they were home sewn but it was that they were personalized. Sooo why not skip the sewing & just use my silhouette machine & some iron on vinyl. (you could absolutely use freezer paper & fabric paint like I did in the post for the original personalized birthday dress for Kiki)
One quick trip to Target for the clothes & a couple of cute purses to put them in & know what my next thought was? 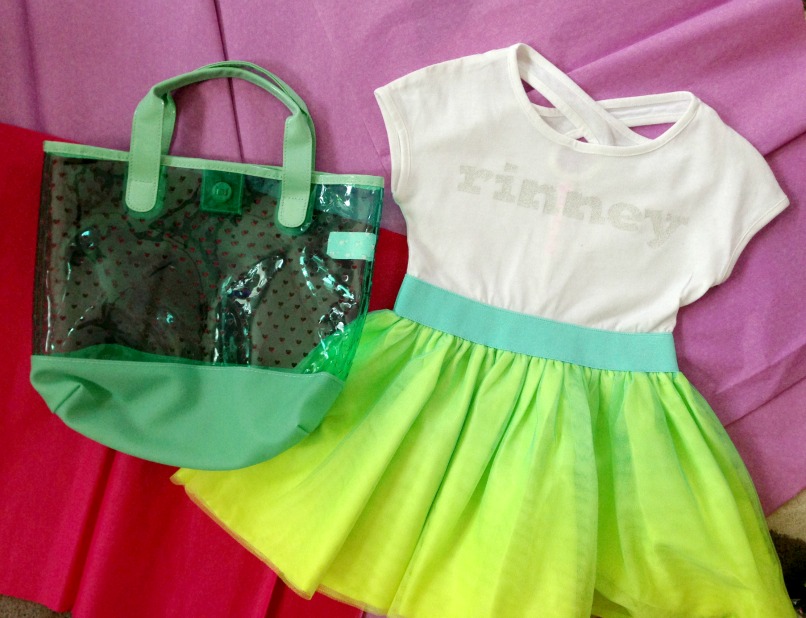
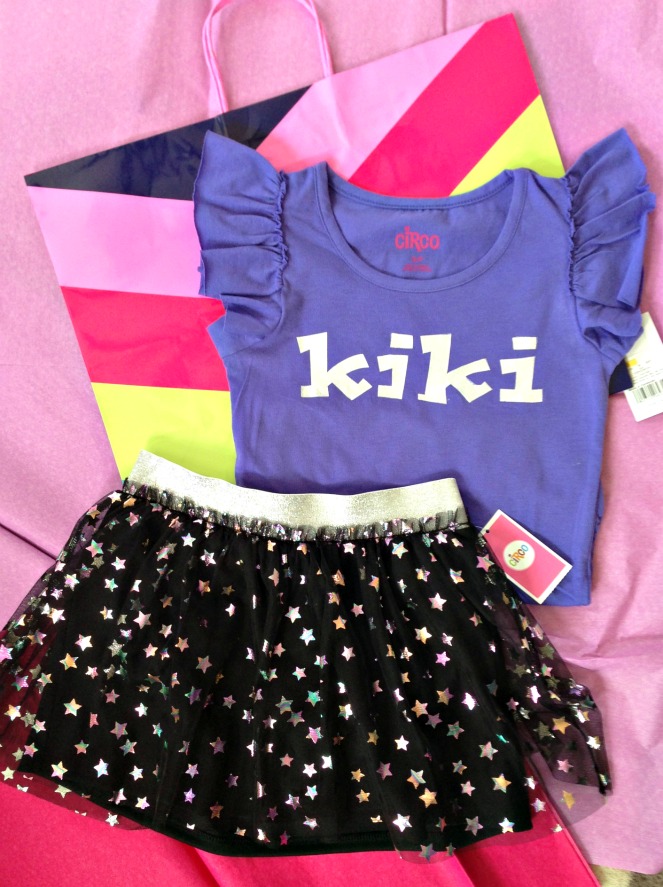
“Genius.”
Sometimes it’s better to craft smarter instead of fancier.
by Natasha on in Uncategorized
One thing I love, I mean really love, is finding a product I adore that’s handmade.
I love supporting artist & even better, other moms who are using their talents to make a buck.
Awhile ago I was blog surfing when I came across a room makeover post & on the little girl’s bed was a pink pillow with a kangaroo on it. Yup, a kangaroo. I had to have it. Luckily the blogger had a source list & that brought me straight to Jane Isa.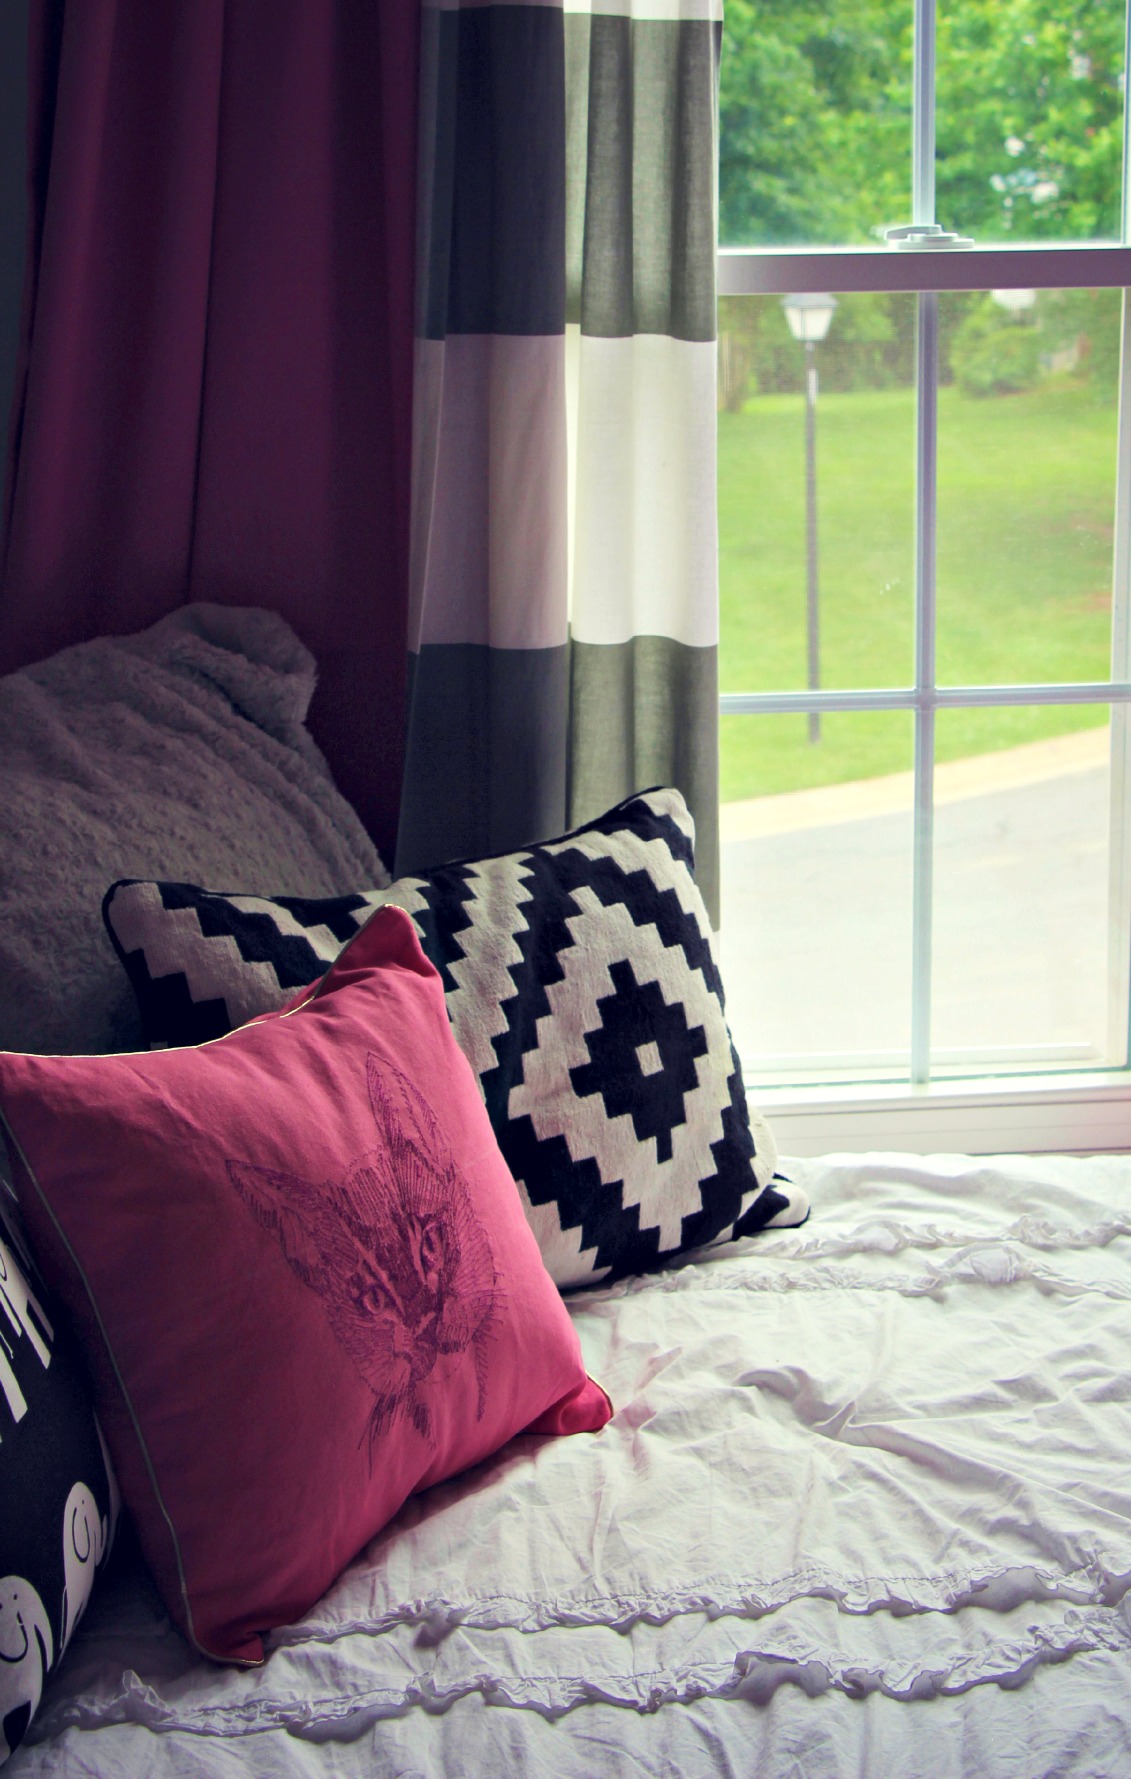
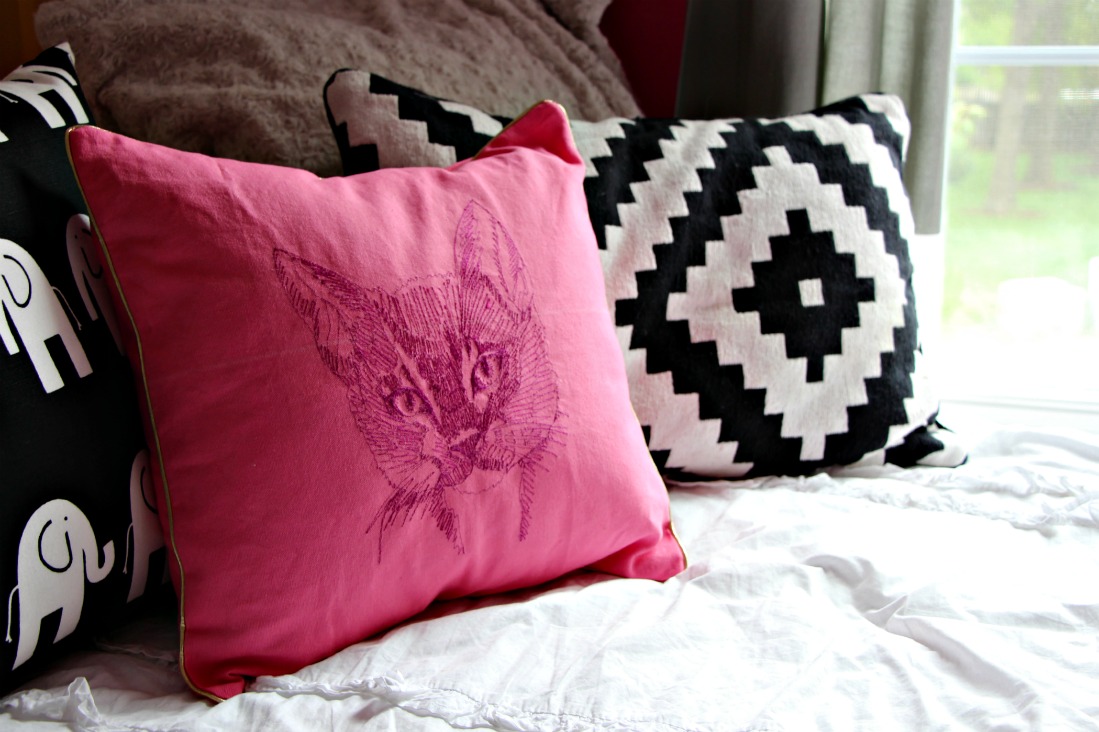 I emailed Jane asking if she could do the same fabulous hot pink pillow with gold piping but instead of a pink embroidered kangaroo could she do our portrait of our cat Rose. She was not only super excited about the project but even let me send her a picture of Rosy so she could get it just right. And boy did she do just that. Sam was over the moon when she saw it on her bed. While I was there, because I can’t just buy one thing, ever, I also ordered a stitched picture of a golden retriever so Luc wouldn’t feel left out. She’s a bit sensitive. Instead of a pillow this time she put Lu’s big mug on a canvas that now sits proudly on our bookcase.
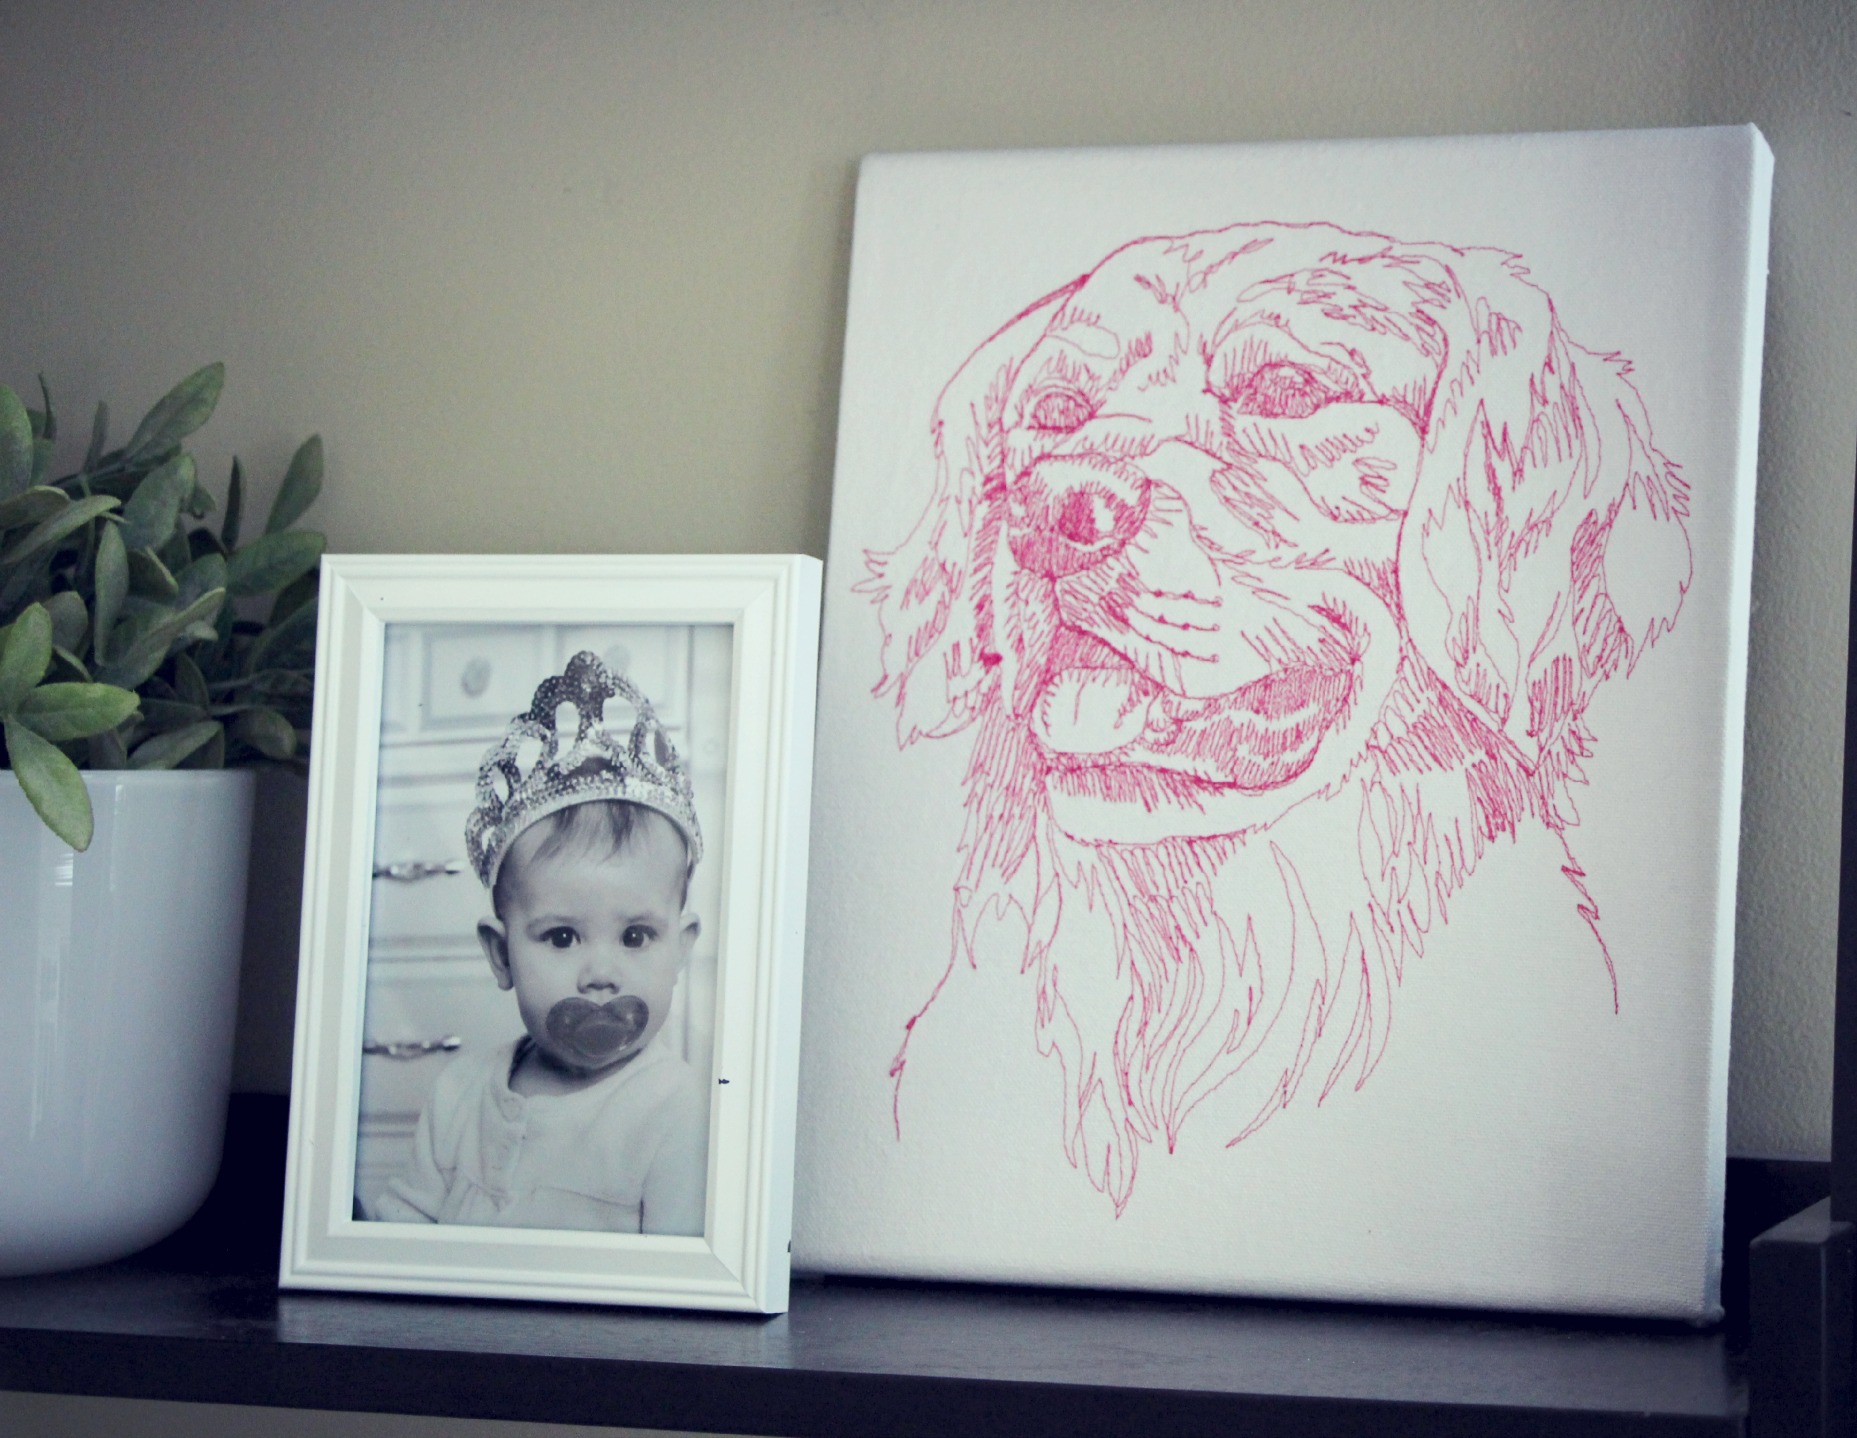 I just love the humor & kitschy feel these items bring to the house. That’s how I like my house…not too serious while still being stylish. Jane Isa is just that. Go check out her Etsy site, it’s totally worth a look.
by Natasha on in dinner 101
My only local crafty friend is leaving me. So sad. To be honest we talk more online than in person, even though we’re only 40 minutes apart & have kids the same age it’s just so darn hard to get together. Much less actually craft together. But I’m still sad to know I can’t drive to her house when I want to throw my Silhouette machine out the window.
We did manage to have one last get together in this past Friday night. P & I had Susan & her family over for dinner. I was originally planning on grilling a bunch of kabobs & burgers for the kids but then this massive rainstorm moved in & nixed those plans. Incredibly inconsiderate if you ask me. So the day of I was scratching my head going what the heck am I going to make for 8 people that doesn’t require too much of my time or a huge mess in the kitchen. I wanted to be able to actually socialize while she was here, you know? Then it hit me, LASAGNA.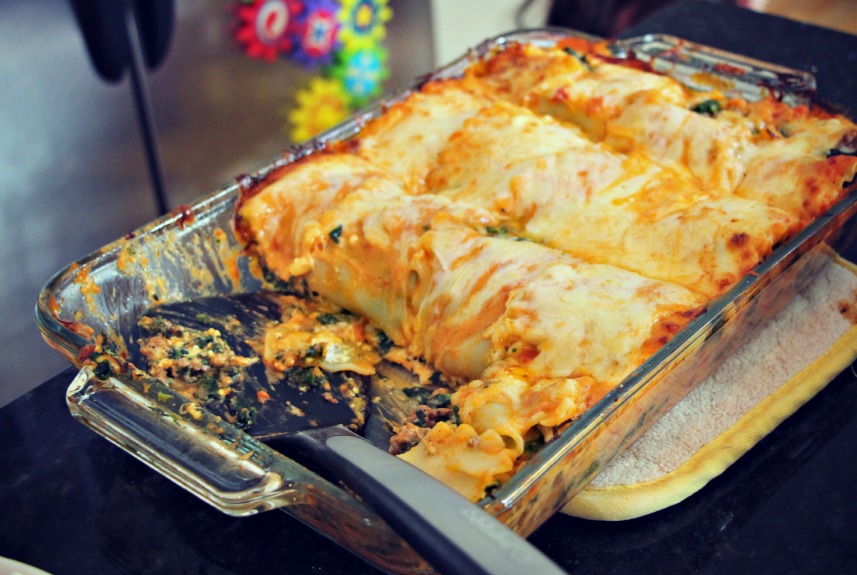
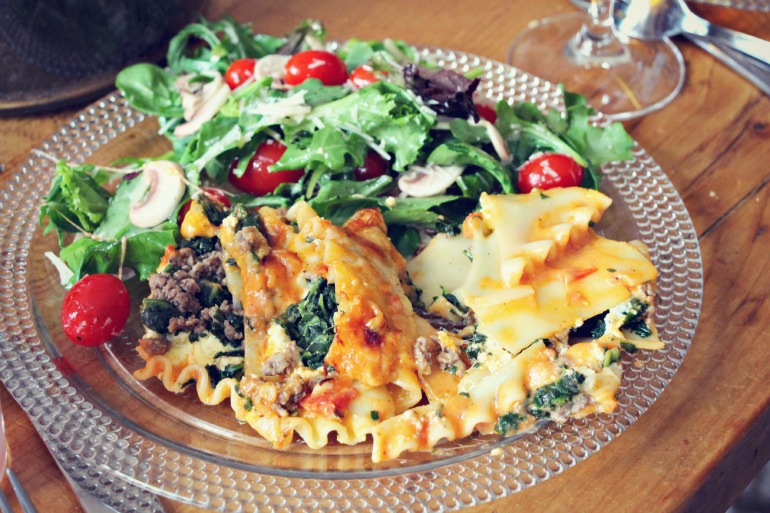
Somehow I’ve never made lasagna before. I think I found it a bit intimidating. You know, those big squiggly noodles and all. I turned to my all time favorite cook book, Everyday Italian, for help & like always Giada didn’t let me down. It was AMAZING & my favorite part is you can do all of the prep ahead of time & then just pop it in the oven when your guests are arriving.
You can find the complete recipe instructions here, the only thing I changed is I didn’t make the tomato sauce, I used jarred marinara & it was totally fine. Also the Bechamel sauce, don’t be afraid. Just keep stirring and when that stuff turns into a beautiful, velvety, silky smooth sauce you’re gonna be like, ‘Awww yeah, Gordon Ramsey come & get it!’
I’m actually eating the leftovers while I’m typing this. Three days later & it’s still good. Gotta love good leftovers.
So I entitled this post ‘No Tears Lasagna’ because I wanted it to be so good that neither of us could even think of crying when she left. I know that she’ll still be there for me when I need help with my invisible zipper foot or just want to commiserate with someone about this crazy mommy life.
Sometimes life feels so transient, like it’s just a series of people coming in & out of your life. I like to think each one serves a purpose, like they were meant to be there at just that time for a reason we may never know although it was special nonetheless.
It’s the most wonderful time, of the yearrrr….
It’s Skirt Week! Woohoo! I can’t believe this is my 3rd year creating a tutorial for the gals over at Crafterhours. I also can’t believe I used the word ‘gals’. What am I Paula Deen?
Anyway, this year it wasn’t too hard to figure out what type of skirt I should make because Sam is all about maxis. If it isn’t floor length she isn’t interested. As usual I also wanted to create a tutorial that is quick & simple & can be completed in a couple of hours. So here it is, the Tiered Knit Maxi Skirt for girls!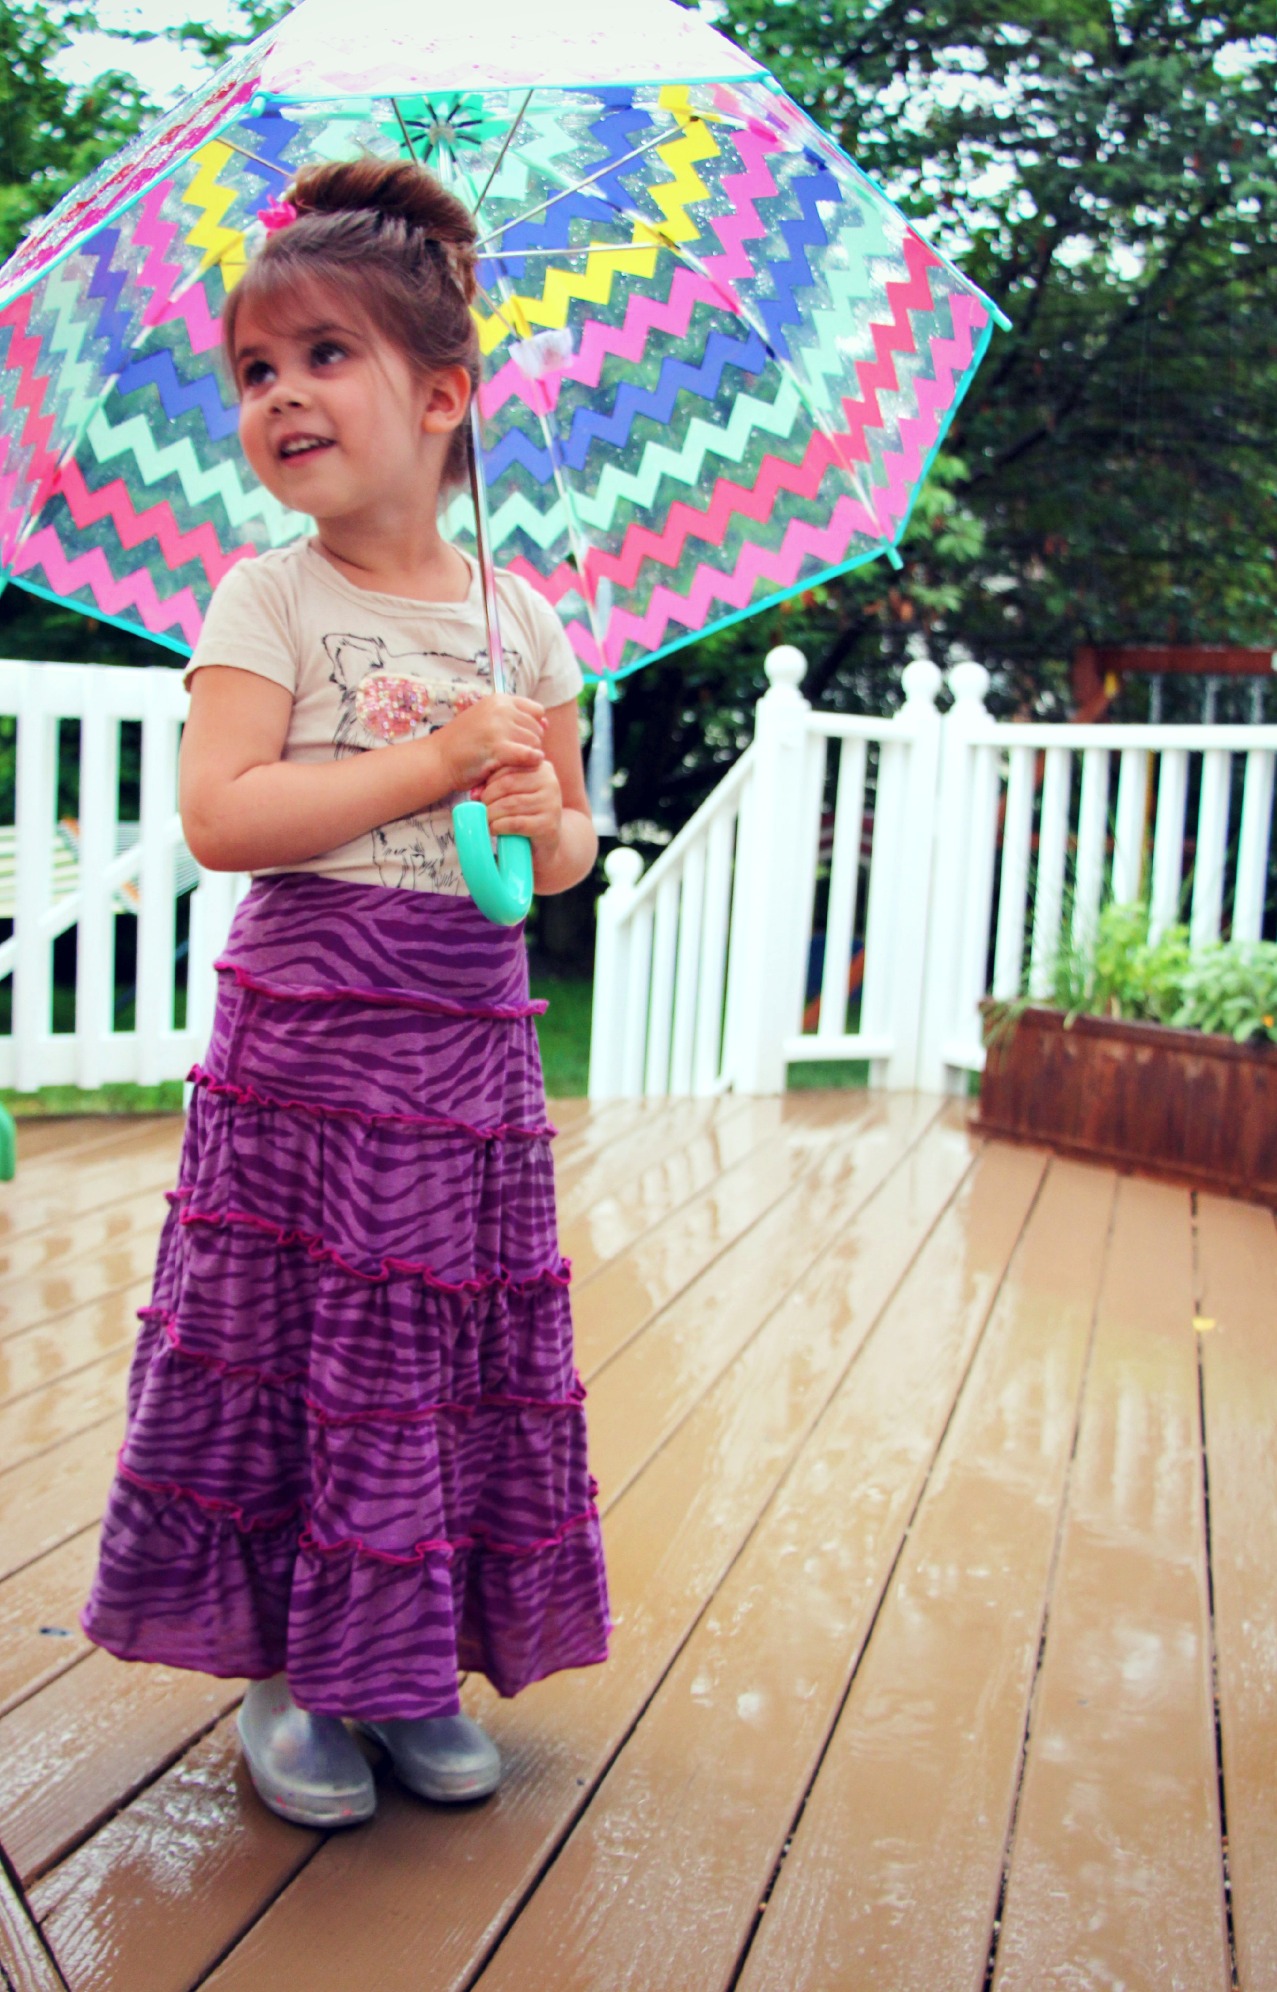
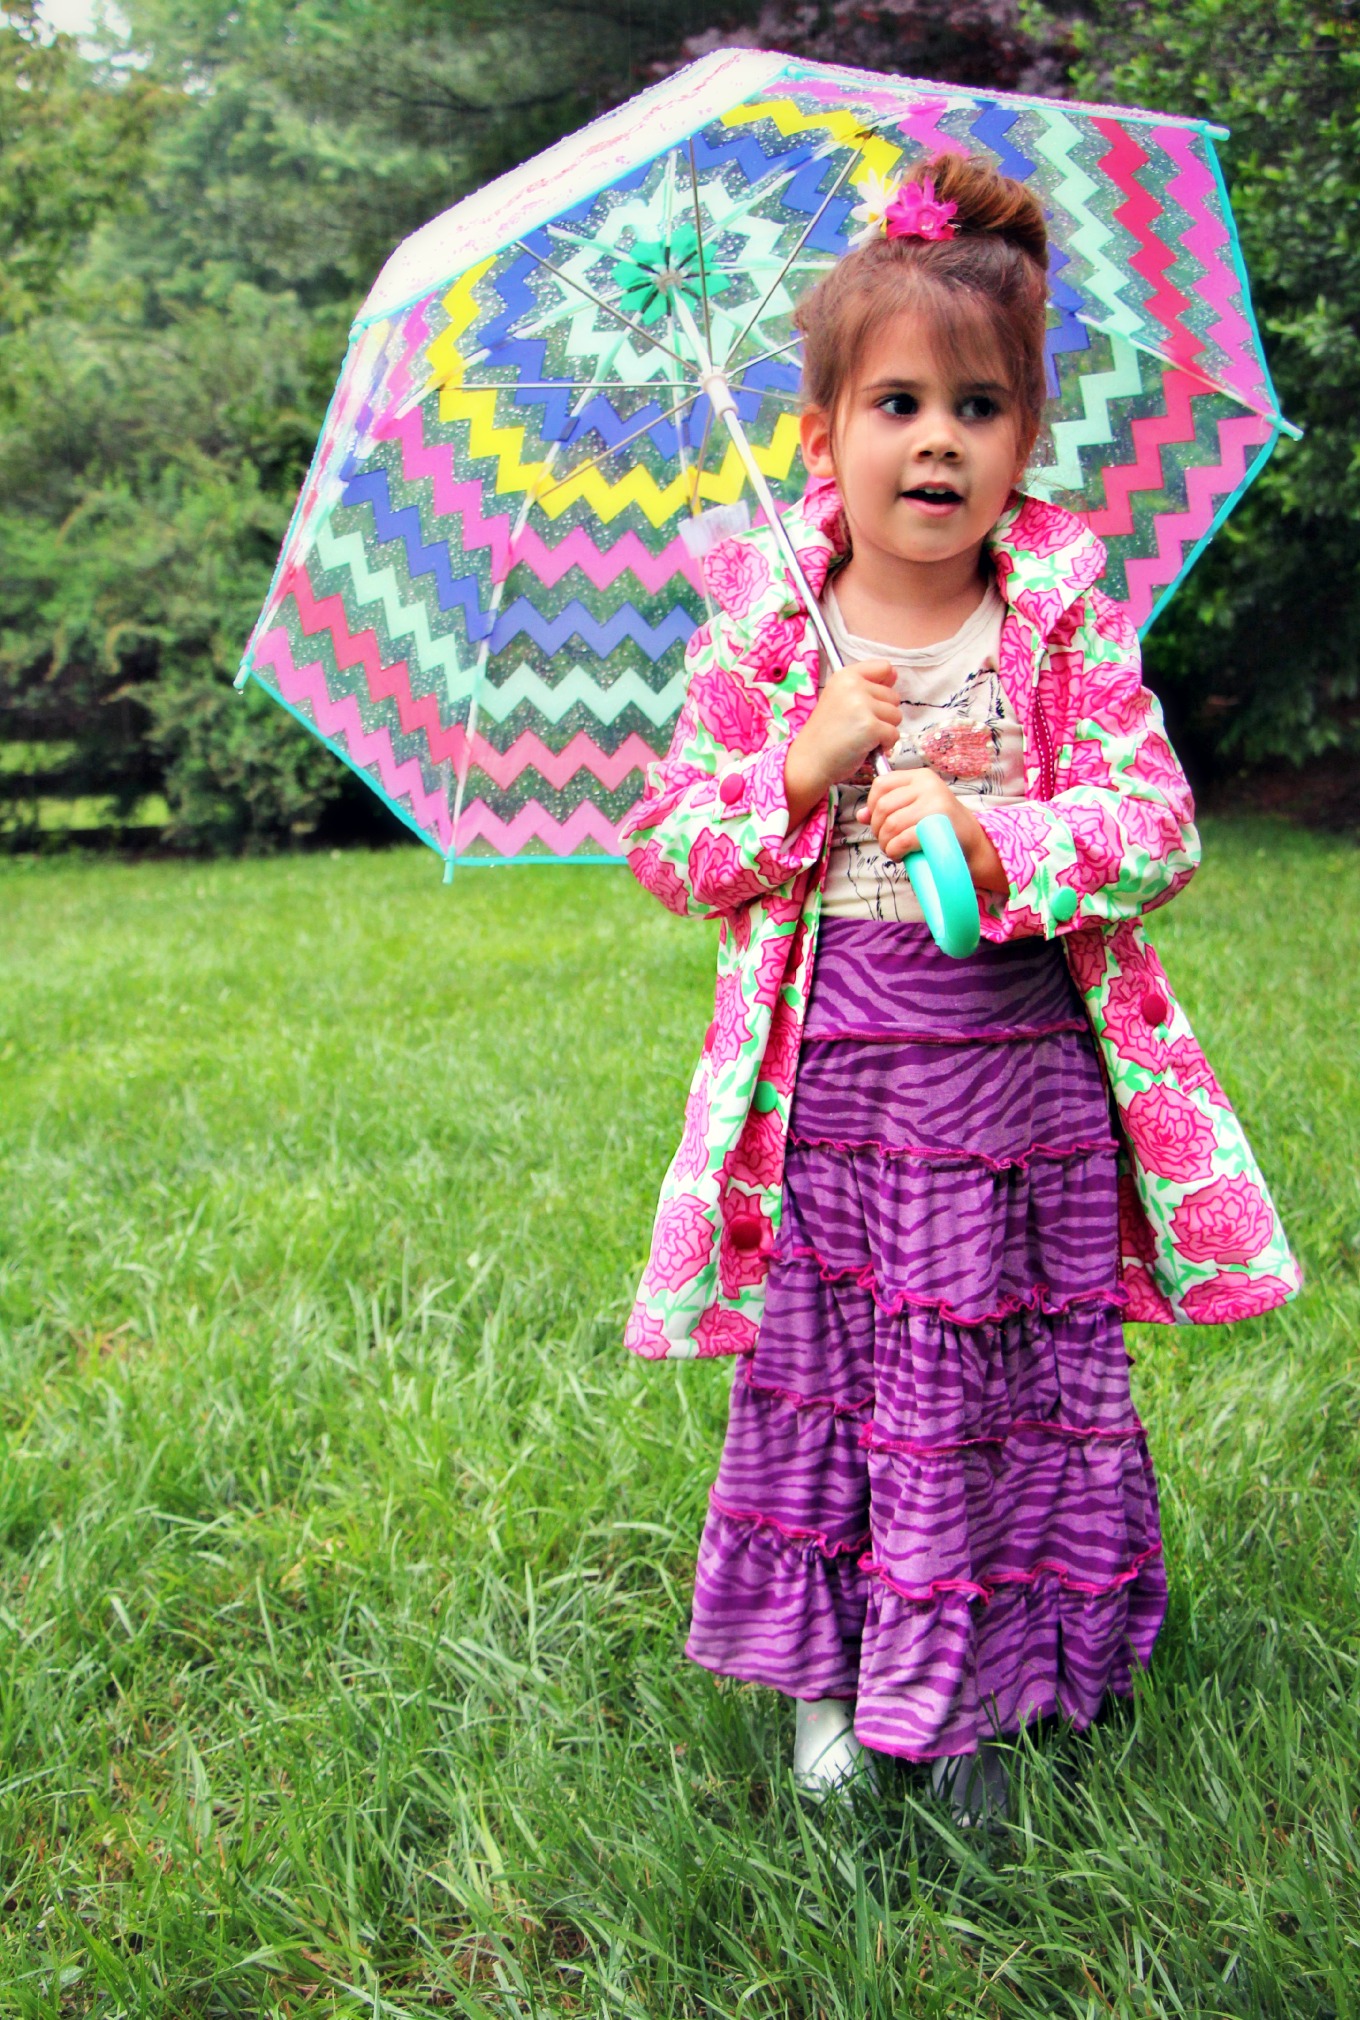
I’ve seen other maxi skirt tutorials that use complicated mathematical equations to figure out the size of the tiers you should cut according to the skirt size your making. Math makes my head spin. I decided to find a way to keep it simple. It may not be perfect but I think it worked out pretty well!
You’ll need two measurements for this tutorial: your child’s waist size & how long you want the skirt to be.
For this skirt each tier is 5″ wide & based on your child’s height you can determine how many tiers you’ll need. If they’re in between sizes you can either round up or down. I got lucky, Sam’s skirt length is 25″ so that equals 5 tiers. Hey, I can do math!
Next it’s time to cut your fabric into the different tiers. Each tier is basically a 5″ wide rectangle that is slightly longer than the previous tier. This is what will make the skirt widen as it gets longer. (it’ll also give it that all important ‘spin’ factor)
This 5 tier pattern is to make a skirt that is 25″ in length. If you want your finished skirt shorter subtract tiers & to make it longer continue making your tiers 15″ longer than the previous tier.
The first piece you’re going to cut is the waistband, this is going to be a rectangle that is your child’s waist size+5″ (for gathering & seam allowance) X 10″
Continue cutting the 5 tiers with the instructions below:
Waistband= waist size+5″seam allowance x 10
Tier 1 waist+10″ x 5″
Tier 2 waist+20″ x 5″
Tier 3 waist+35″ x 5″
Tier 4 waist+50″ x 5″
Tier 5 waist+70″ x 5″
I found it was easiest to fold my fabric in half & then cut the entire thing into 5″ wide strips. (I knew I wouldn’t have much leftover fabric, so it was ok with me to cut up all of my yardage at once) Then I went back & trimmed them all to be the appropriate length. You might have to stitch some strips together to get the really long tiers 4 & 5. I did & in the finished skirt the gathering hid those seams pretty well.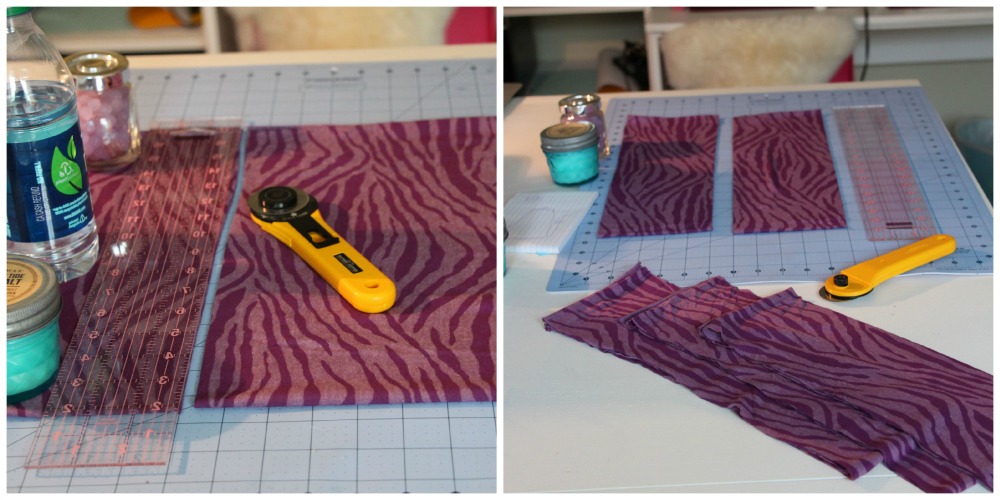
(Dont you love my fancy fabric weights?)
Your pieces should look something like this when they’re all cut: (keep in mind those are all folded in half & the measurements are for Sam’s 4T/5T skirt)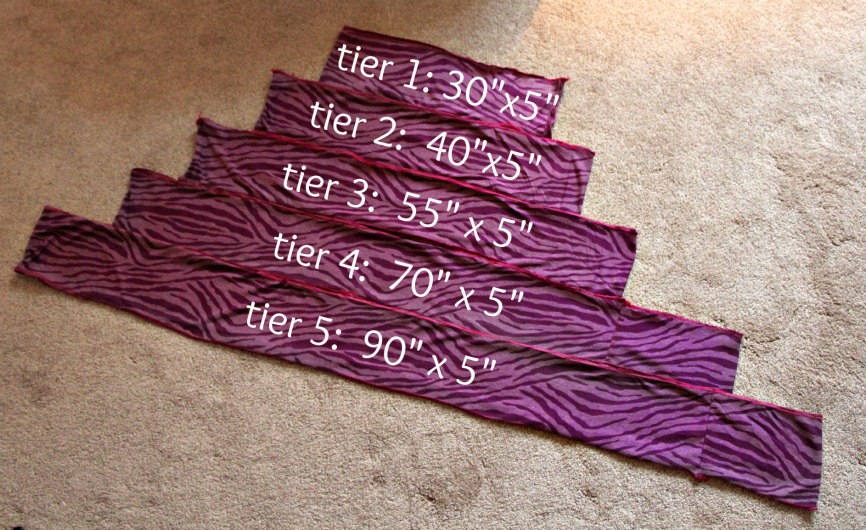
Next, working one tier at a time stitch the short sides together, rides sides facing together. When you’re done you should have all rectangle tubes. For the waistband after you stitch the short sides together fold the entire piece in half so it’s now a 5″ wide tube. To create the elastic waistband cut a piece of elastic that is your child’s waist size+ 1″ & stitch it’s short side together. Place your elastic circle inside of the waistband you created. Now your waistband is done!
Since this is knit you can leave the edges of the tiers unfinished or if you have a serger you can stitch along the top & bottom edge. This will give it a bit more stability which can be a lifesaver when you’re working with a really light & flimsy knit like mine. It’s also great for adding a pop of color, I kind of wish I would’ve chosen a bright neon green thread for the edging so it would really stand out but I knew Sam would like the pink. Ah well…
Now comes the tedious part.
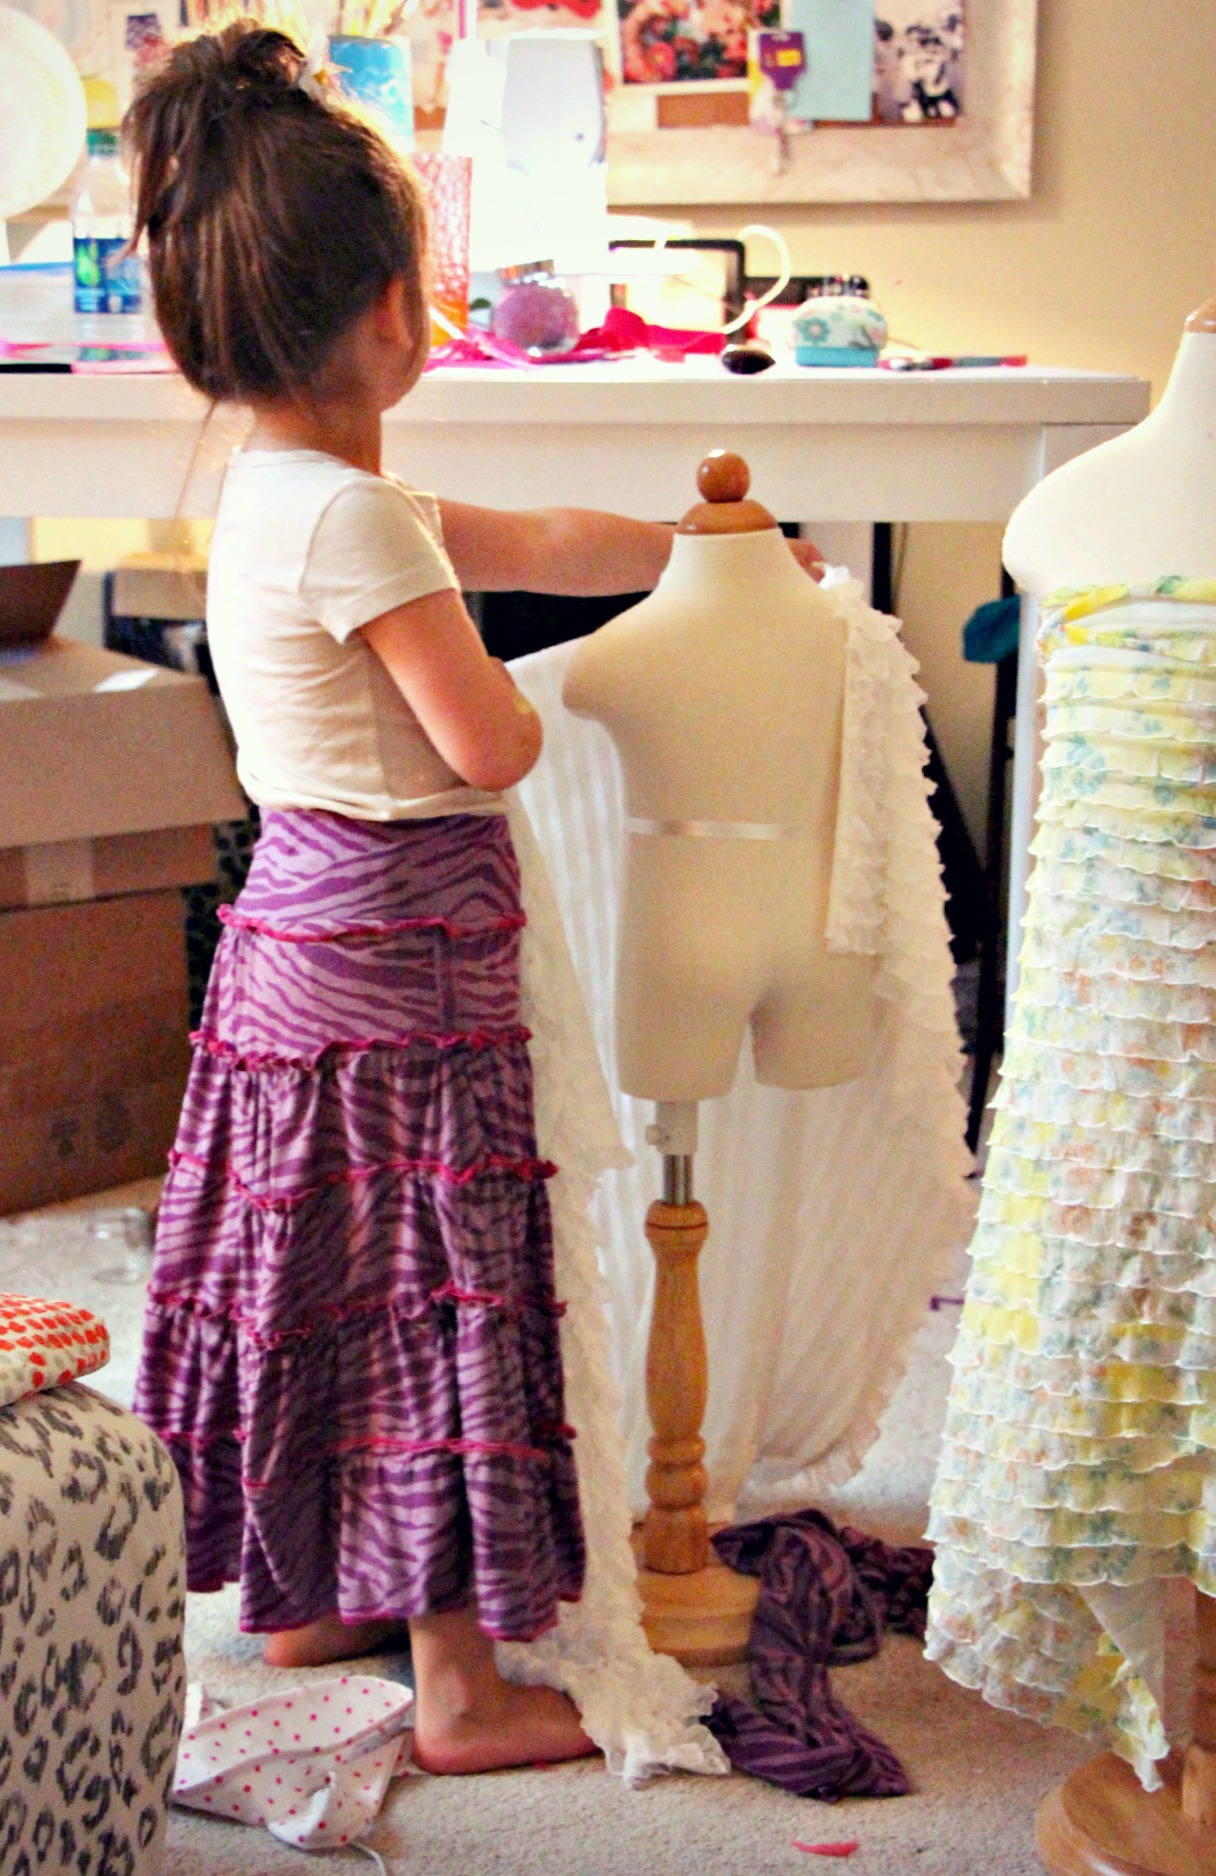
For each tier you’re going to need to stitch a gathering stitch along the top around a 1/2″ down. You’ll use this to gather the fabric enough so it fits into the previous tier. For me this is when a dress form comes in might handy. Continue gathering each tier to fit the previous, starting with the waistband, pin into place & then stitch into place. After the tier is attached you can remove the gathering stitch. Continue all the way to ground sista!
I sure hope this tutorial makes sense to you, it’s actually really easy to make a tiered skirt once you get started. Forgive me if I over complicated any steps. Sophie Monster is getting her 2 year molars & has been up all night for the last two nights, my brain is FRIED.
If you’re looking for some other skirt tutorials that are probably written far more eloquently head on over to Crafterhours. Also a big thankyou to Adrianna & Susan for inviting me to participate & for being extra patient with me! Love you two!!
Past skirt week tutorials from Little Pink Monster, The Graffiti Skirt & The Circle Skirt:
I’ll be honest with you, I receive a good amount of new web traffic from Pinterest. I had no idea when I made the mosquito planter years ago or dyed the girls hair with chalk that they would be the gift that keeps on giving because of Pinterest. It’s true though, Pinterest is absolutely a social media force to be reckoned with!
Now because of that I tend to always keep the thought ‘could this be pin-worthy’ in the back of my mind & with that I give you… Just a couple of quick tips that if you like, you can toss into the Pinterest abyss!
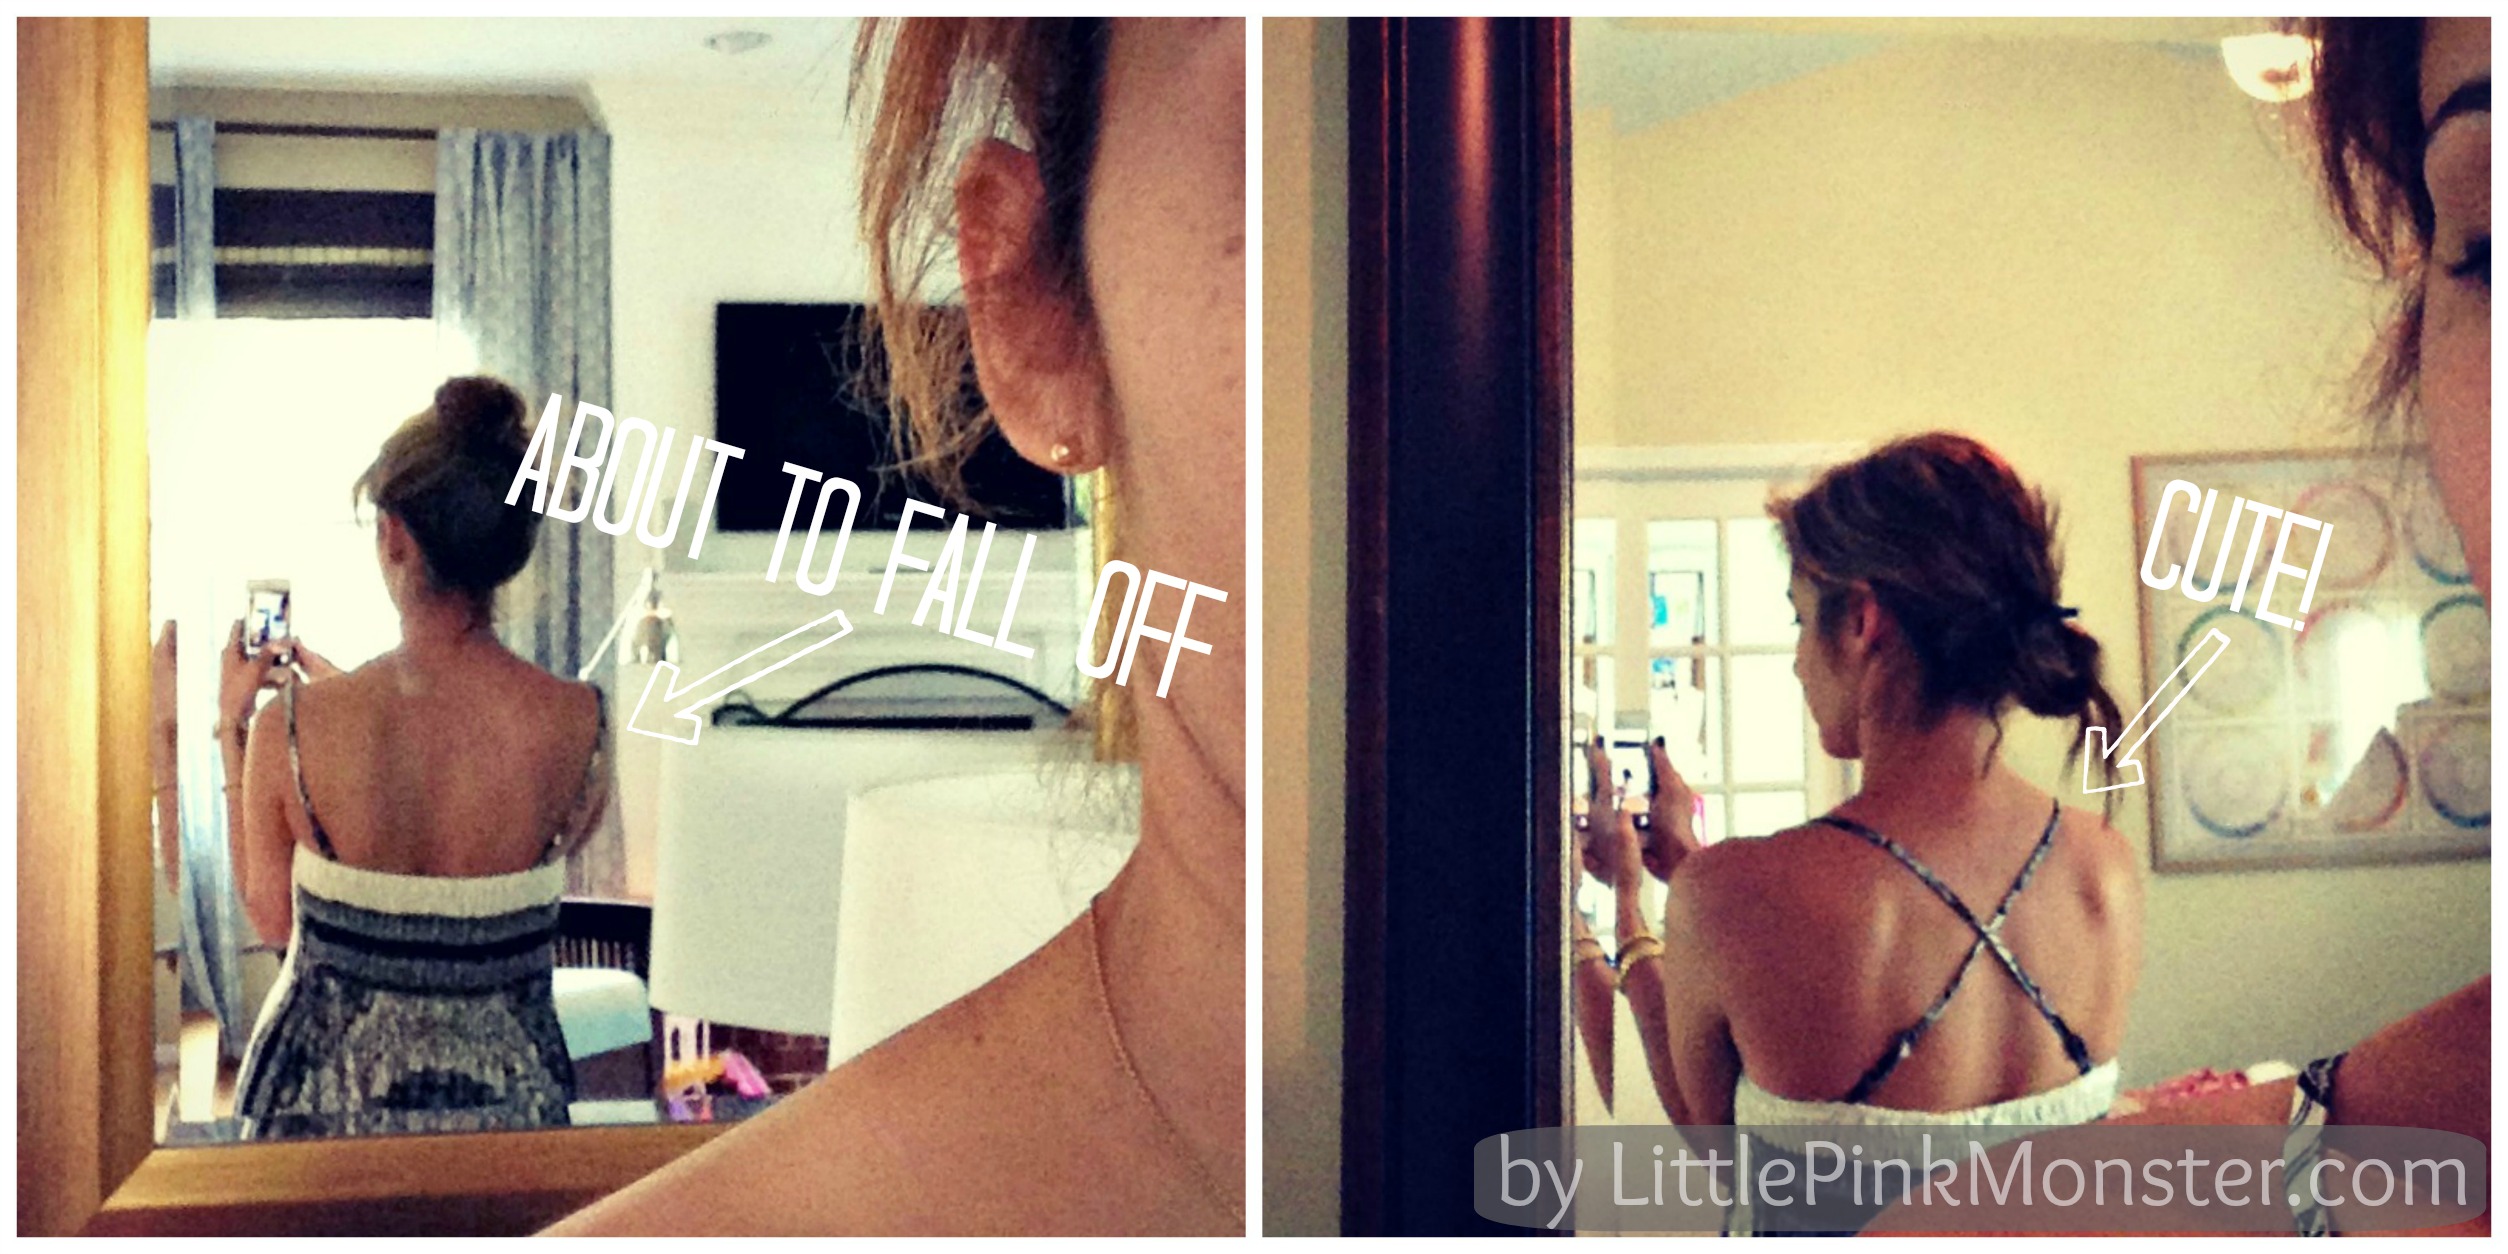
Dress straps too big? Criss cross them! Not only does it yank up your top so you stop flashing toddlers at your niece’s birthday party but it also gives an otherwise boring back a cute twist. Even if you can’t sew you can do this. Just snip the straps at the bottom back of your dress, cross them over (make sure they aren’t twisted) & then using a needle & thread that matches your dress simply stitch the strap down in it’s new place with three or four tiny stitches. This was such an ‘Aha! Why didn’t I think of this before?!’ moment. It also works great on little girls too big swimsuit straps!
The second quickie tip comes from my most recent Target trip (which would be the second trip there this week, somebody ban me already!) I saw this adorable fedora in the little boy’s department that I knew would be sooo sticky sweet cute on Samster. I couldn’t find any in the girl’s department but then I thought, well, why not just ‘girlify’ it myself!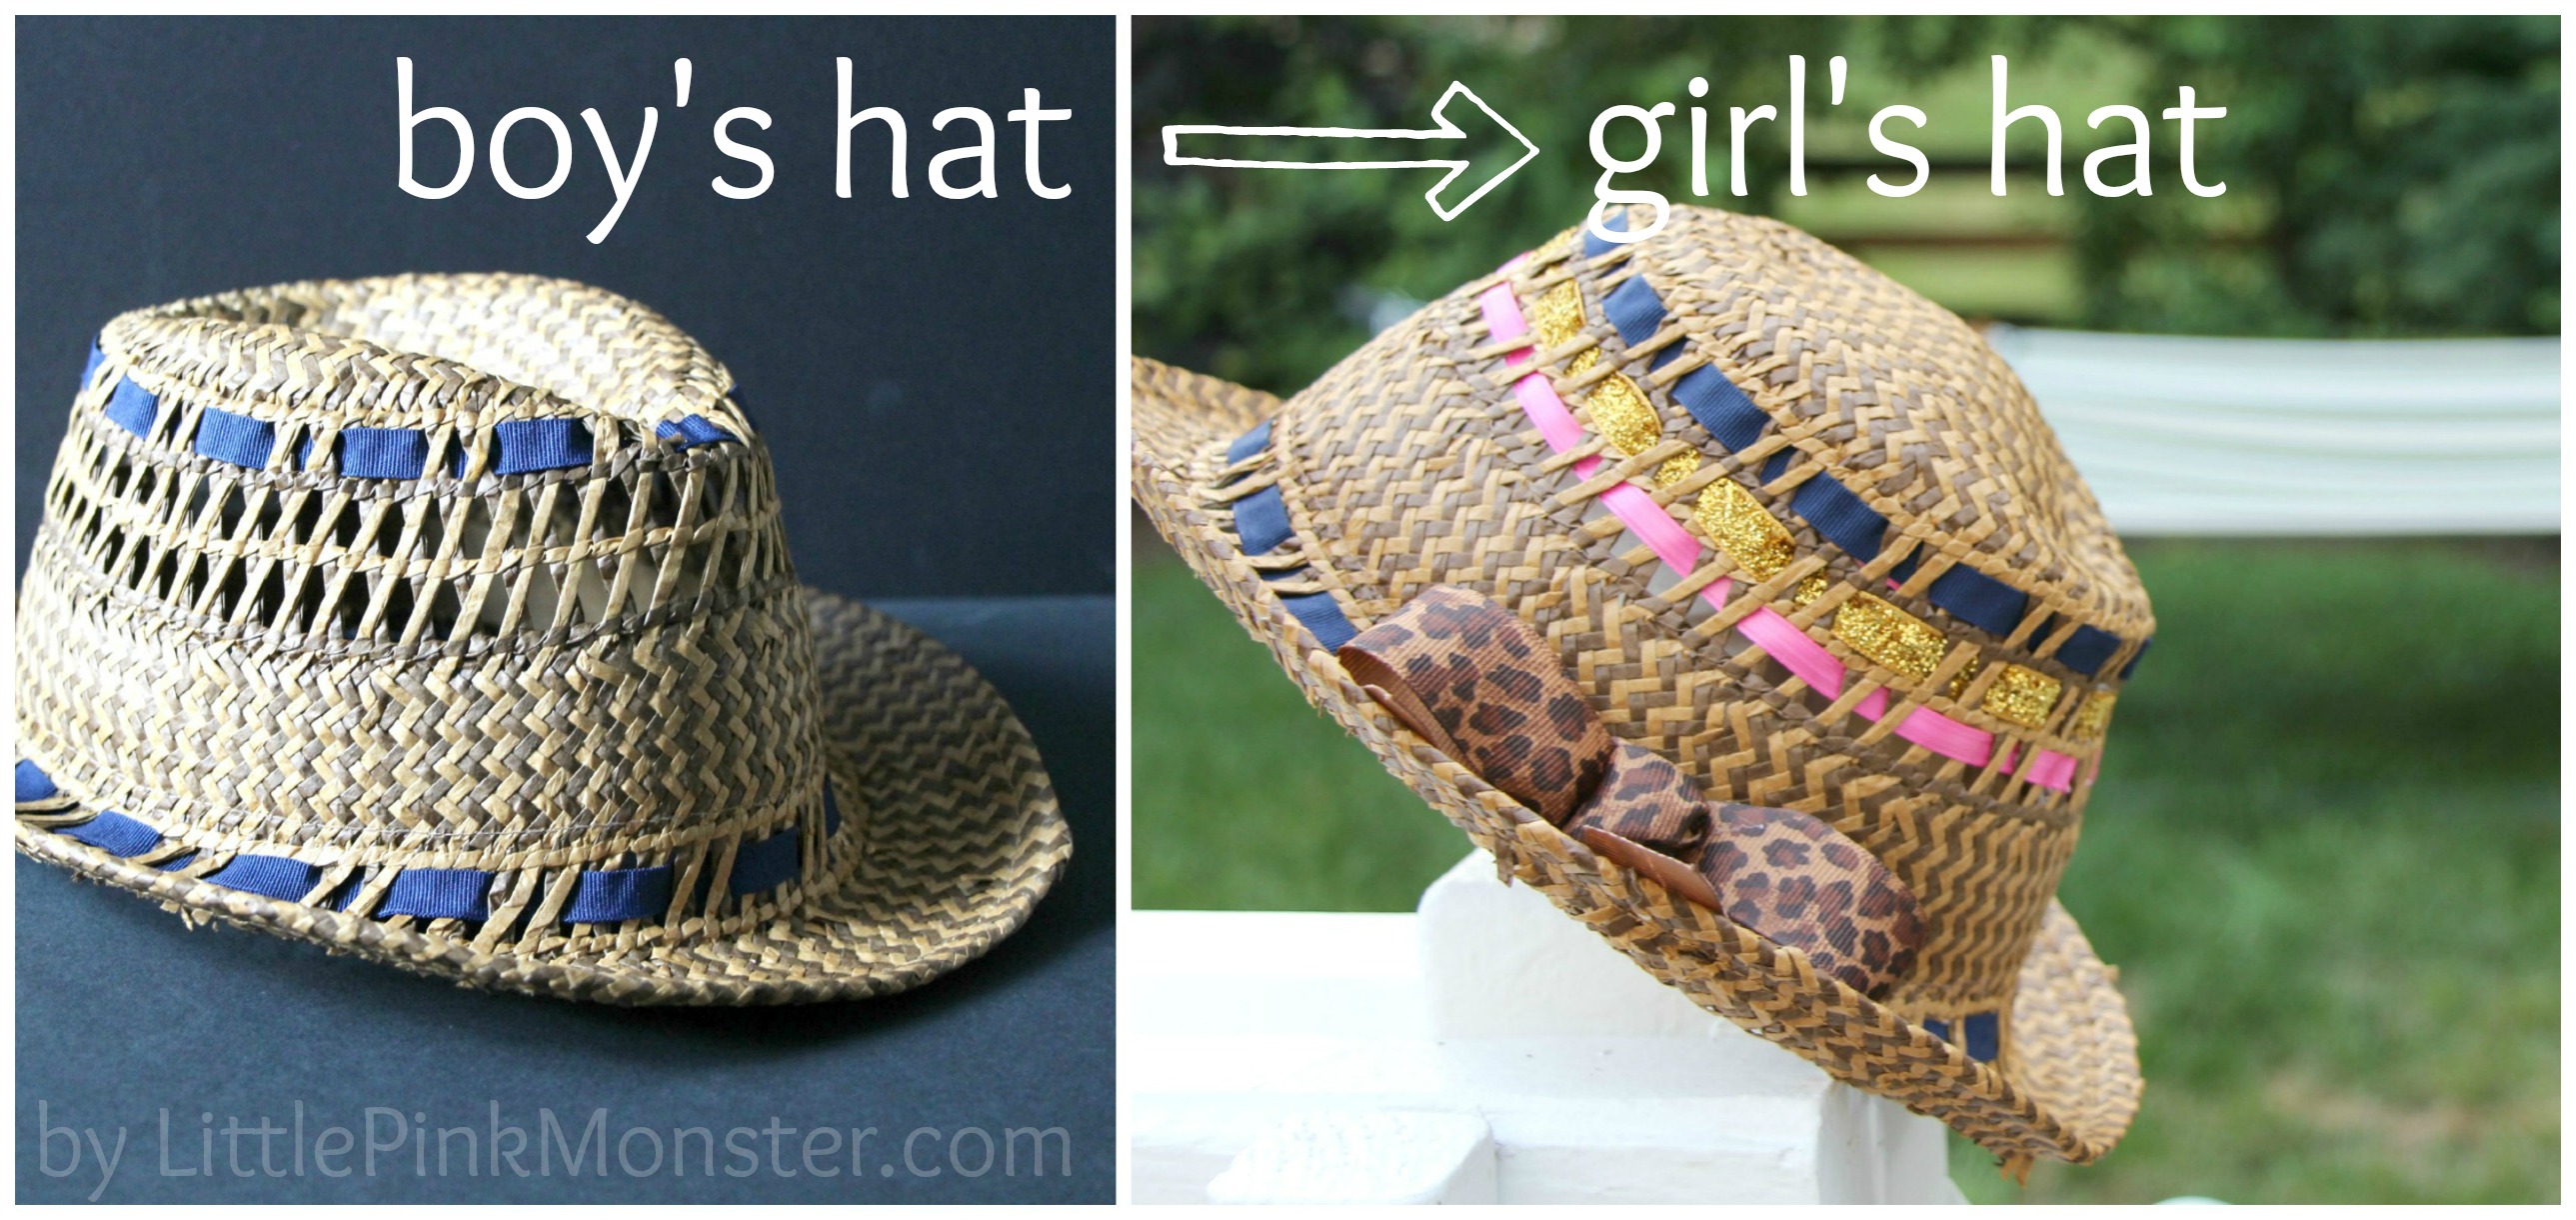
All I did was add a few more ribbons to the hat by weaving the ribbon around & then securing it with a dab of hot glue. For the bow I used this ‘Perfect Bow Headband‘ tutorial (by the way I double dog dare you to look at the picture of Sophie Monster in that link & not say “Ahhhh” Seriously, I can’t believe she was ever such a tiny little monkey! Ugh, someone give me the antidote for baby fever.)
Neither of these are rocket science, obviously, but sometimes those are the best pins. Little fixes that make life a bit more fun or even better, a bit easier.
by Natasha on in Uncategorized
Whew, we’re finally back & ready to rock! I love when I come back from vacation with a renewed drive to hit the ground running! Verses when I come back with cranky kids, to a messy house & jump right back in to a schedule so busy that the suitcase sits on the floor unpacked for a good week. Ok, I’ll be honest, even on the good returns the suitcase since on the floor unpacked for a good week. Whatever.
So as I was saying, this trip to Florida really gave me a chance to come up with all sorts of ideas for summer projects, recipes & conversations to have here on the ol’ blog. Inspiration also hit when we were flying home. As we started to descend I looked at my two sweet girls & realized something. That trip wasn’t too bad. In fact, it wasn’t bad at all. I realized that traveling with my kids by myself had finally become something that was totally doable. I thought that perhaps there are a few of you who like me, have DREADED traveling with your kids & maybe wouldn’t mind some tips of what I’ve learned over my countless trips on planes, trains & automobiles.
Here it is, my ultimate travel secret, grab a pen…
 Seriously, it’s all about planning the packing.
I first started flying when Sam was 8 weeks old. I believe I packed her entire nursery into my massive carry on bag. It’s a common newbie mistake, you don’t want to be caught unprepared so you bring EVERYTHING. Here’s the problem with that, if you pack every single item you might possibly need, you might think you’re avoiding being caught unprepared but in reality you’re just going to end up being annoyed. Annoyed that you can’t find anything when you need it, (why do the pacis always disappear in the bottom of the bag when your kid is screaming their head off?) not to mention how frustrating it is to schlep a giant bag around while toting a kid. I always feel bad for moms or dads when I see that tell tale red mark between their head & shoulder from a massively overpacked diaper bag.
So here’s what I do every time I travel with the girls. I pack 3 bags. (aside from luggage that contains your clothes, we’re just talking about what you need to have constant access to) By having all my necessary items split into three areas I always know where to find something right when I need it! Also since there are 3 of us the bags fit easily under each persons seat when we fly.
#1 The Entertainment Bag
This is the bag that holds all the goodies. It’s your go to arsenal for solving boredom, the number one leading cause of receiving whine induced stares from other passengers.
I usually stock up on things like coloring books & stickers a week or so before the trip when I make my Target run. If you’re flying you don’t want to solely depend on electronic devices since you’re going to have at least 30 minutes during the trip where you have to turn them off. Think of what your kid likes to do that doesn’t require a ton of pieces or an overly complicated work space. For example I’ve learned that legos & airplanes do not mix, there’s no wiggle room to be digging around for tiny fallen pieces. Same goes for markers with caps, I’ll let Sam use them on the plane but Sophie gets crayons because she never puts the cap back on.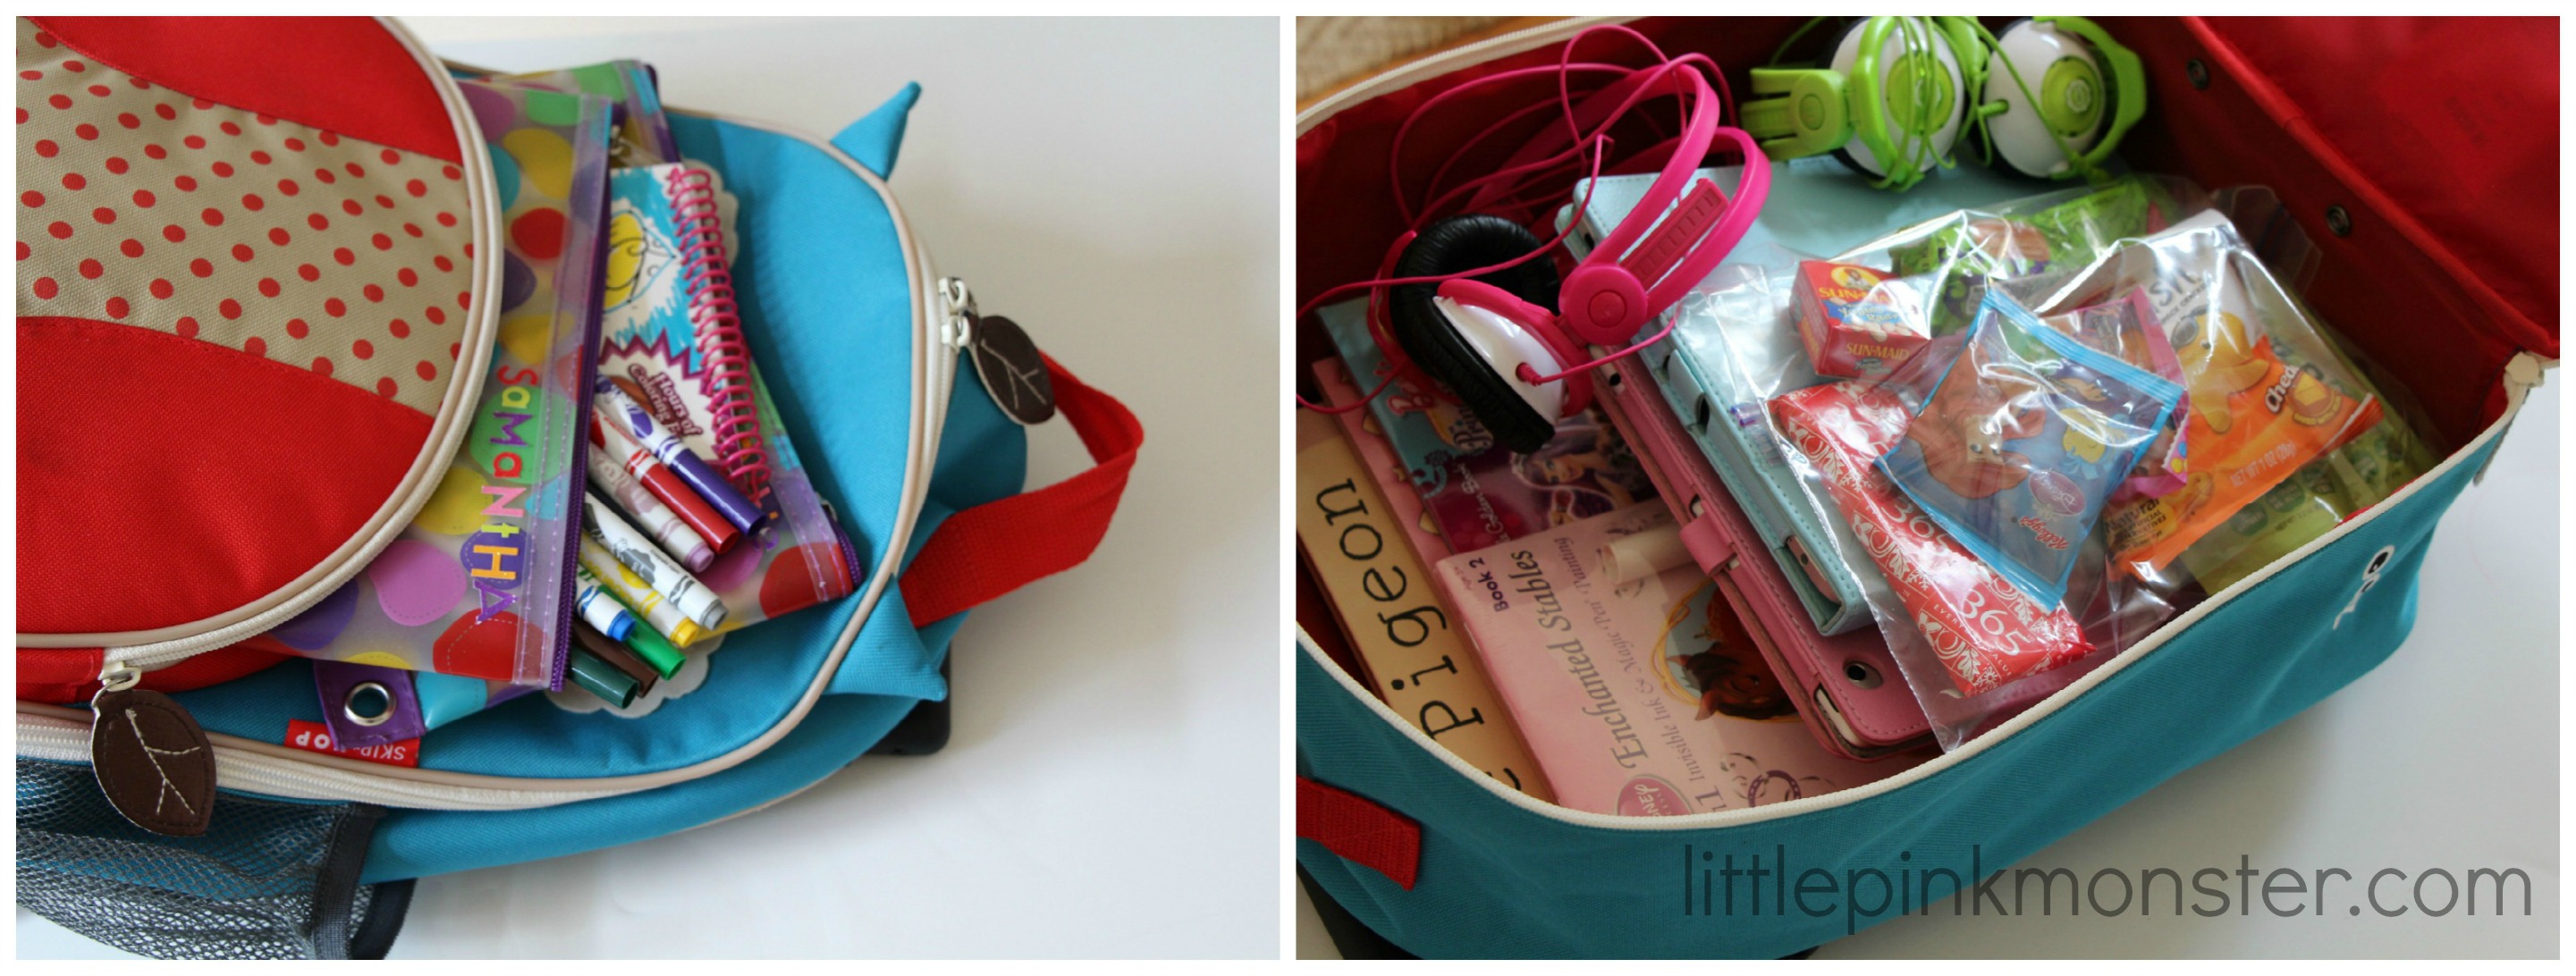
My go to items are this Melissa & Doug Sticker by Number Puzzle (Sam will spend a good hour on one of those, I LOVE them!), this Color Wonder Mini Coloring Pad
, & these Reusable Sticker Pads
. (those are all very girl specific but they all make boy versions as well) I also give each girl their own pouch that contains their coloring items, stickers & maybe a little surprise treat. You want to avoid conflicts at all costs. Your kids not having to share a pack of crayons & possibly get in a fight over who has the pink crayon & heaven forbid if one breaks the other ones favorite color, is TOTALLY worth the extra $2! On that note I also highly recommend buying the exact same of everything for your kids. I know it can be tempting to buy one the Dora coloring book & the other My Little Pony but unless you’re absolutely positive they won’t fight over what the other has just buy the exact same thing for each child.
Possibly the most invaluable item in my bags are the ipads. Ohhh thank you Lord for giving us ipads!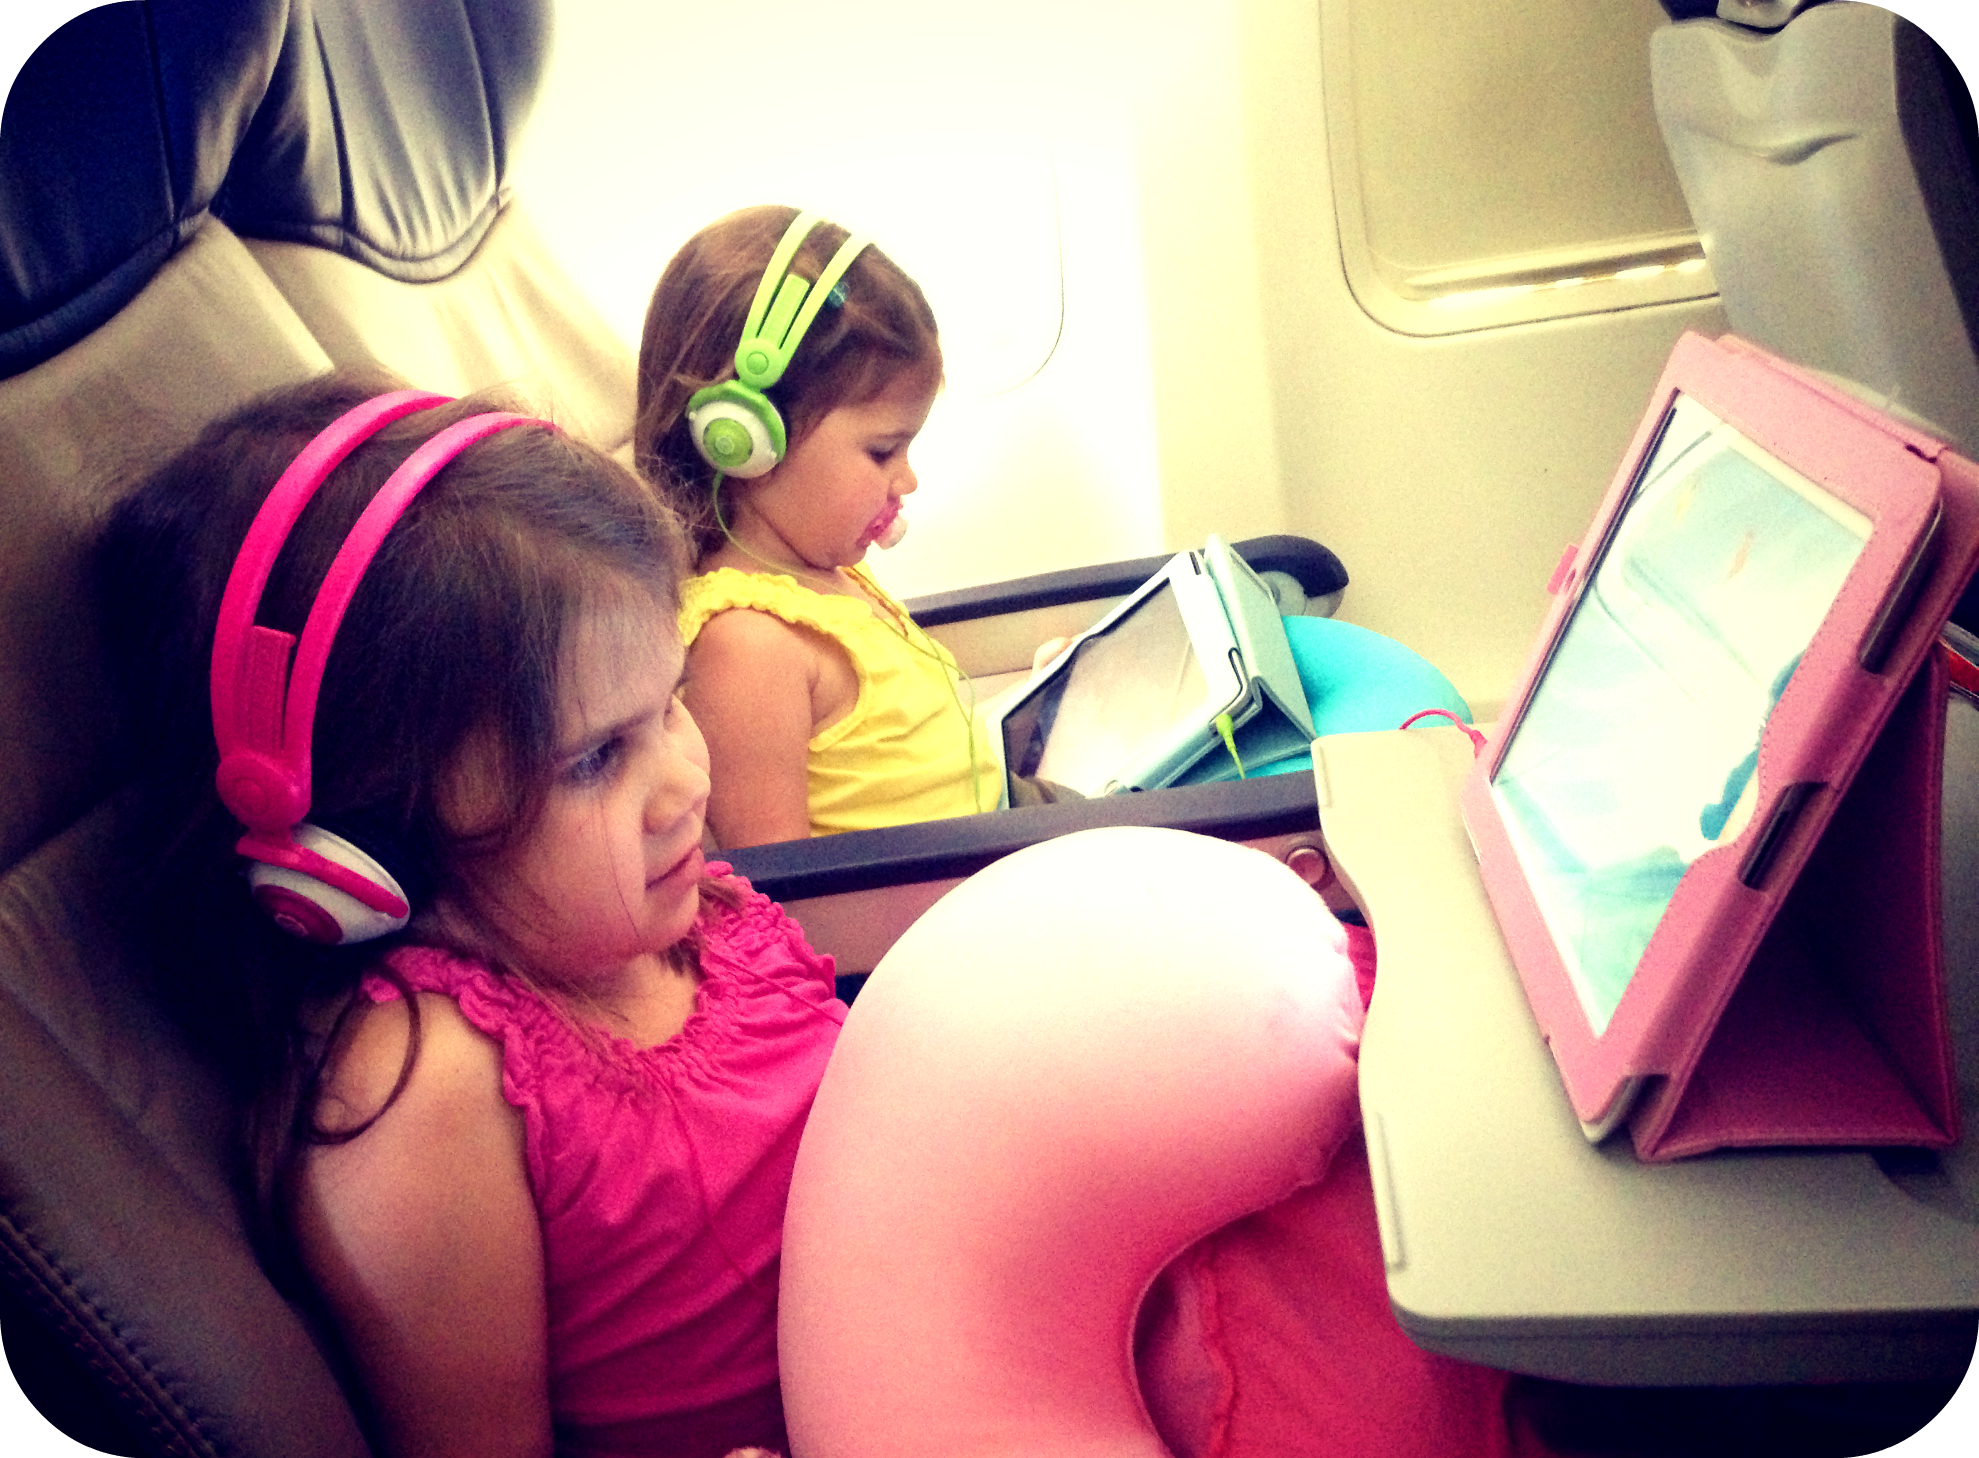
(Yes my 2 almost 3 year old has a pacifier. If you’d like to know more about that please click here)
For a long time both of our kids shared the ipad. One would get the ipad & the other would use the portable DVD player. It worked out ok until Sophie started liking her own kind of apps & movies on the ipad. After about the third sobfest over ‘it’s not fair she’s had it longer than me why don’t I get the ipad when is it my turrrnnnnnn” I decided it was worth every penny to buy a second ipad. In fact, we bought an older one that had been refurbished from Mac & it wasn’t too expensive. Of course you can’t have an electronic device on public transportation without….HEADPHONES. Let me tell you, I’ve been through about a dozen headphones over the years. The buds, while cute, do not stay in their tiny ears & anything with a foam cover over the speakers (imagine your bright yellow 90’s walkman) is just asking for a kid to yank it off. I finally found these & they couldn’t be better. Great fit, great sound & durable. Mommy likes. Oh, and before we end the ipad conversation let me say if you want an ipad cover that will protect your ipad but will also be like traveling with a small tank you can get an OtterBox. They are literally indestructible. We used them for awhile because Sophie inevitably drops her ipad every time she gets her little paws on it but I just couldn’t stand the extra weight & bulk for traveling. Now I use this ipad case
, while they aren’t that protective they get the job done & also make a great stand for the ipad to sit on the plane’s tray table.
As for the snack bag I usually stuff a gallon baggie with individual servings of goldfish, crackers, apple slices, cereal bars & fruit snacks. Just remember no liquids if you’re flying! Speaking of, I always pack two empty sippies as well. I use ones that don’t have a valve because they tend to leak with the change in air pressure during the flight. Simple flip top lids are the best. After I get through security I pick up a big bottle of water & fill the cups & save the rest for me.
I use this tote for items that I don’t want the kids to have access to. It includes my diaper & wipes case, (make your own with this tutorial, mine is going on 5 years & is still strong!) blankets for the girls, (anything to get them comfy enough to nap!) my magazines & laptop.
BAG #3 YOUR PURSE
I can get how this one could seem dumb. I mean, why wouldn’t you just combine bags #2 & #3 into a huge totebag? Well, for me I found that once we got to our destination I hated not having a regular sized purse to use. I would pack a bunch of cute outfits for different fun outings on our vacation & would be stuck with a giant diaper bag for my purse. I also survive by my purse in my regular non-vacation life. It’s usually pretty well organized with everything I need. I want to have that same set up when I travel as well. Of course you could just put your purse in the suitcase but I like to keep mine on me. I’ve found it just works.
And that’s it my friend! I hope this helps take some of the anxiety out of traveling with your little ones. Take it from someone who’s been there, while I can’t guarantee your kid won’t embarrass you by screaming their head off I can tell you that by taking my advice you’ll at least be smartly prepared for it. And don’t worry, there’s always bar nearby somewhere.