Little Pink Monsters

  • tutorials
  • Recipes
  • Contact
  • About Me
  • facebook
  • twitter
  • pinterest
  • instagram
  • rss

Mermaid Cupcake Aprons…Whaaa?

by Natasha on February 27, 2013 in dinner 101, tutorials

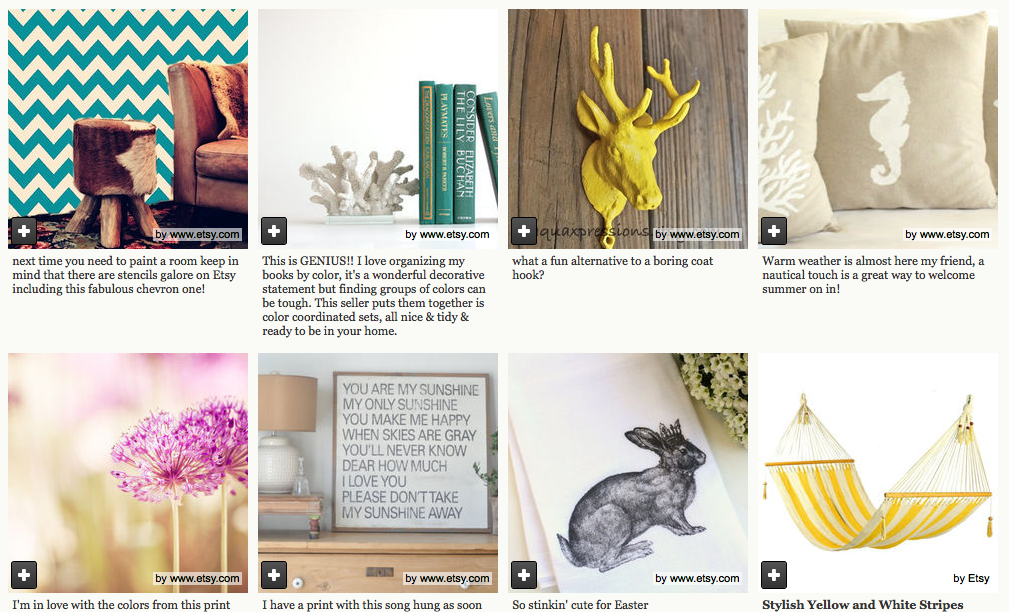
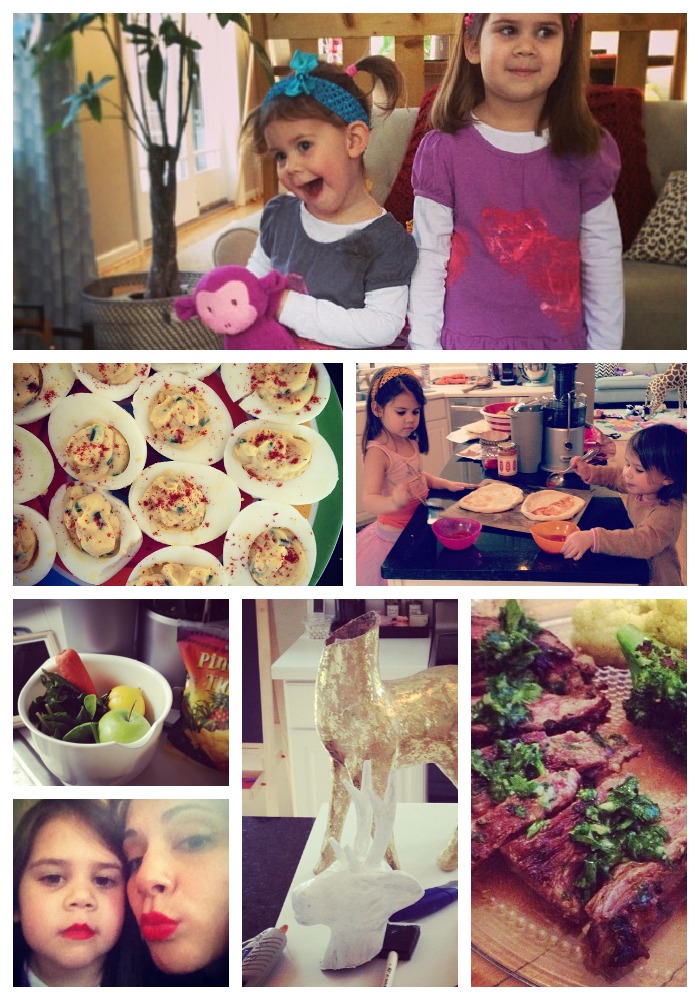
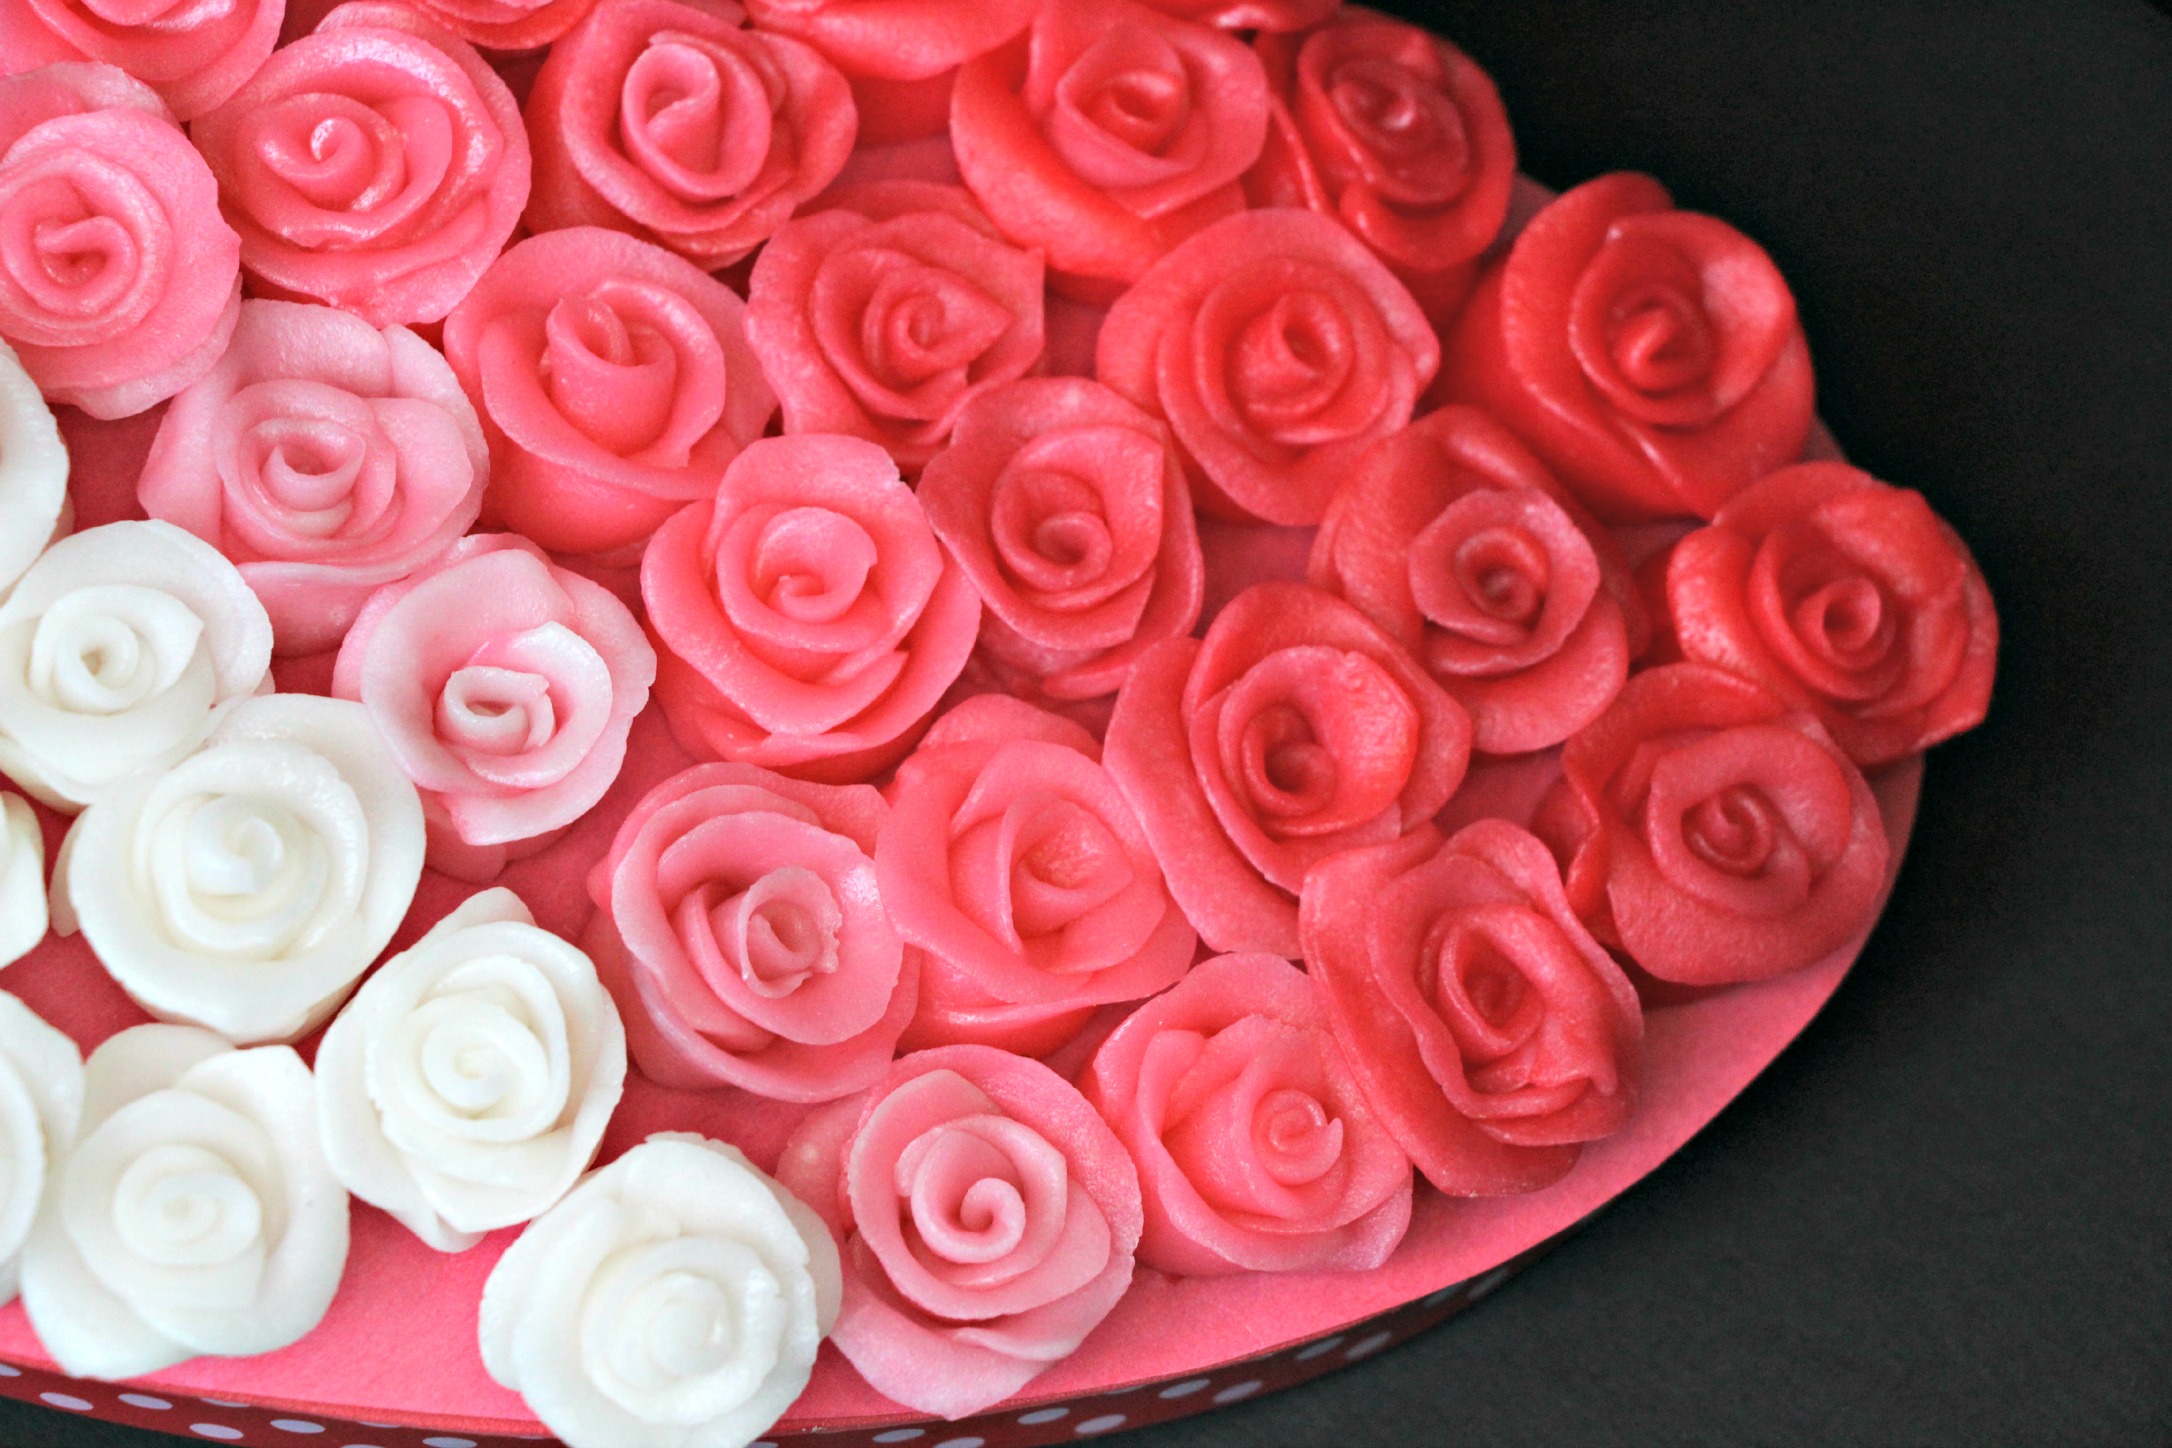
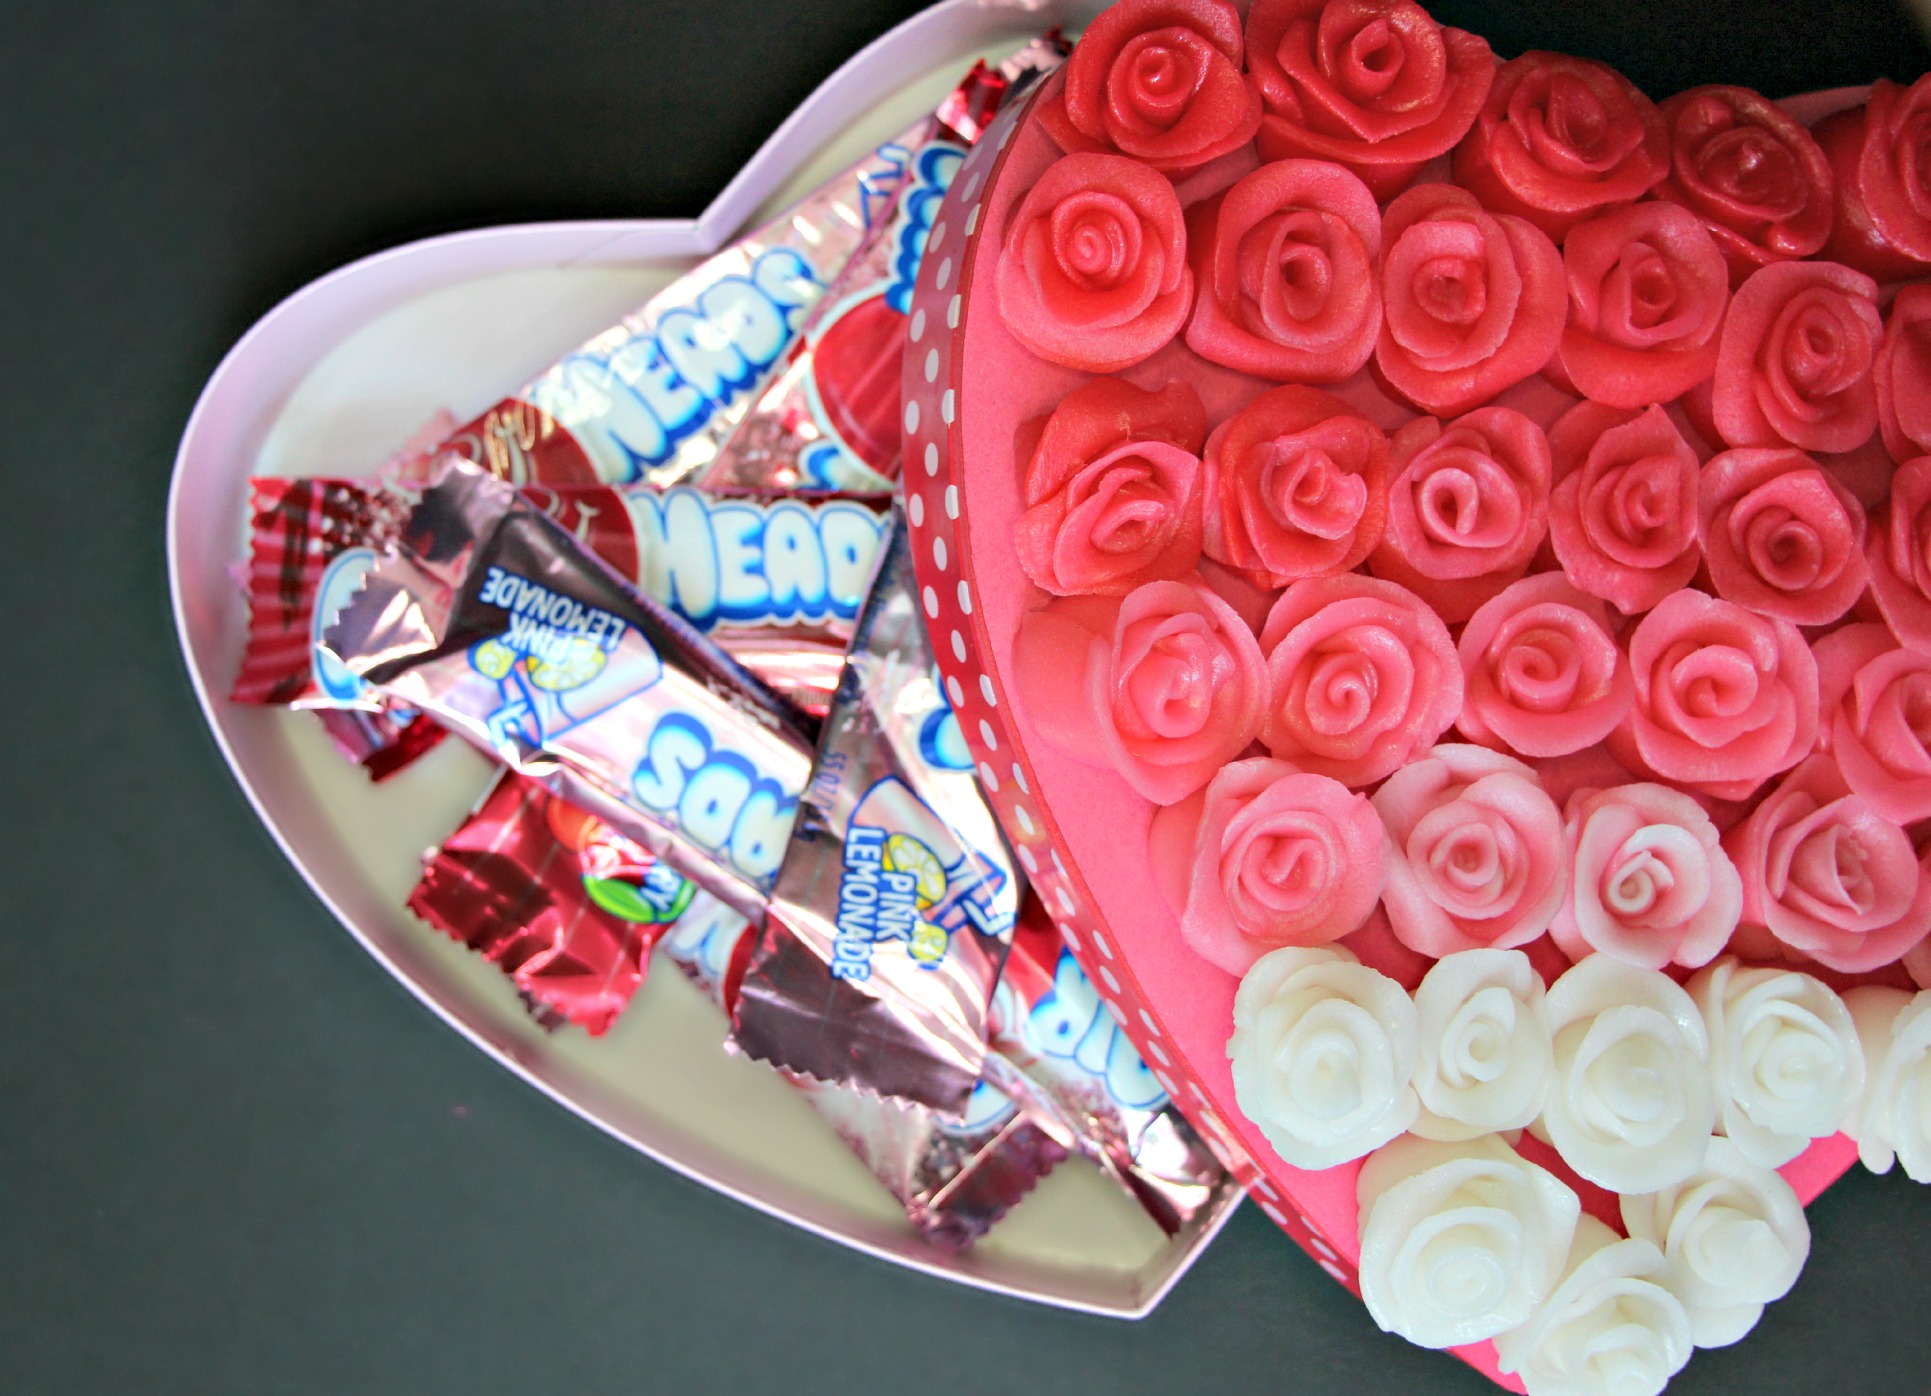
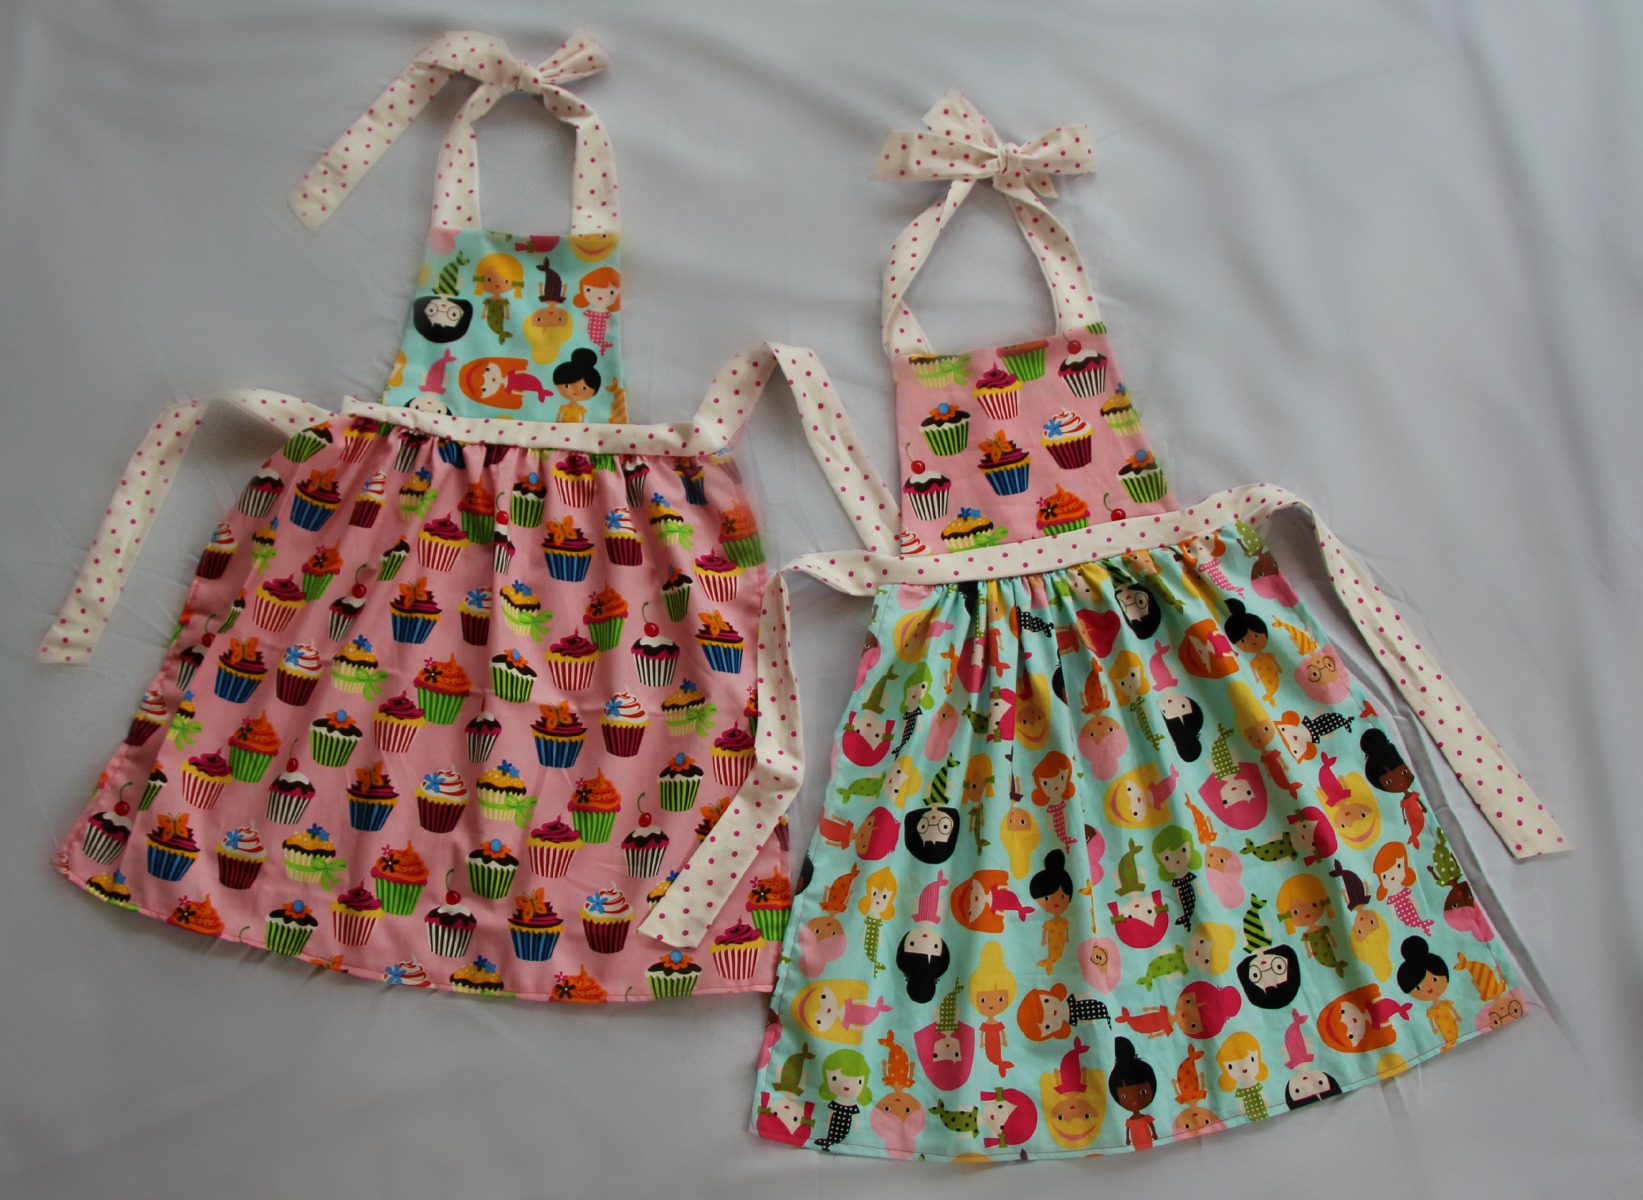
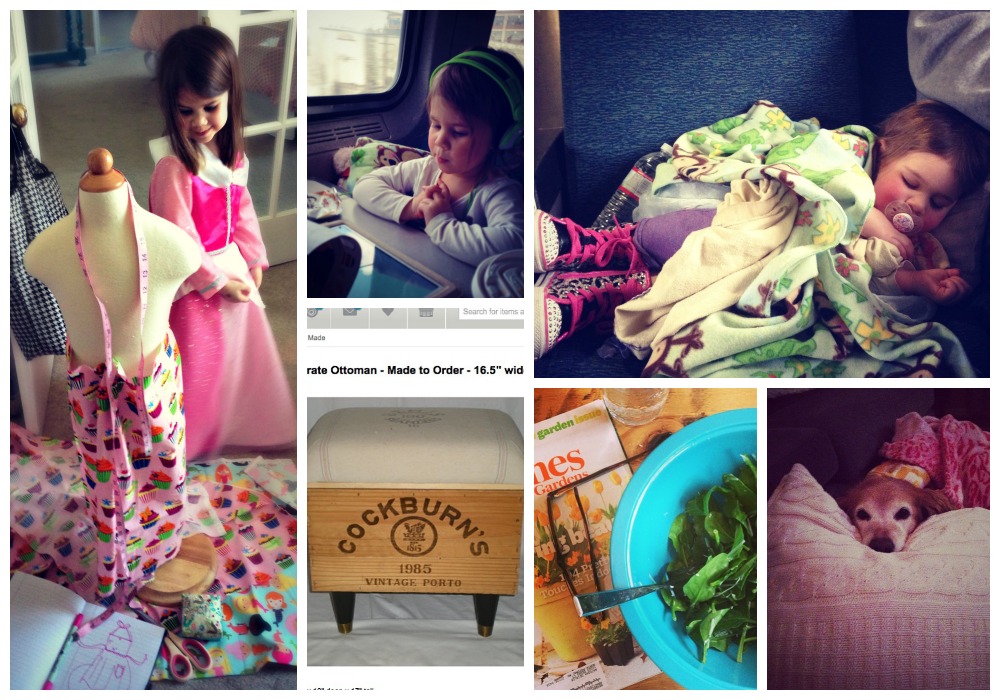
This is what happens when you let your children pick their own fabric. You get mermaids mixed with cupcakes & polka dots. Somehow though, in some weird way, it kind of works, no?IMG_0416

IMG_0478 IMG_0423

IMG_0433

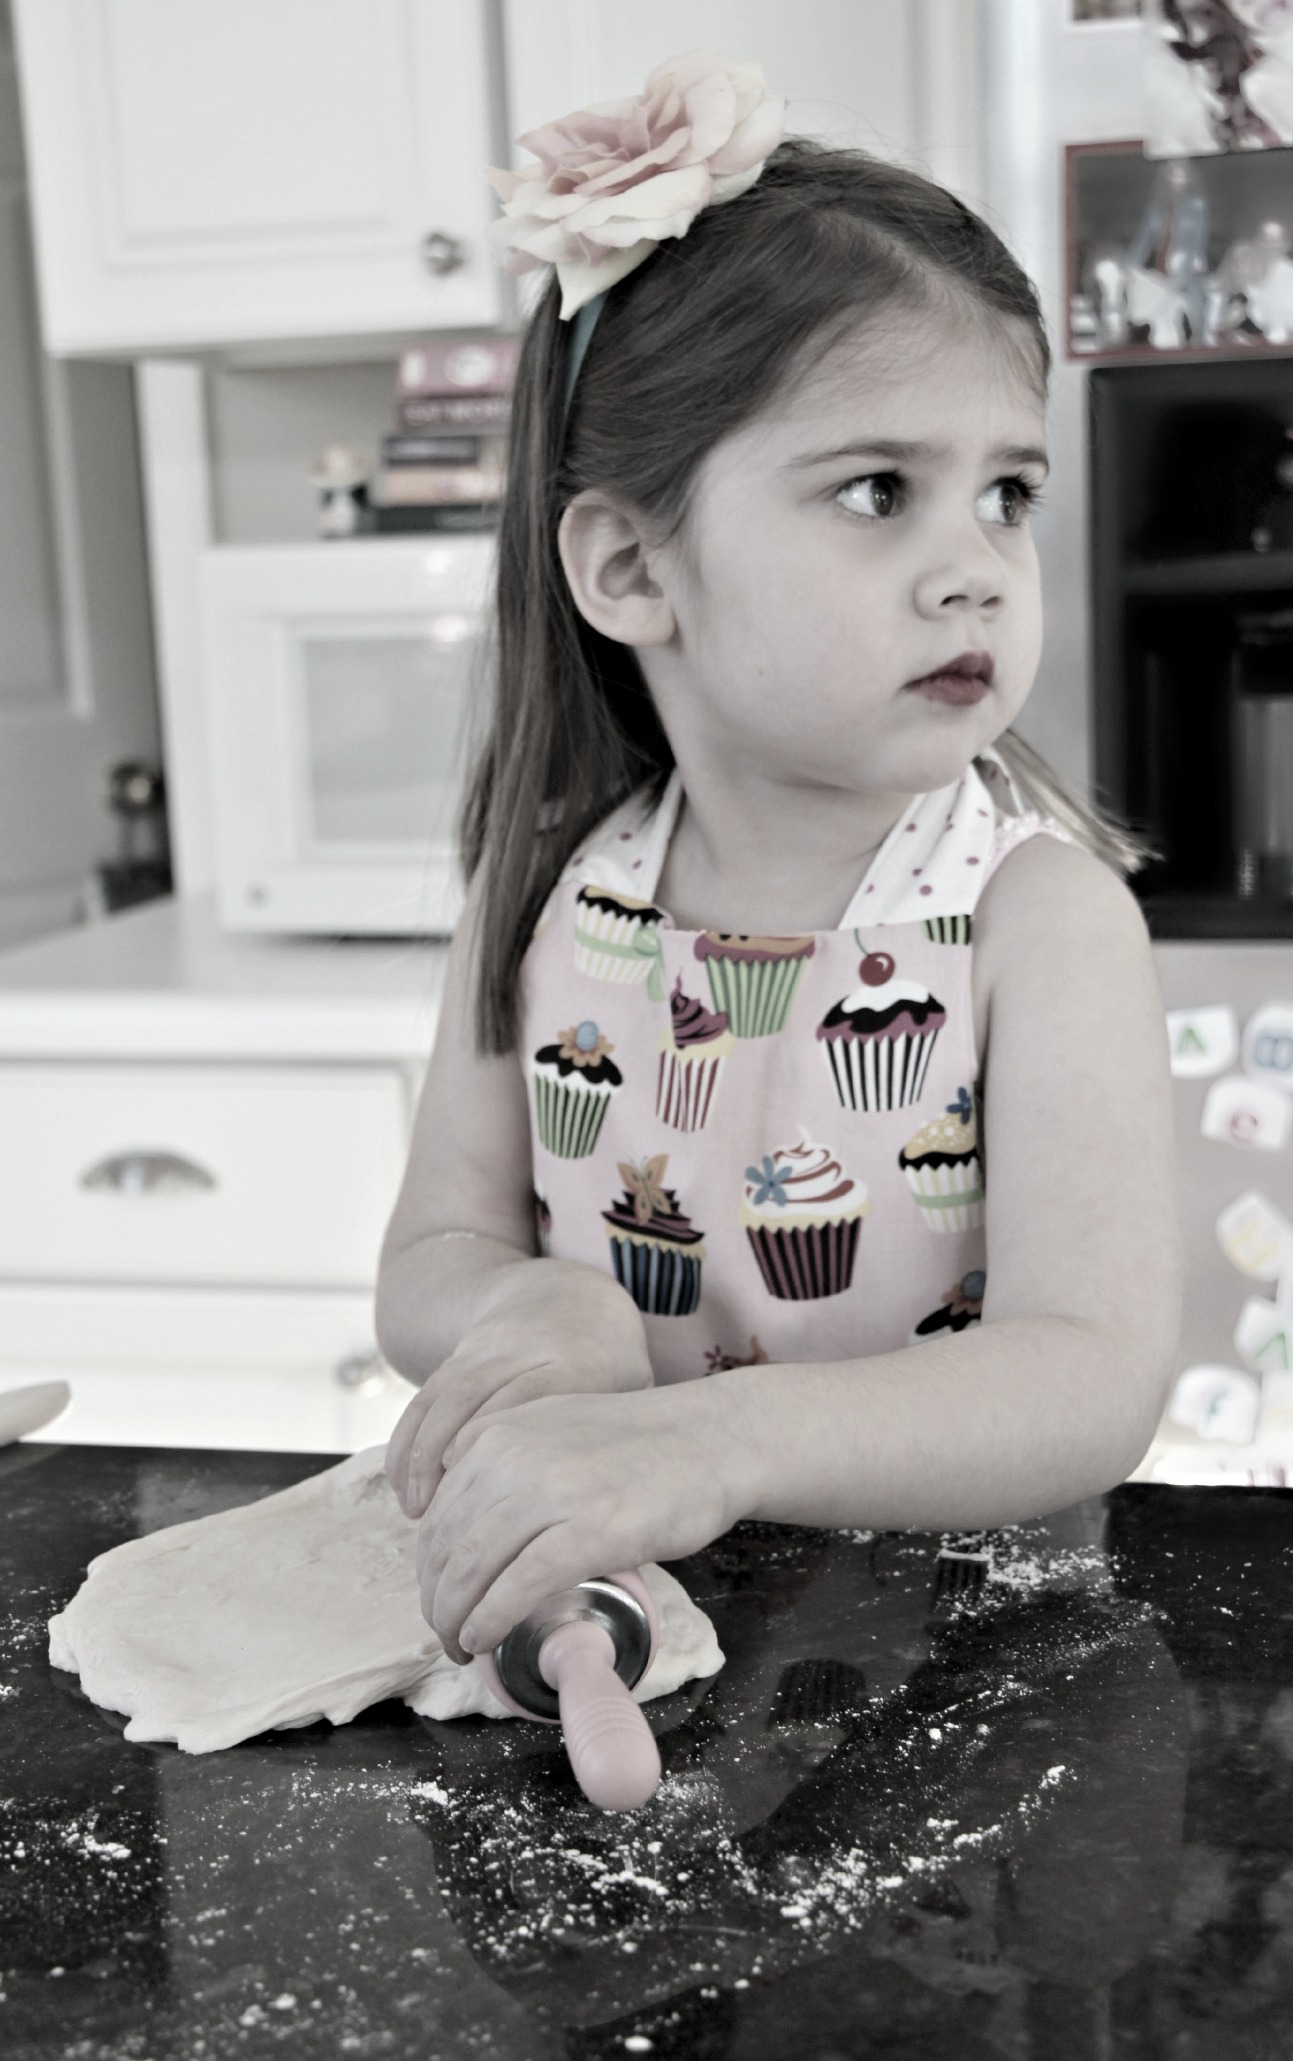
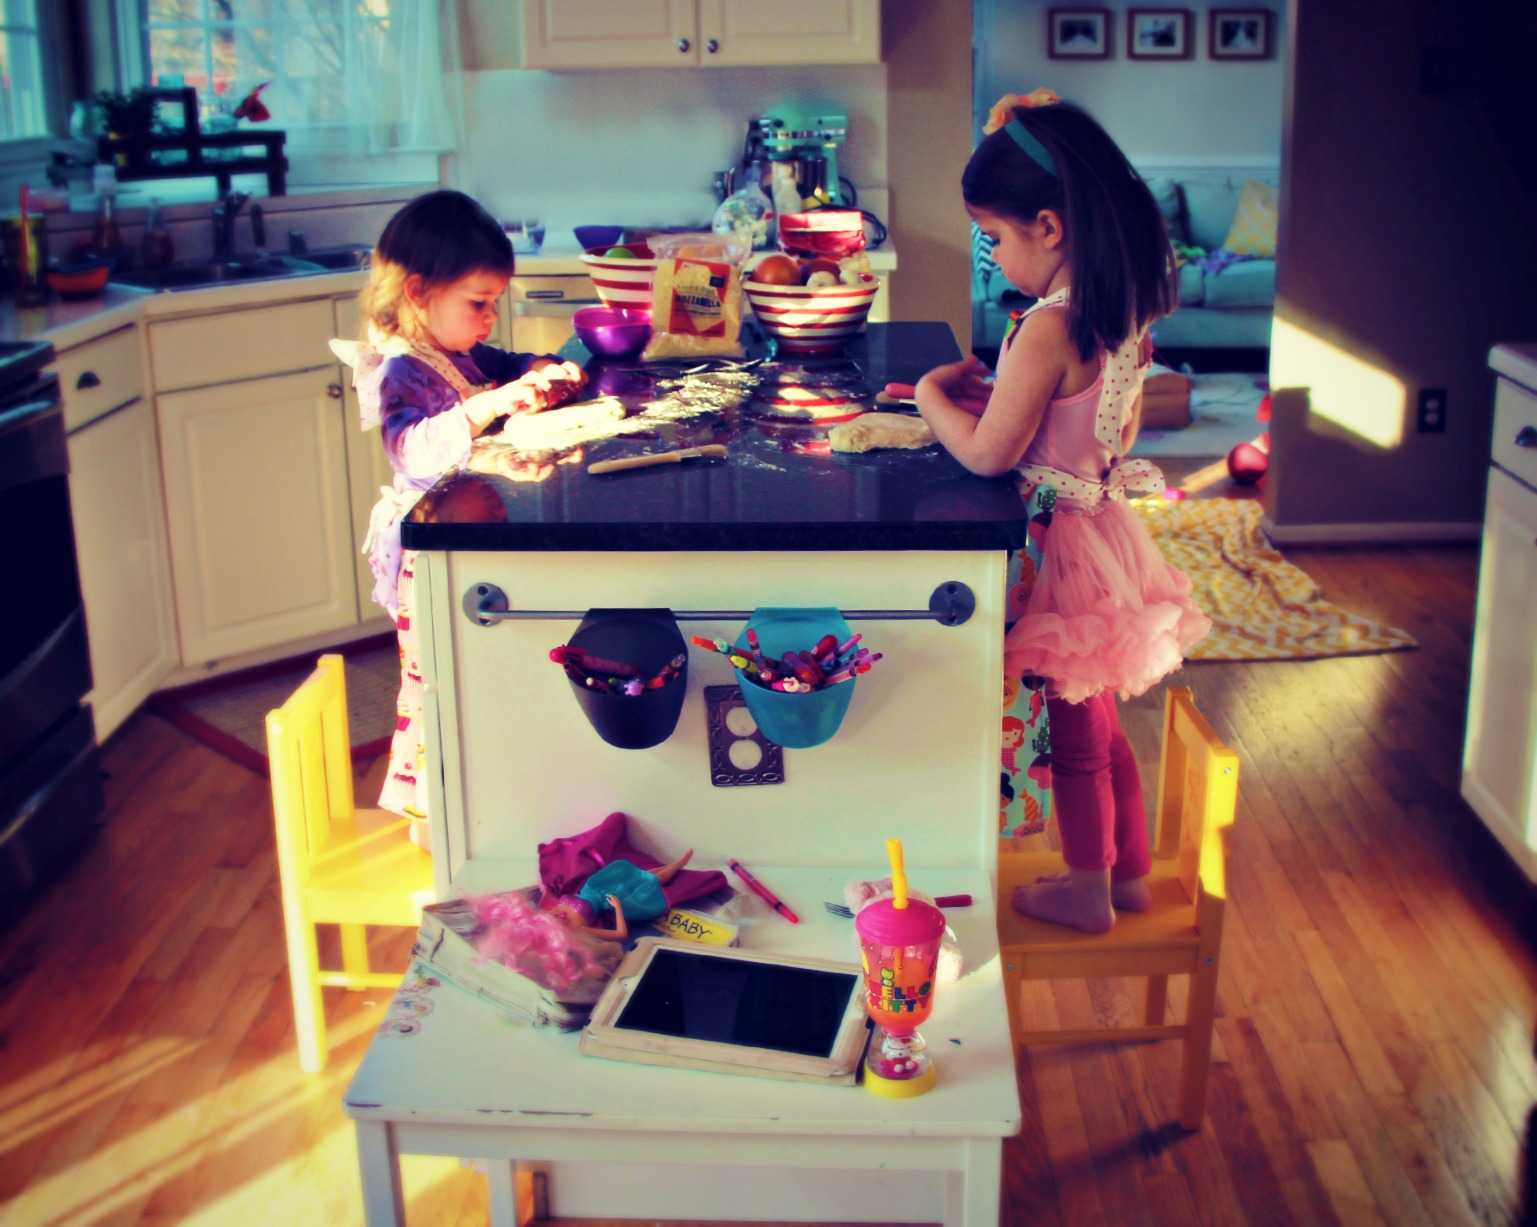
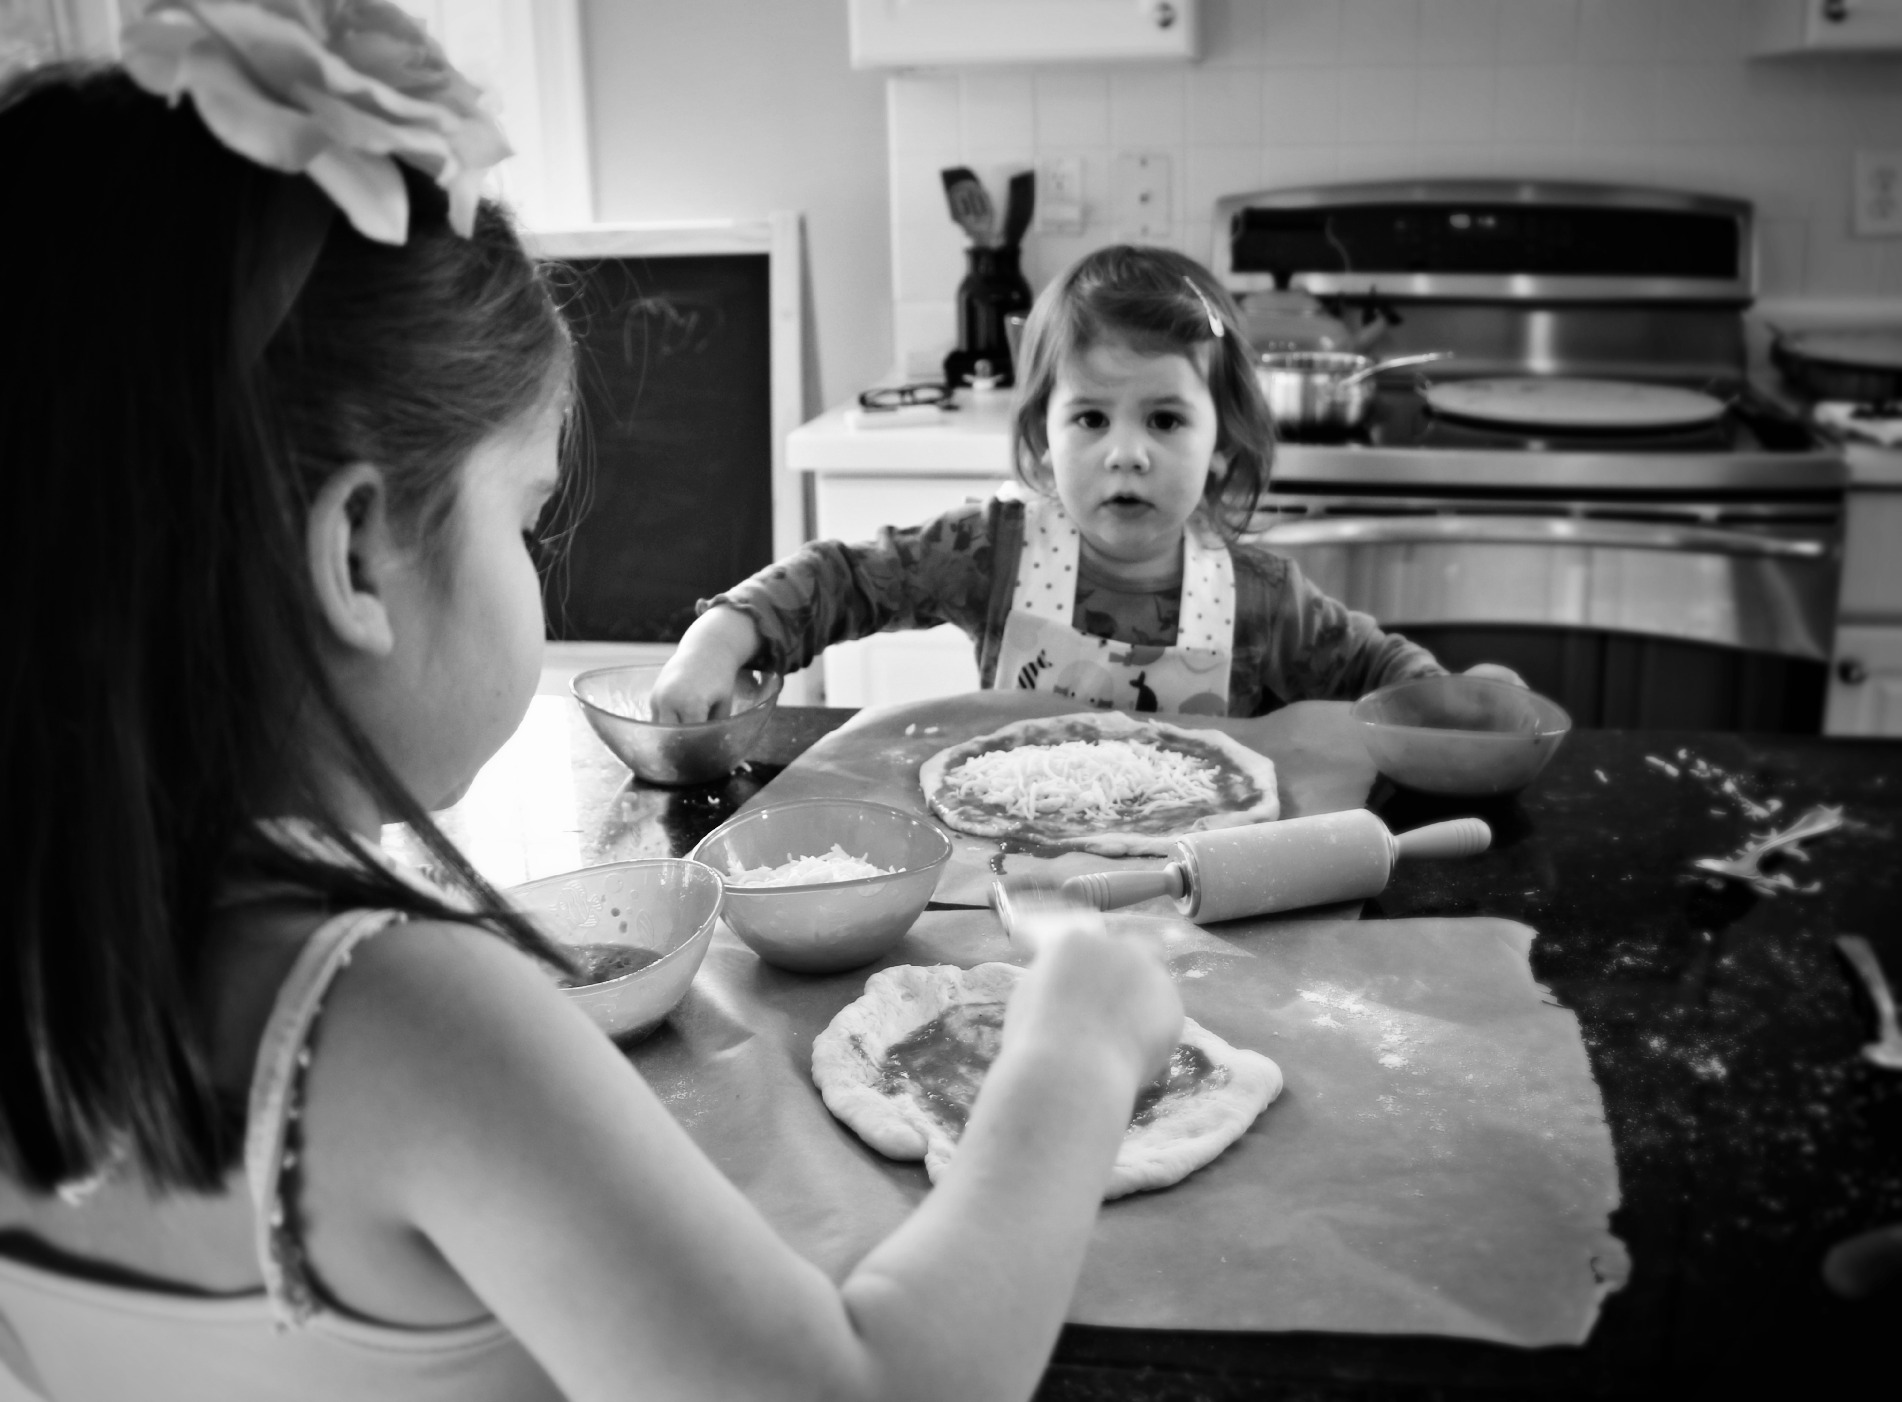
I’m such a sucker for my girls & I putting on our aprons to cook together. It’s so sappy sweet I could almost gag but I love it, I just love it.

We’ve been doing homemade pizza mondays for the last month & even though the clean-up is a bit more labor intensive than I’d prefer seeing the girls get so excited to participate in cooking week after week is just heart warming. Makes me feel like a good mommy. Especially when there are other times in the week when they watch way too much TV or eat a drive-thru happy meal…twice.

Here’s a question for you, I need some pizza making advice. How do I keep the pizza from sticking to the pizza stone & also how do I transfer the kids’ pizzas they assemble onto the stones?

I’ve tried flouring the stones & also have learned to pre-heat them but still, so many spots in the finished pizzas are completely glued on & break apart when I try to slide a spatula underneath the cut slices to serve them. Crazy frustrating! Then for the second part of my query…I can not figure out how to get their perfect little creations onto the stones! This past Monday, as you can see in the pictures above, I tried having them assemble on parchment paper thinking the pizzas would easily slide off onto the stones but nope, they fell apart & I had to do my best to quickly de-wonkify them without the girls noticing. I dunno. Any tips would be so much appreciated! This is a tradition I hope to keep up until they’re surly little teenagers & just want to hide out in their rooms wearing flannel & listening to Alanis Morisette. Geez, did I just age myself or what?

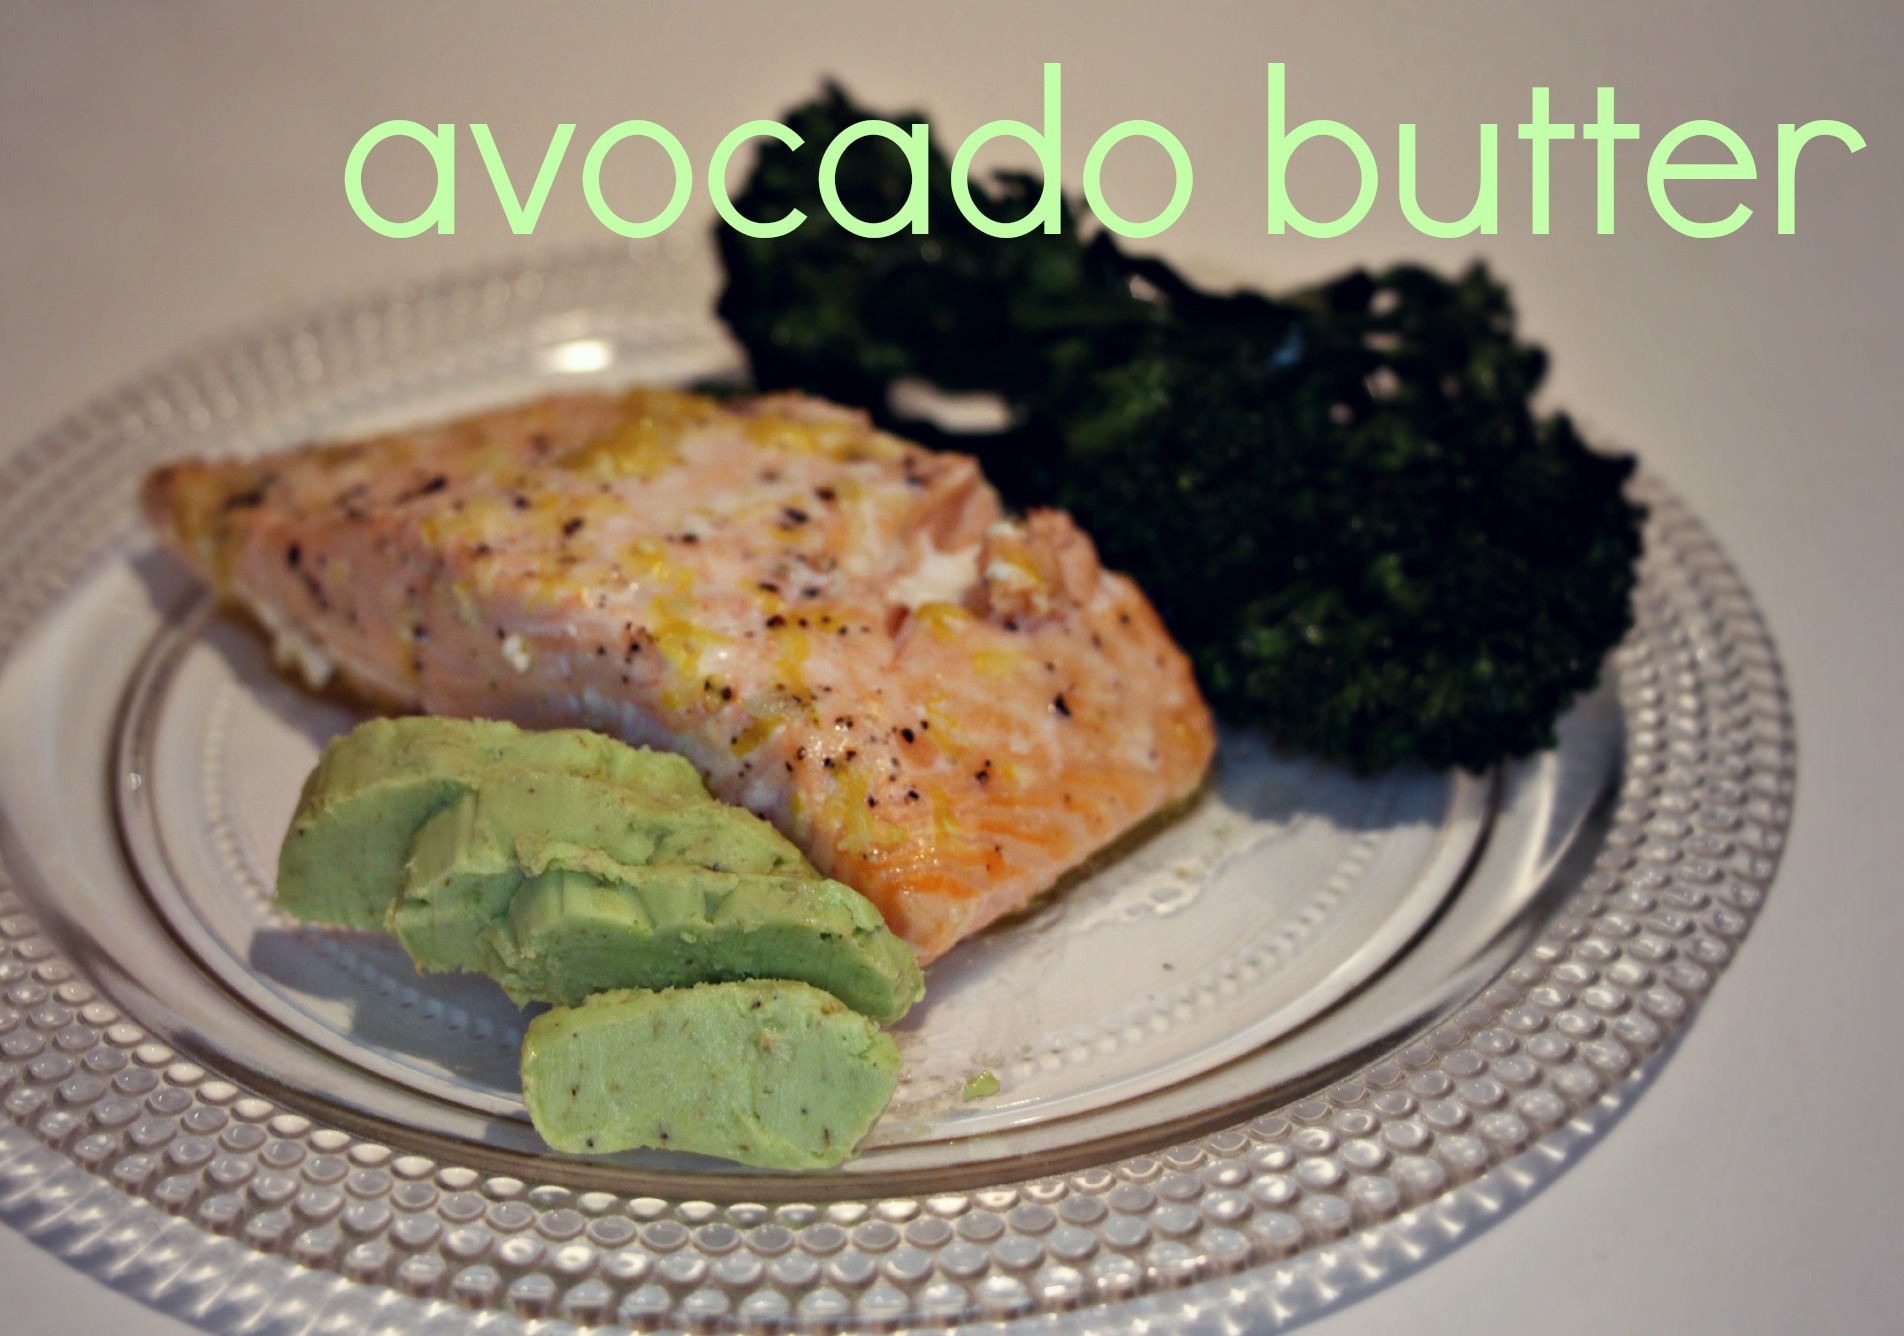
*Oh my gosh, I almost forgot to tell you that cupcake fabric is what I used to make Samster’s 1st birthday dress. Sighhh, I just can’t believe that was 4 years ago. Where did it go? The link is here if you want a little throw-back. Remember how she spent it in the ER? Ugh!
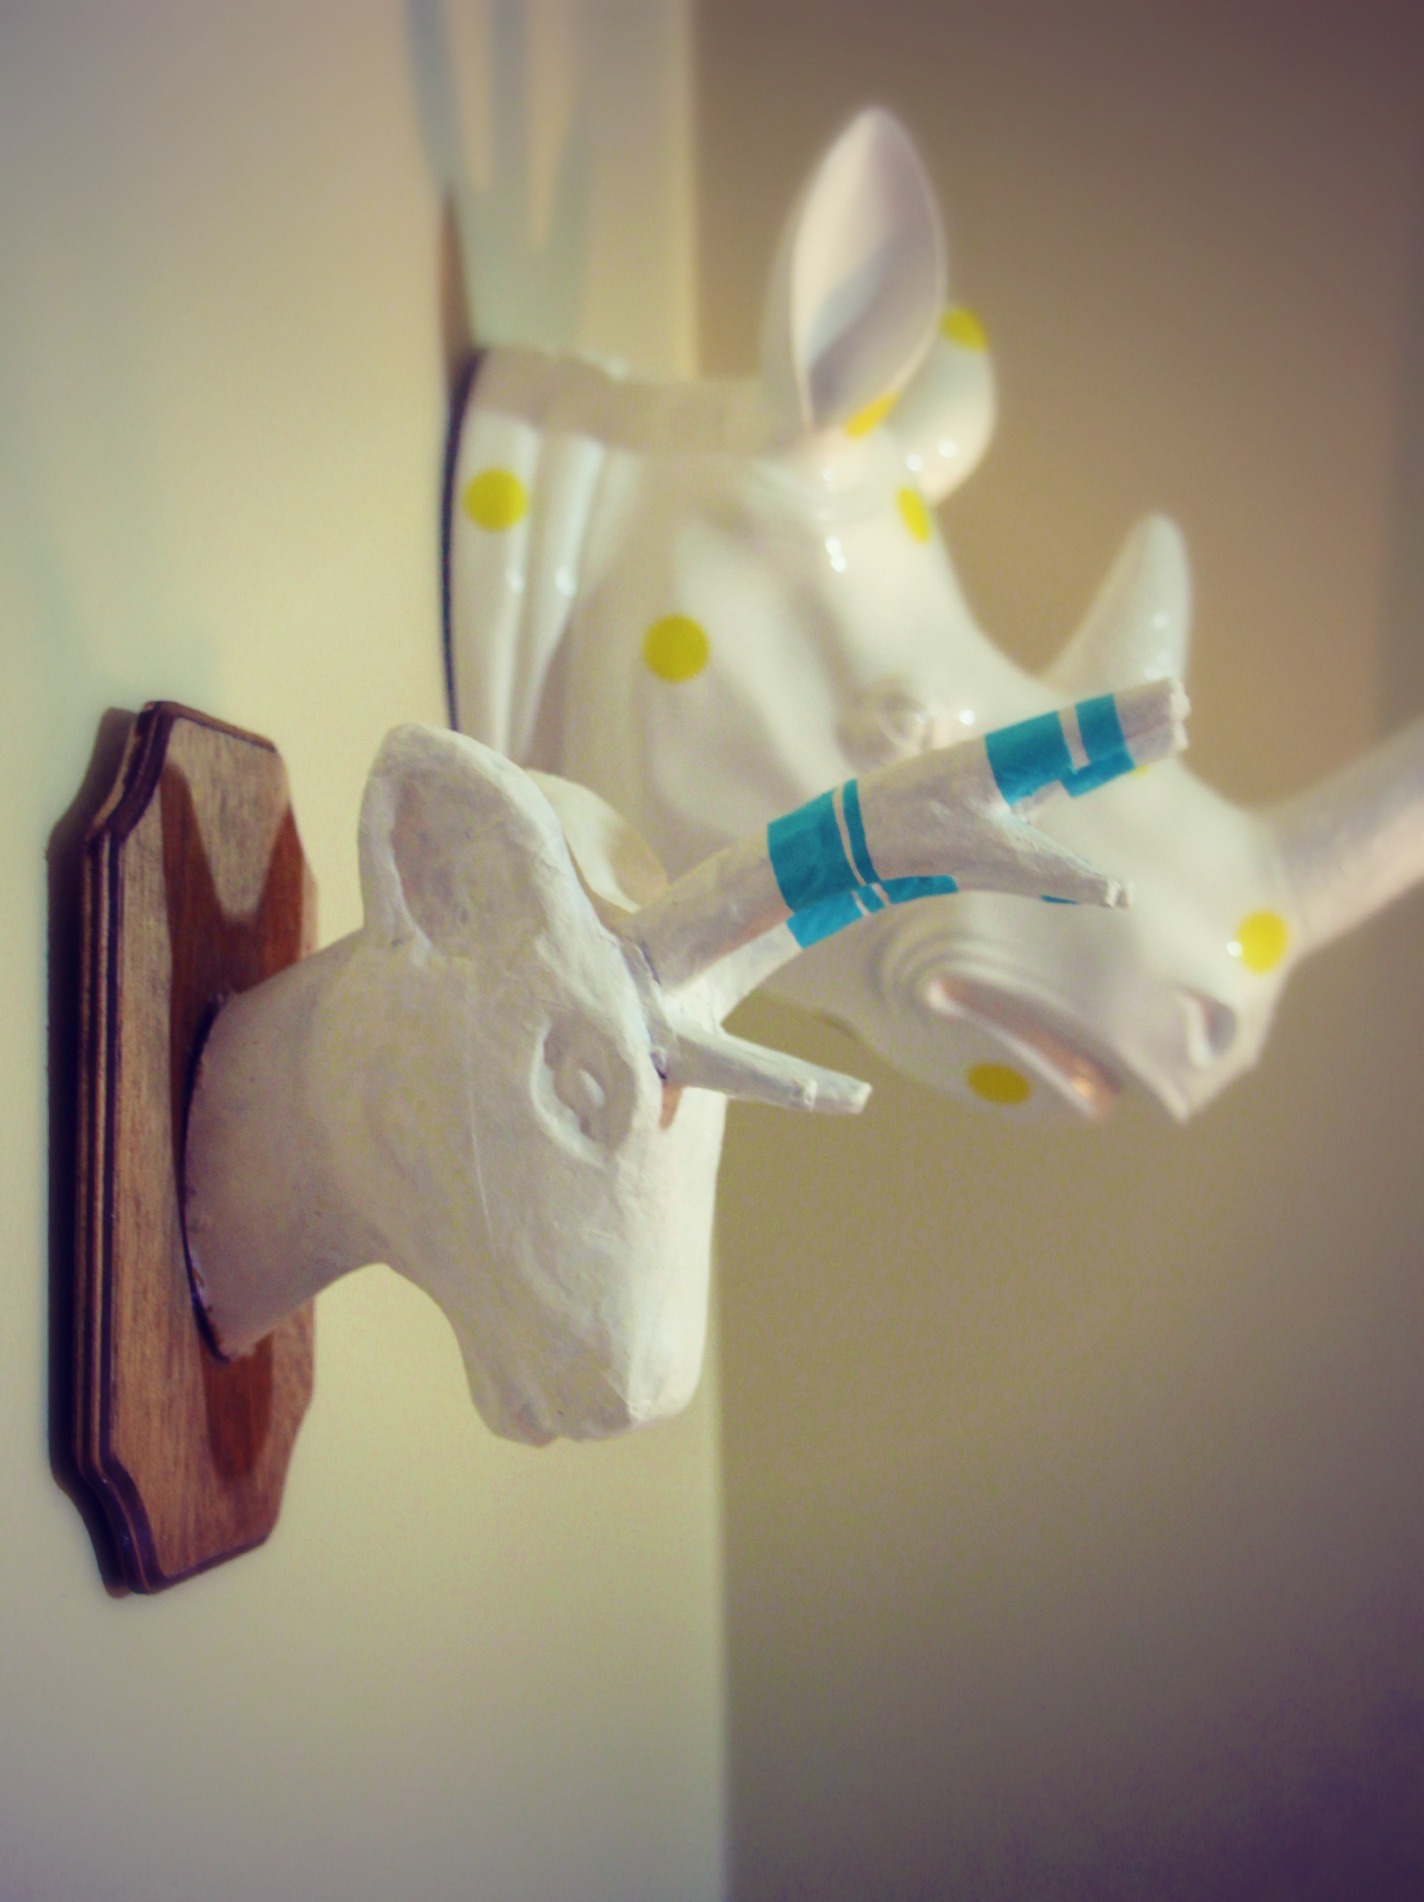
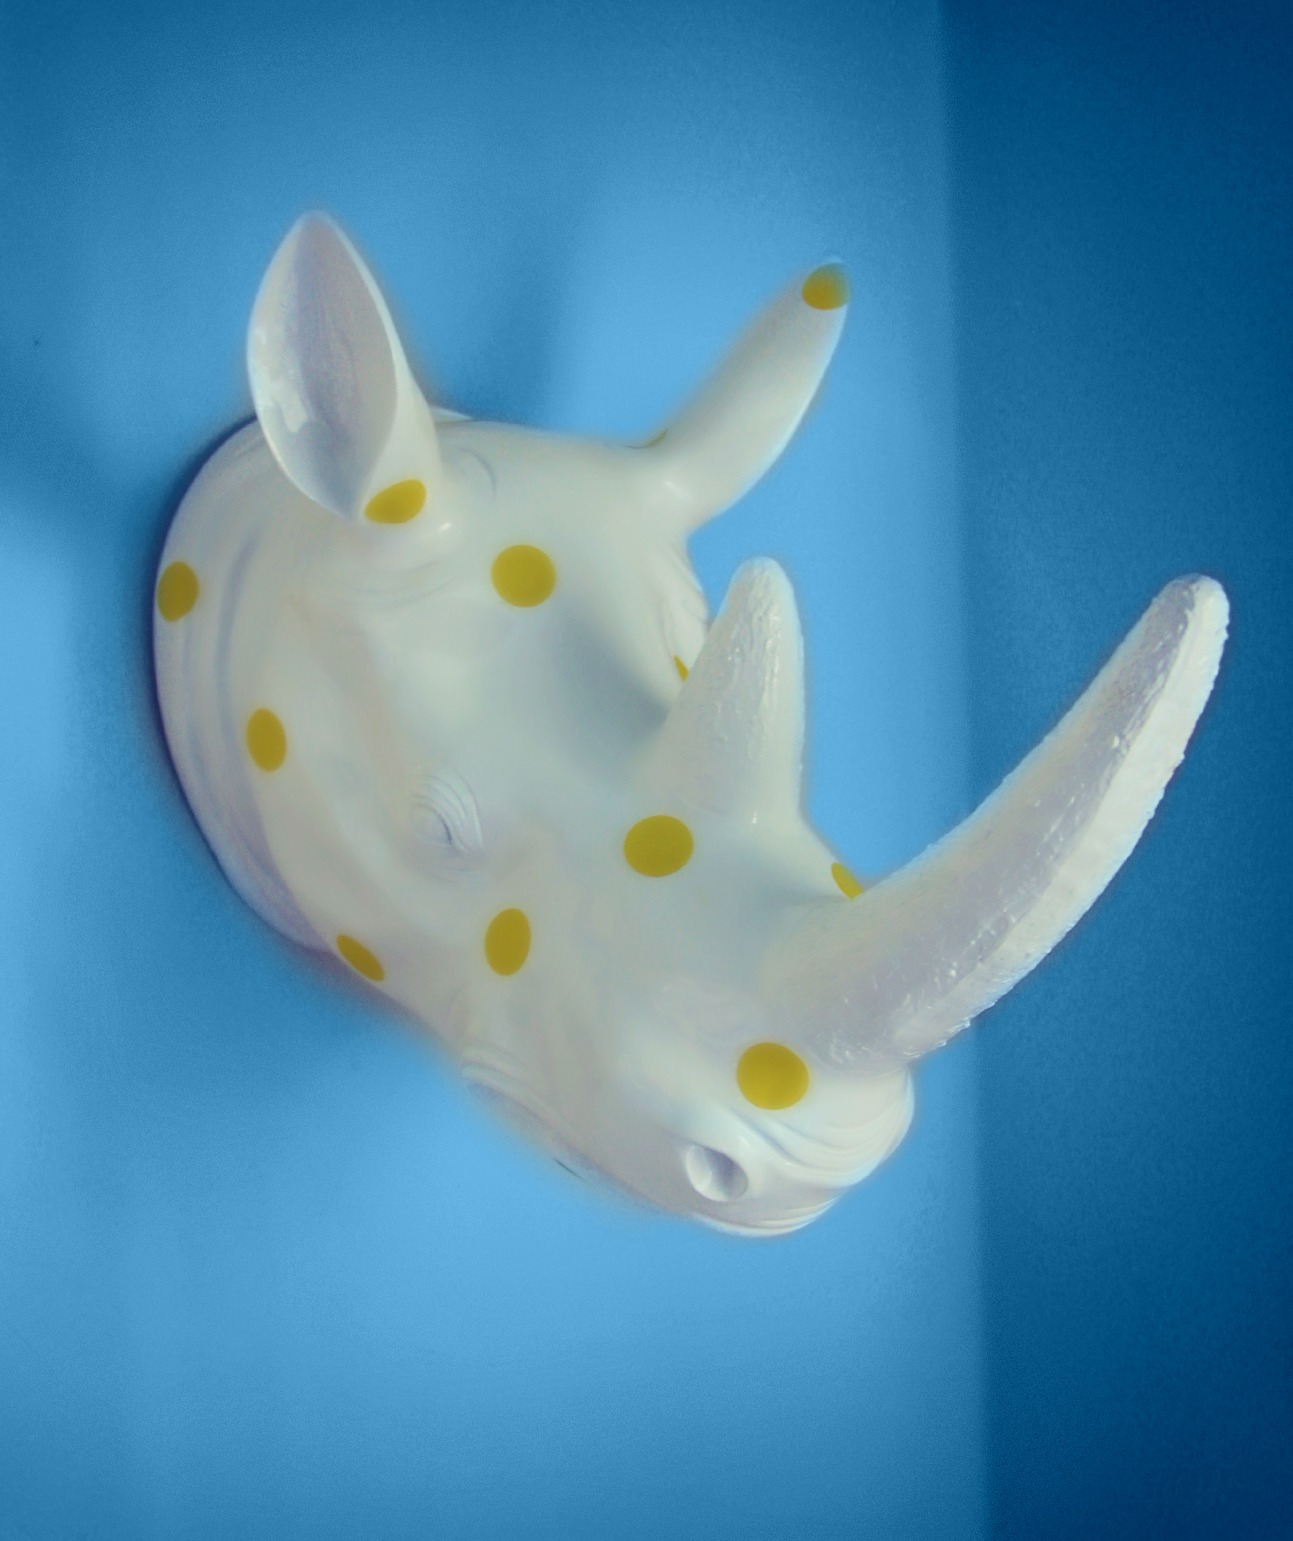
Inspired? Share the Love...
Share on Facebook
Facebook
Tweet about this on Twitter
Twitter
Pin on Pinterest
Pinterest
Google+
Google+

{ }

A week in instagram

by Natasha on February 24, 2013 in Uncategorized

You guys seemed to like it last week so here it is again, some quickie details from our week in Instagram…

instagram collage

*On Monday Sam & I got to work on making some aprons for the girls to wear when we have Monday homemade pizza night. Sewing mommy daughter aprons for family pizza night is teetering dangerously close to becoming Mrs Suzy Homemaker. I might just lose my street cred. Oh well, when I put a soccer ball decal with my kid’s name on my van than you can stage an intervention.

*We took the train this weekend to Connecticut to see the girl’s Mei Nai. That’s P’s mom by the way, she’s not Chinese but P’s stepfather is from Hong Kong so since he’s Ye-Ye (Grandpa in Chinese) she made up a term for step-grandma for his grandchildren, Mei Nai. It stuck for my girls too. I think it’s absolutely fantastic that my girls have a Ye-Ye, Mei Nai, Grandma, Grandpa, Nana, Pop Pop & Abuela all in their family. What a lovely little melting pot. Oh! And a word on the train…it’s FREAKING FANTASTIC. Seriously, it’s just a 4 hr ride from DC to NYC, the girls can walk around, eat in the cafe car, sleep or watch a movie. And wi-fi for me. My kind of travel.

*Sophie’s shoes in that sweet sleeping pic of her curled up in a ball are these Skecher’s from Nordstrom. She adores them & they are pretty darn cute but the shaft is a bit narrow. (hehehe. I know, I knowwww) I much prefer Sam’s pink glitter high tops with a zipper for easy on/off. They’re these by Launch  & are actually much cheaper.

*Speaking of adolescent humor…can you believe that ottoman made from a wine crate?! That’s a real listing from Etsy. I about peed my pants & immediately sent it to P because his humor is that of a 13 year old boy.

*Baby spinach with this lemon garlic dressing & a sprinkling of shredded parmesan is my new favorite lunch, or snack I have to relieve the guilt from giving in to Chick-fila’s wafffle fries yet again. That salad and a brand new BH&G is a little slice of 10 minute heaven.

*And finally Fat Lu. Our beautiful big girl. She snores, farts & has a bad hip that is coincidentally going to cost us an arm & a leg but man do we love that dog. Have you ever looked at a big grizzly bear on TV romping around, or soundly sleeping in a meadow & they look like they’d be so snuggly, fuzzy & completely warm if only you could hug them. Lu’s like that. Except she won’t eat your face off. Pillow is this one from Pottery Barn by the way.

Alright friends, that’s it. It’s time yet again to start a new week. It’s a fresh start & who knows, it could be the most amazing week you’ve had in months! Or maybe not, but whatever, let’s pretend we’re super positive. (;

Inspired? Share the Love...
Share on Facebook
Facebook
Tweet about this on Twitter
Twitter
Pin on Pinterest
Pinterest
Google+
Google+

{ }

Princess Fur Trimmed Pink Velvet Cape

by Natasha on February 22, 2013 in tutorials

Every year for Christmas I try to make a homemade gift for each girl, a little something special from Mommy. Sam’s request was a “Pink Princess Aurora cape that goes all the way to the ground and twirls and has pink fur on the edge.” Now I don’t believe Princess Aurora, i.e. Sleeping Beauty, actually wears a pink velvet pink fur trimmed cape in the movie but try telling that to princess connoisseur Samantha. So of course my answer was, “Uhhh, okayyy kid”.

I used a dress up cape we already had as a general guide & then was uber grateful that sewing with faux fur was FAR more forgiving & simple to work with than I had feared.

Here are a few of the pics and the basic tutorial, only a short 2 and a half months after I made it…oops. fur trimmed pink velvet cape for your little princess:: Little Pink Monster

fur trimmed pink velvet cape for your little princess:: Little Pink Monster

fur trimmed pink velvet cape for your little princess:: Little Pink Monster

fur trimmed pink velvet cape for your little princess:: Little Pink Monsterfur trimmed pink velvet cape for your little princess:: Little Pink Monster

I thought about making this one of those super specific tutorial posts where I hold you down & go over every step in painstaking detail but 1- I totally winged it and am not even sure I could remember how I did it the first time & 2- how many of you sew, and sew for girls, and want to sew a fur trimmed velvet cape? I’m thinking a small minority. In fact if that is you leave a comment & I’ll walk you through it. (:

A tutorial I do want to show you however is for those little furry pompoms that I put on the end of the cape neck ties. Come to think of it I’m not even sure if you can see them with the pictures I’ve chosen above. Hmph. That’s too bad, they’re so fun! I’ll be sure to include a full length shot of the cape with the pompoms when I teach you how to use the technique to make this fabulous Michael Kors keyring next week!

IMG_4916So fun right?

Have a good weekend my dear friend. I hope you laugh a lot, relax a lot & do something special JUST FOR YOU.

Inspired? Share the Love...
Share on Facebook
Facebook
Tweet about this on Twitter
Twitter
Pin on Pinterest
Pinterest
Google+
Google+

{ }

Harlem Shake::Princess Style

by Natasha on February 21, 2013 in Uncategorized

Have you seen the Harlem Shake yet? There’s been about a bazillion versions done of it but P had the fantastic idea to get the girls’ friends together & rock it out princess style…

If you want more Harlem Shake I believe this is the orginal, and this one from Sea World is my favorite. Besides our own of course. (:

Inspired? Share the Love...
Share on Facebook
Facebook
Tweet about this on Twitter
Twitter
Pin on Pinterest
Pinterest
Google+
Google+

{ }

Wanna Shop? Here’s My Etsy List…

by Natasha on February 21, 2013 in Uncategorized

Sometimes you just want to spend 10-15minutes (ok, I wanted to spend 3-4 hours but a little fix will do) mindlessly browsing online.

Here’s my round up of some great finds on Etsy to get your started. From Antler wall hooks to chevron paint stencils to vintage books sold by color (such a decorating AHA! moment for me) I’ve got them all & more in my February Houzz Ideabook right here. Happy Shopping!

Screen Shot 2013-02-21 at 7.19.24 AM

Inspired? Share the Love...
Share on Facebook
Facebook
Tweet about this on Twitter
Twitter
Pin on Pinterest
Pinterest
Google+
Google+

{ }

Avocado Butter

by Natasha on February 18, 2013 in dinner 101

Avocado Butter Recipe by Little Pink Monster Avocado Butter Recipe by Little Pink Monster Avocado Butter Recipe by Little Pink Monster

I know, in the one picture it looks like, well, a dookie. But if you can get past that oddity you’ll be glad you did because this spread is the most buttery, velvety, rich yet light garnish you’ve ever had. Susan told me about how a friend had served her avocado butter on top of a tuna steak once & it was absolutely divine. The thought had never occurred to me, avocado mixed with butter? Is that really necessary? I mean, doesn’t each have enough fat on it’s own? Combining the two sounds a bit like mixing up potatoes & rice, or maybe a throwing on a pair of spanxx over your girdle. A bit much, you know? But something intrigued me, I love avocado & adding the sinfulness of real butter could just be a wonderful indulgence. So I did a bit of homework & tried to make my own version, and the thing is my dear, sweet friend it’s not too much. Not even close. It’s perfect. And oh so easy to prepare…

  • 1 ripe avocado, peeled, pitted & cubed
  • 3 tbs melted salted butter
  • 1/4 tsp cumin
  • salt & pepper to taste

Blend all ingredients, I used my favorite stick blender, until it’s completely smooth. Next, lay a piece of foil on your counter & a piece of plastic wrap on top of that. Spoon out the avocado mixture onto the plastic wrap in a log shape. Fold the plastic wrap over twice & then use the foil to help you shape the plastic wrapped log. (geez I hate calling it that but I don’t know what else to call it!) Imagine a sushi chef rolling the stuffed rice before he slices it. Next leave it in your fridge for a few hours or until firm. I decided to make this about 30 minutes before dinner so I stuck it in the freezer for 20 minutes and it did the trick.

Slice off a few pats & serve with fish, chicken or even spread on a toasted crostini. We had ours with my easy lemon salmon & it took it to a new level. Looks are deceiving however, this stuff is richer than you’d think so you only need a small bit with each bite…enjoy!

Inspired? Share the Love...
Share on Facebook
Facebook
Tweet about this on Twitter
Twitter
Pin on Pinterest
Pinterest
Google+
Google+

{ }

A week in Instagram

by Natasha on February 15, 2013 in Uncategorized

Are we Instagram friends? I’m MsPinkMonster…you?

If you wanted any more details on any of the randomness from the week here it is my dear…Instagram Collage

*Valentine’s morning with their heart dresses from this tutorial. Their looks sum up the entire existence in my house by the way…

*My sudden deviled eggs cravings…I used this recipe but substituted chives for the diced onion & left out the Tabasco.

*Homemade pizza night. I’m trying to spend more quality time with the girls, normally I would not have let the girls do their own because I was worried about the mess but honestly, what does a little sauce on the counter matter if the girls are making memories that will be their childhood traditions?

*My attempt at juicing. Some of you asked what kind of juicer I bought, it’s a Breville Juice Fountain & it worked well but truth is it’s going back to Macy’s. That was wayyy to much work for a glass of juice. It’s just not me.

*The beginning of the deer beheading, tutorial for head mounts here.

*Impromptu Chimmichurri. This was AH-MAZING. It was all on a whim because I happened to have everything on hand & didn’t know what to do with the skirt steak I bought for dinner. Basically, I combined a few handfuls of fresh parsley, a handful of chives, 2 minced garlic cloves, a squeeze of fresh lemon juice & a dash of salt & pepper into my food processor. I added a stream of extra virgin olive oil while it was mixing until a paste formed. Then I rubbed half of the paste onto the meat before I grilled & reserved the other half to use as a garnish.

*Ruby Red Lips. A little, how do I say this, weird, to see my 4 year with bright lipstick. It always seems like a cute idea but then just looks odd. Like a baby hooker. (My favorite lipstick, it’s not quite that dramatic without the Instagram filter, Tarte Glamazon lipstick in ‘Fierce’)

What a week, whew. I’m so glad it’s Friday, all I want to do is sleep! A girl can dream right?

Inspired? Share the Love...
Share on Facebook
Facebook
Tweet about this on Twitter
Twitter
Pin on Pinterest
Pinterest
Google+
Google+

{ }

Beast Heads

by Natasha on February 14, 2013 in tutorials

I had intended on crafting a Valentine’s shirt for myself & posting that today. I had the idea weeks ago while listening to the radio. In big block letters, on three different lines, all on the bottom right of the tee, it was going to say, “i belong to you” “you belong to me” “you’re my sweet<3” Except with a big red heart, not, you know, texting heart. Although I suppose that would be cute too…

But alas this morning came & you know what? I was sick of making Valentine’s Day crap. I could hardly believe it myself, I mean I LIVE for all of the pink, red, lovey dovey, glittery goodness that the big V-Day brings but I burnt out early this year. I decided the only thing to do was to swing in the extreme opposite direction & perhaps somehow balance could once again be restored.

So I made mounted animal heads.

Whaaaa? Little Pink Monster's tutorial on DIY deer mounts & polk dot rhinos!

Little Pink Monster's tutorial on DIY deer mounts & polk dot rhinos!

No, your eyes aren’t playing tricks on you! I made that wall blue with picmonkey, thought my rhino would like the way he looked with a pop of color (:Little Pink Monster's tutorial on DIY deer mounts & polk dot rhinos!

I found my rhino head at Home Goods for $16.99 & then applied yellow garage sale stickers for the polka dots. They’re the same stickers I used for Soph’s polka dot walls, handy little buggers! If your rhino has a slick surface like mine I’d suggest running a glue stick over the dots before applying them, otherwise the edges might lift a little. If you’re having a hard time finding a rhino head but really want one I’ve seen them around Etsy like this one, they’re a bit pricier however. I’m crazy in love with these whimsical takes on taxidermy. I think the polka dot ones would be such a fun addition to a nursery, kid’s room or home office like mine.

The deer was a bit more work. I snagged my deer at Michael’s over Christmas with the intention of making this project someday but it looks like some craft retailers like this one sell them year round.

Little Pink Monster's tutorial on DIY deer mounts & polk dot rhinos!deer 2 Collage

After beheading my little woodland friend I set the headless body just inside of our garage door so it’d be the first thing P saw when he walked in. Nothing makes me laugh more than making him do the tilted dog head “Huhhh?”

I painted mine white & used washi tape to make the antler stripes. (Wishy Washi kindly donated that tape to all of us at Alt, isn’t it the perfect blue??) Of course the world is your oyster with this project…you could paint it a fun color like neon pink or maybe decopauge it with torn out pages from books, perhaps even cover it in glitter. These are meant to have a humorous tone so just go for it!

The plaque is an ultra cheapie wood piece from the woodworking aisle at Michael’s. I chose to use leftover stain from my Union Jack Dresser for mine because I wanted to keep with the play on traditional taxidermy mounts but you could also just paint yours. Black would work well. For the mounting I first used a sanding block to even out the edges, then I used a decent amount of hot glue just inside the edge of the head. Be careful not to the let the hot glue show when you press the head on, if some does seep out pick it away while it’s hot.

So are you into the whimsy heads trend or is it still just a bit too weird for ya?

Inspired? Share the Love...
Share on Facebook
Facebook
Tweet about this on Twitter
Twitter
Pin on Pinterest
Pinterest
Google+
Google+

{ }

Awake My Soul

by Natasha on February 11, 2013 in mommy blog

We spent this past weekend in Evansville, Indiana at Peter’s Grandmother’s funeral.

I have to say, I was dreading it. Which is terribly selfish of me in hindsight. My focus should have been completely on Peter, on supporting him through this sad process.

Nonetheless, on Friday I was completely & utterly overwhelmed by the thought of traveling with the girls. Sophie, for some unknown reason, had woken up screaming multiple times the night before. Friday morning was one of those where your eyes burn, head pounds & you’re just in survival mode to get the kids dressed & out the door for school. I panicked at the thought of packing our suitcases, driving 45 minutes to the airport, going through all of the airport hoopla, which if you have small kids you know is a PROCESS to say the least, damn those carseats!! Then keeping them busy on the 2 hour flight, de-planing, getting a rental car, re-installing said cursed carseats, getting dinner, driving 2 hours to our destination, checking in a hotel, getting the hotel set up for the kids & then the weekend would begin. Ok, maybe I can see why on that Friday morning I just wanted to cry.

It’s often when you aren’t expecting it however, in these most stressful of situations, that God whispers in your ear. It can be tough to hear it when you’re in the midst of insanity but sometimes I get lucky & I pipe down long enough to learn something. It happened on Saturday.

During the funeral for Grandma Helen the pastor spoke about how after he had left the hospice where Helen had just passed he had gotten in his car & put on one of his favorite bands, Mumford & Sons. I know, hip pastor, right? The song that played was ‘Awake My Soul’. I’m not exactly sure where the pastor went with the message after that because a light went off for me at that thought, Awake My Soul, and I was lost in my own mind. I thought about how tired my soul was. Then I thought about how had it had gotten this way.

The answer was stress. Stress had beat down my soul & put it away wet. I don’t even think I realized how un-joyful I had become. I’ve been doing rather well the last few weeks with getting things done & making progress with my goals. Success however is not necessarily indicative of delight & appreciation.

Whether it was every day stresses like actually getting my kids to brush their teeth for more than 10 seconds or the unexpected life stresses like grandparents passing, the way I was handling the stress was keeping me from truly appreciating how lovely my life was.

There was a better way to do this, I knew it, but how?

I thought back to the plane ride down, I had spent so much energy worrying about how bad it could go but it turned out the girls were actually quite wonderful. They slept for a good bit & it wasn’t bad at all. And you know what I realized? When you’re putting so much of your focus on worrying you can miss out on some golden moments. I thought back to the flight again. We had split up with the kids and sat one row in front of the other. Sam had fallen asleep and was snuggled up next to me, leaning on my arm, her little sweaty face blissfully rosy from warm, content sleep. I peaked back between the seats to check on P. Sophie was doing the same exact same thing with him. This was my family & it was beautiful. For a few sweet seconds I saw Samantha, Sophie & P for what they really were, an amazing blessing in my life. How lucky I was, and to think if we hadn’t gone on this trip I was so dreading I would have missed out on that moment. And those moments my friend, those moments are gold. They’re fuel. They’re the magic potion that can get you through the tantrums & disagreements with your spouse, the grocery bags breaking & the discovery of marker on your newly painted wall.

Yes, this phase of my life is stressful. There’s a lot to do & two little people who don’t care about my responsibilities. Moments like these however, these beautiful little snapshots are exactly what I needed to ‘Awake my soul’.

It’s a true shame that it often takes a loved one passing for extended family to spend some quality time together but this weekend that’s exactly what we did. And it was so wonderful. I foolishly had assumed that because it wasn’t my family I wouldn’t benefit from the visit the same way I knew I would have by going to Florida. Whether it was seeing my girls having a lollipop party with their Aunt Jill, getting to know P’s awesome cousin Sarah or watching Sam & Sophie run around with their adorable little cousins while we desperately tried to take a family photo…these were nourishing moments that slowly but surely awakened my soul.

Poor P was in a really sad, tired place this trip but on the flip side I had no idea how good it could be for me to be there for him. At the end of the trip he told me I was his rock & foundation. Often when you have kids that are young & therefor completely in need of you, you forget to take care of your spouse. I was able to take care of him this past weekend & it truly felt good. And a little more, my soul awoke.

I didn’t know Grandma Helen terribly well but this morning I’m tearfully grateful to her because I truly believe she sent me this great lesson from heaven.

Awake my soul.

Inspired? Share the Love...
Share on Facebook
Facebook
Tweet about this on Twitter
Twitter
Pin on Pinterest
Pinterest
Google+
Google+

{ }

Airheads Roses Valentines Box

by Natasha on February 6, 2013 in tutorials

A little birdie told me about this Valentine’s contest that Airheads candy was having, turns out I’m so glad I went for it because I don’t know if I’ve ever been so proud of something I’ve made before…Ombre pink roses valentines box made from Airheads candy!

Ombre pink roses valentines box made from Airheads candy! Ombre pink roses valentines box made from Airheads candy!

I’m not gonna lie to you, this was a labor of love. I made each rose by rolling out a piece of Airheads candy (if you microwave it for 2-3 seconds it becomes really malleable) & then cutting out 5 petals. I then shaped each petal & rolled them together to form a rosebud. I used white, pink & red Airheads but also mixed together combinations of the three to create the ombre effect. All together I believe I made 4 different shades of pink.

And of course this Valentine’s gift is filled with…

Ombre pink roses valentines box made from Airheads candy!

Is it wrong if I give it to myself? I have to say it’s been a minute since I’ve had an Airheads but now I’m a total addict for the white ones. I’m literally sitting her chomping on one because editing the photos gave me cravings. Rehab might be in order.

This really is a cool contest & I have to thank Airheads for supporting us crafters. They could have done all sorts of things to promote their candy but they chose to celebrate creativity & that makes them pretty awesome in my book. If you’d like to see the other entries, there are some pretty darn good ones, you can click here. And you know, if you want to vote for me while you’re there I won’t stop you… (:

(No seriously, if you love me go vote)

Inspired? Share the Love...
Share on Facebook
Facebook
Tweet about this on Twitter
Twitter
Pin on Pinterest
Pinterest
Google+
Google+

{ }

Next Entries →
← Previous Entries

greeting

phone pic

LTL button

before after 

buttonbirthday buttonfamily dinner buttonmommy thoughts button

marthabadge1
Photobucket
Photobucket

Tags

beauty before/after birthday party cheater's cooking Christmas costume decorating dinner 101 DIY dress-up easy dinner fashion craft furniture gift ideas hair halloween health chats holiday home home decor instagram jewelry making kid's craft kid fashion lyme mommy blog mommy thoughts naptime crafting party pinbusters pinterest princess recipe review recipes sewing shopping sunday love thrift store finds tips & tricks toddler sewing tutorials valentines video vlog where am I?

Blogroll

  • A Beautiful Mess
  • Cancer Alliance Blog
  • Centsational Girl
  • Coco & Kelley
  • Cotton & Curls
  • Crafterhours
  • Craftiness is not Optional
  • Effortless Style Blog
  • Happy Together
  • Hi Sugarplum
  • Homemade By Jill
  • Honey We're Home
  • How Sweet It Is
  • Hyperbole & a Half
  • iHeart Organizing
  • Kristen F. Davis Designs
  • Lil Blue Boo
  • Little Green Notebook
  • Momastery
  • One Pretty Thing
  • Piccoli Piselli
  • PS- I made this
  • Skirt as Top
  • Smitten Kitchen
  • That's So Michelle
  • The Baking Robot
  • The Daybook
  • The Makerista
  • Victoria Elizabeth Barnes
  • Vintage Revivals
  • Young House Love

WordPress Admin