 Today we’re going to be on TV. Yes, I said “we”, the girls are going with me to ‘Let’s Talk Live’ today so they can help me demonstrate 3 fun DIY projects to help keep your kids from uttering the dreaded “I”m BORRRRED!”
Although right now all I’m hearing from upstairs as I type is this, “SOPHIE NOOOOO! Get out of my room! MOM!!!!!”
This should turn out to be an interesting morning! You can watch the show on News Channel 8 if you’re a DC area gal or online streaming live here, the show starts at 11a & we’re usually on somewhere around the middle. When I opened my eyes this morning I sat up & thought, “Oh geez, please don’t let Sophie call anyone a ‘Nut Squirrel.‘” like yesterday when she called daddy’s show to wish Mr. John a happy birthday. She got quite the reaction, not to mention Sam was crazy angry that Soph stole her thunder because SHE wanted to say ‘Nut Squirrel’ first. I assure you I have never used the term ‘Nut Squirrel’. So let’s just hope the focus stays on homemade play-doh, slime, puffy paint & not….”Nut Squirrel” revenge. Geez.
On to the craft! (look for the slime recipe & tutorial tomorrow)
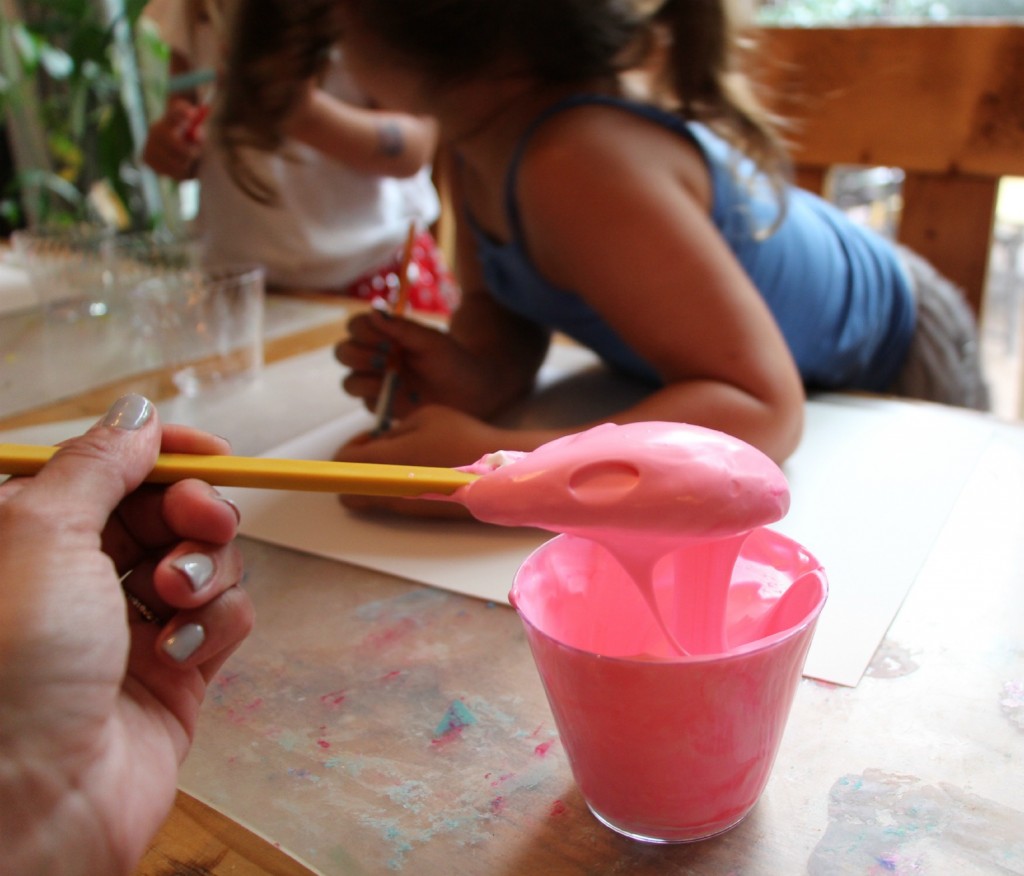
This is SO simple & a ton of fun. If you have a bottle of glue, 1 or 2 cans of traditional shaving cream & some food coloring you have ‘DIY puffy paint’!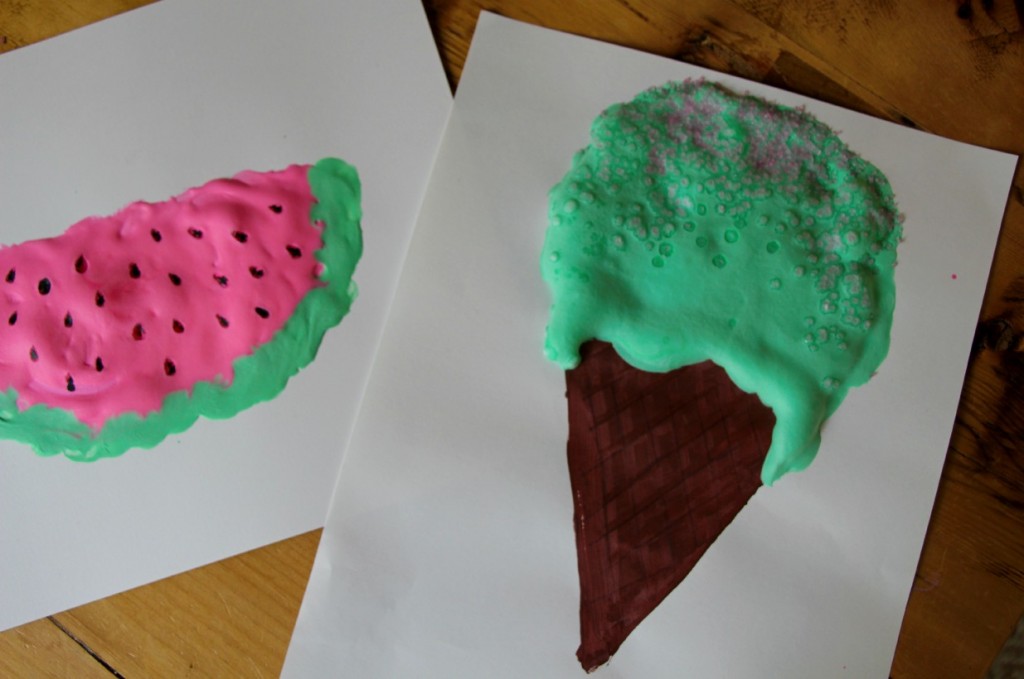
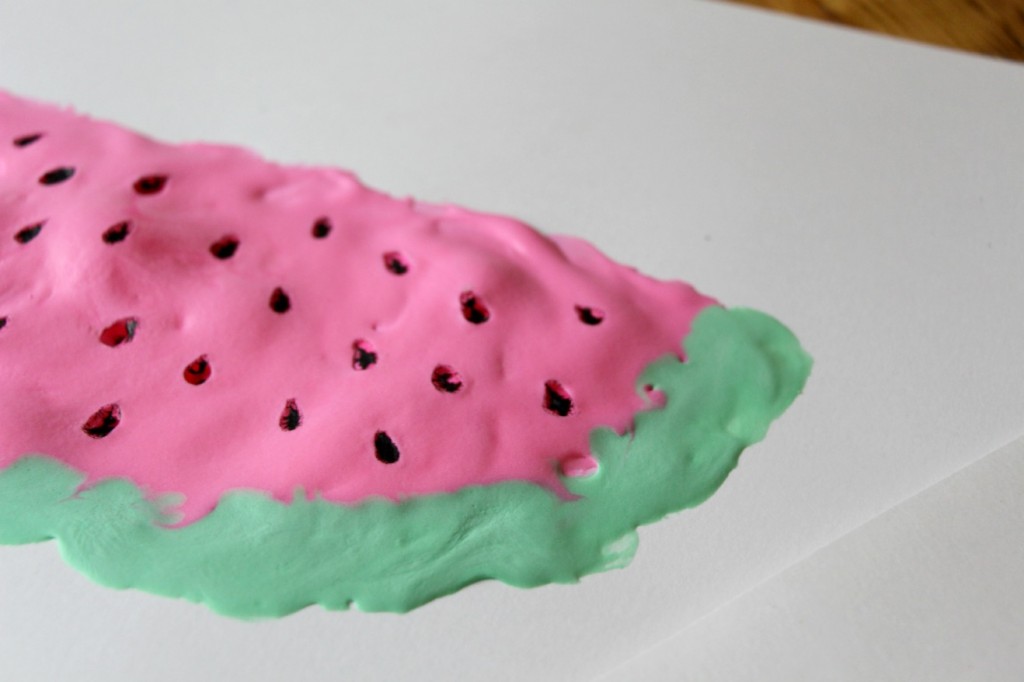
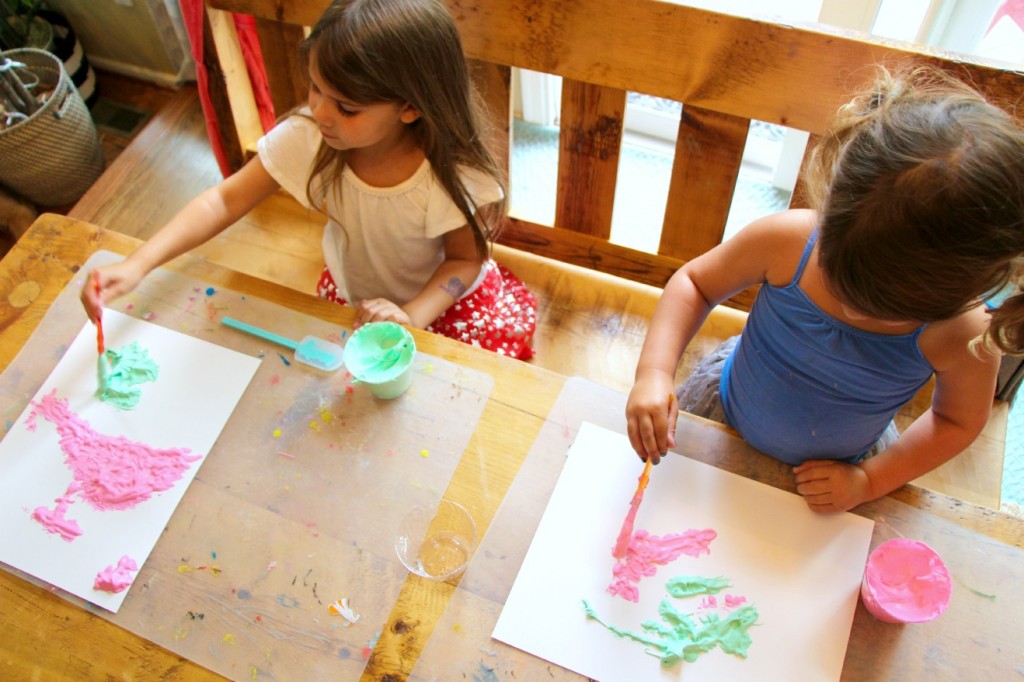 The recipe is pretty simple, first in a cup (I used small disposable ones so I could, well, dispose of them when we were done.) I added a nice big squirt of shaving cream (go for the traditional, striped can, puffy creamy kind) & then close to equal amounts of white glue. It’s kind of hard to compare shaving cream ratio to glue ratio but I’d say it’s about 1 cu shaving cream to 3 or 4 tablespoons of glue, you really can’t mess it up. The only problem you might run into is if you don’t have enough glue it won’t really dry…also add a few drops of food coloring & if you want a sprinkle of glitter that could be fun! We haven’t tried that yet but it’s definitely next on the list. For the ice cream picture I painted the cone first with regular paint & then dolloped the mint green puffy paint paint on top, after it had dried a bit I sprinkled on actual candy sprinkles. I’m kind of in love with it! The watermelon is made by first painting the pink half circle shape, then the green rind followed by little black regular paint “seeds” after it had dried a bit.
Wish us good luck today! Happy DIYing! That’s so not even a word.


